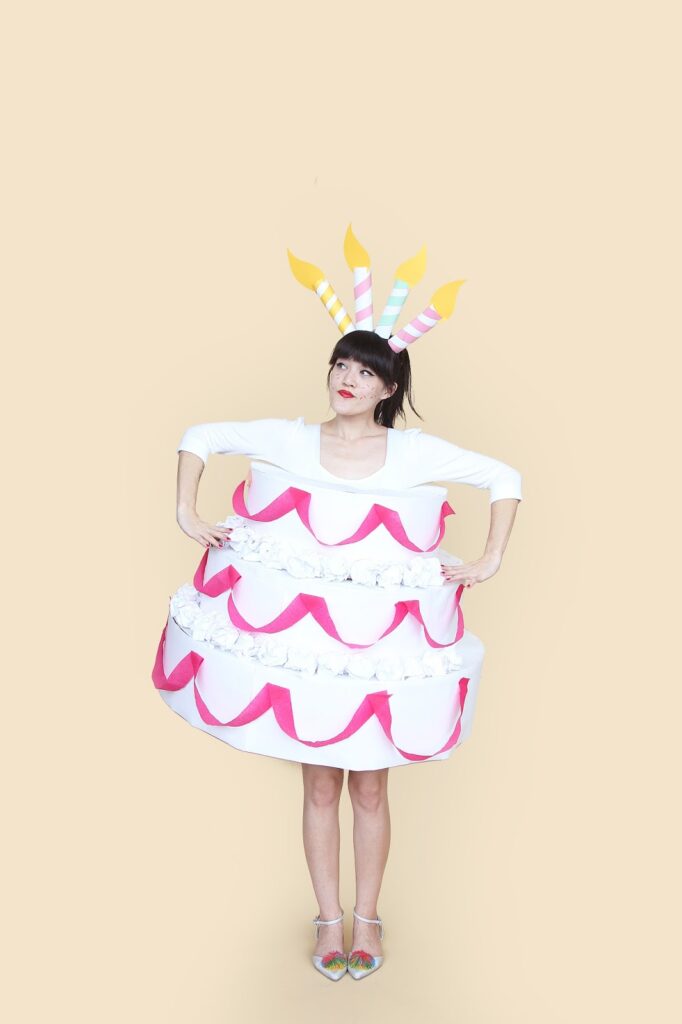

You can have your cake, but don’t eat it too! (Or at least not this one, it’s only paper). I fully support real cake eating. Ever since I made those mini three-tiered birthday cakes, I’ve been dying to do a giant three-tiered cake, and if there were ever a perfect time, it would be during these weeks of crazy Halloween costumes! Plus, I really just wanted to get to wear a giant candle headband and paint sprinkles on my cheeks, who am I kidding? The best part about this costume is that we originally went outside to take the photos. There are some weird things going on in New York, but you can imagine that seeing a giant cake walk down the street was probably the weirdest thing they were going to see that day!
Anyways, all embarrassing moments aside, this costume takes a little bit more work than the previous ones and a whole lot more hot glue, so make sure to follow along carefully so each of the tiers on your cake line up correctly! Once you have your base made, it’s totally a piece of cake though! Get the how-to below!

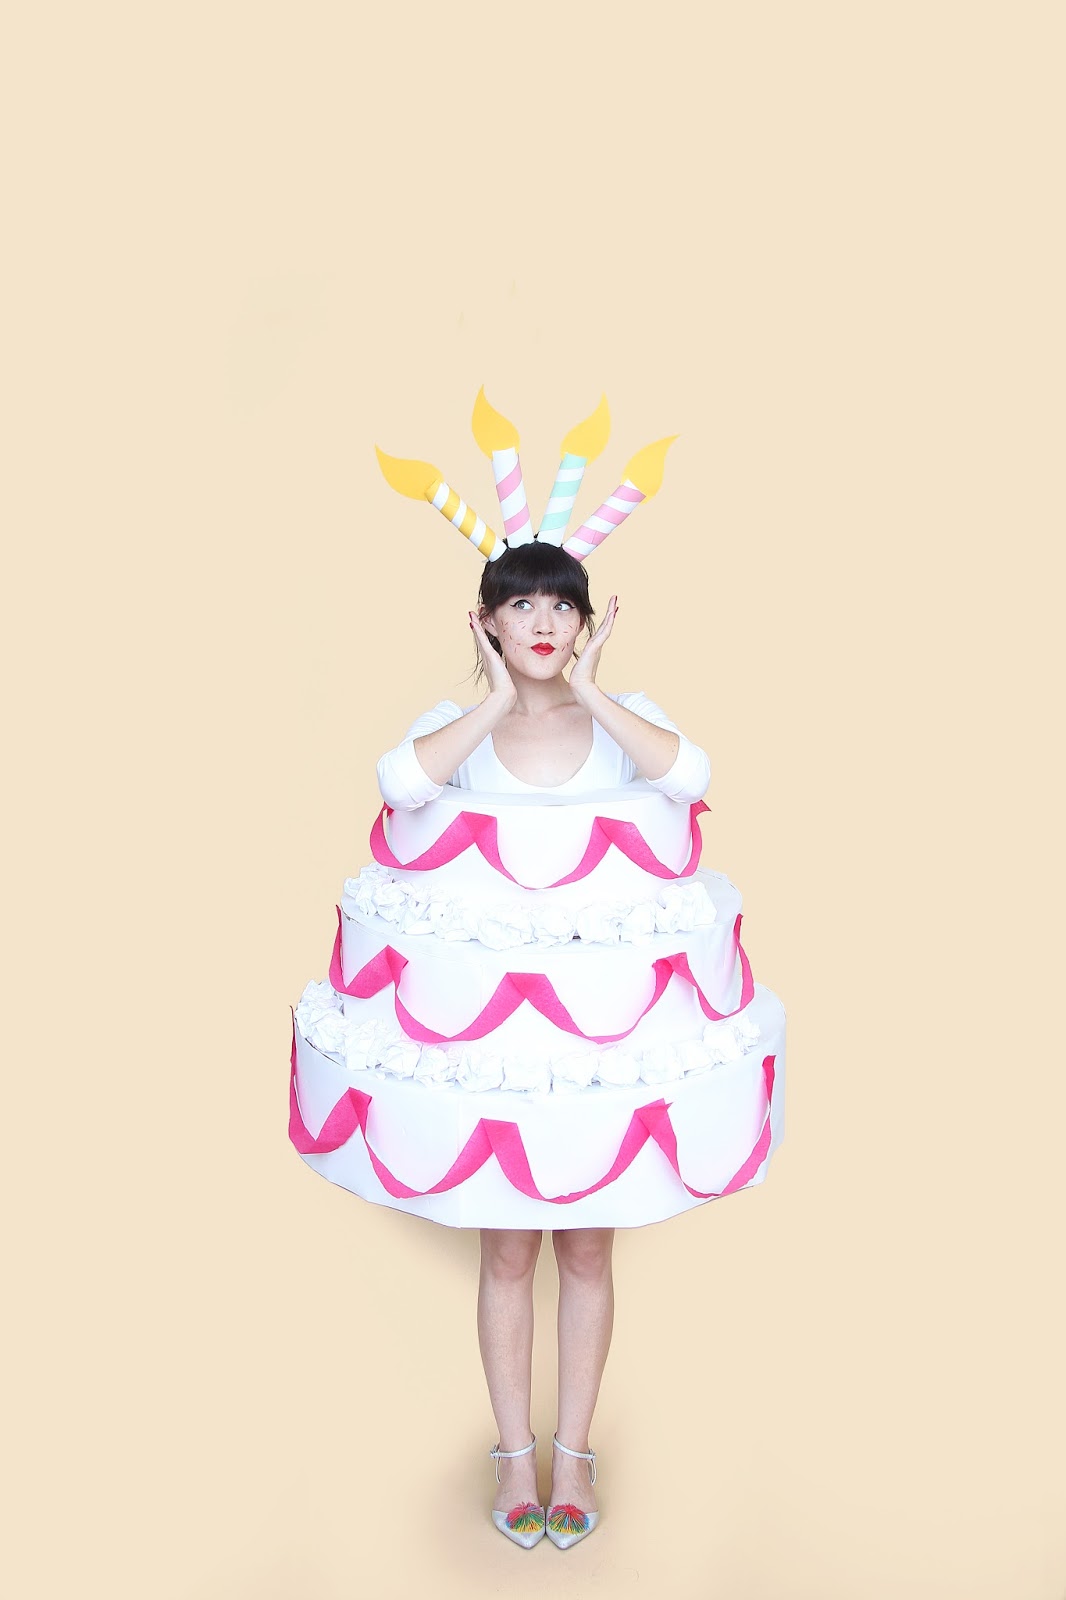
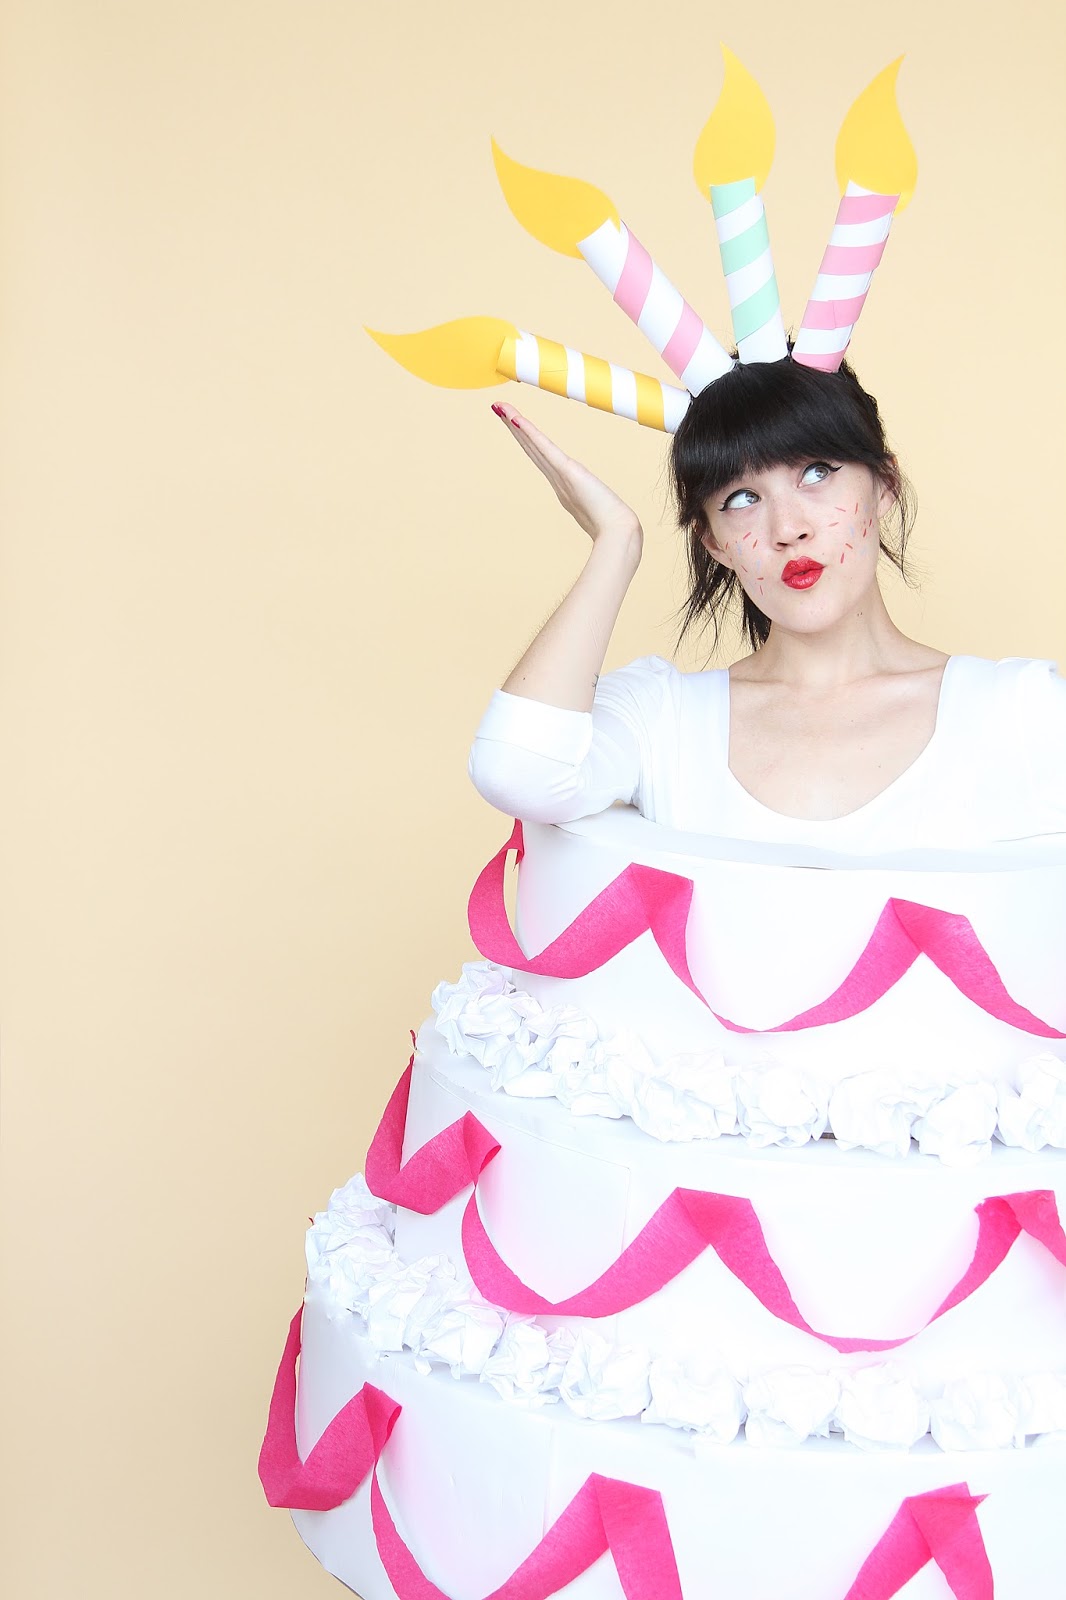
I call this one my Macaulay Culkin pose.

Chipboard
Cardboard
White wrapping paper
White printer paper
Hot glue gun
Pink crepe paper
White, yellow, pink, and mint construction paper
Headband
White ribbon
Olfa or exacto knife
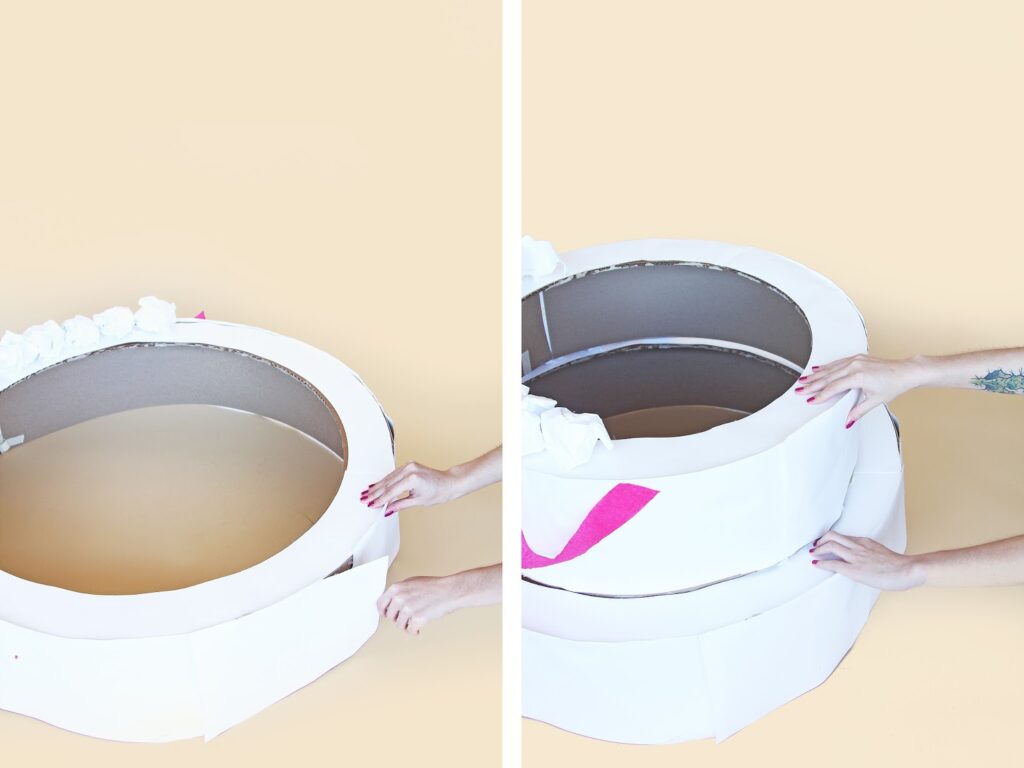


1. Cut out a circle out of cardboard with a diameter of 32″. Cut another circle out of the middle of the circle you just cut with a diameter of 26″. Cut a long strip of chipboard 8″ wide to go around the circle. Glue or tape it around the circle until the whole side is covered. Cut the same circle and strips out of your white wrapping paper to cover up the chipboard and cardboard with.
2. You will repeat step 1 two more times. The second tier should have a circle with an outer diameter of 26″ and an inner diameter of 20″. The smallest tier should have an outer diameter of 20″ and an inner diameter of 12″.
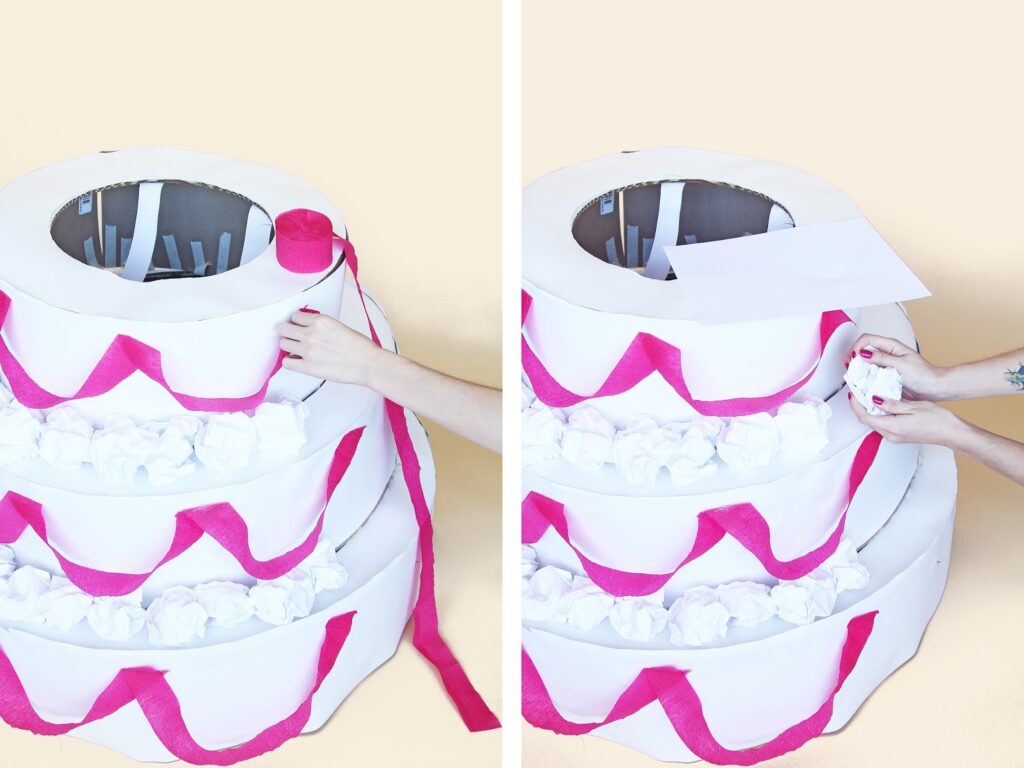
3. Now that you have your cake assembled, it’s time to add straps and decorate! You may need an extra hand for this step. Put the cake over you and have someone measure with white ribbon how long the straps need to be and mark on the cake where they need to be placed. Hot glue the straps in place.
4. Using pink (or whatever color you choose) crepe paper, drape over the cake in scallops as if you were icing it and hot glue it in the places where it touches the cake.
5. With normal 8.5″ x 11″ white printer paper, crumple it up in balls and hot glue in between tiers to cover up any seams that may be showing. You could also use colored construction paper to cut out sprinkles and attach them to the cake if you would like!
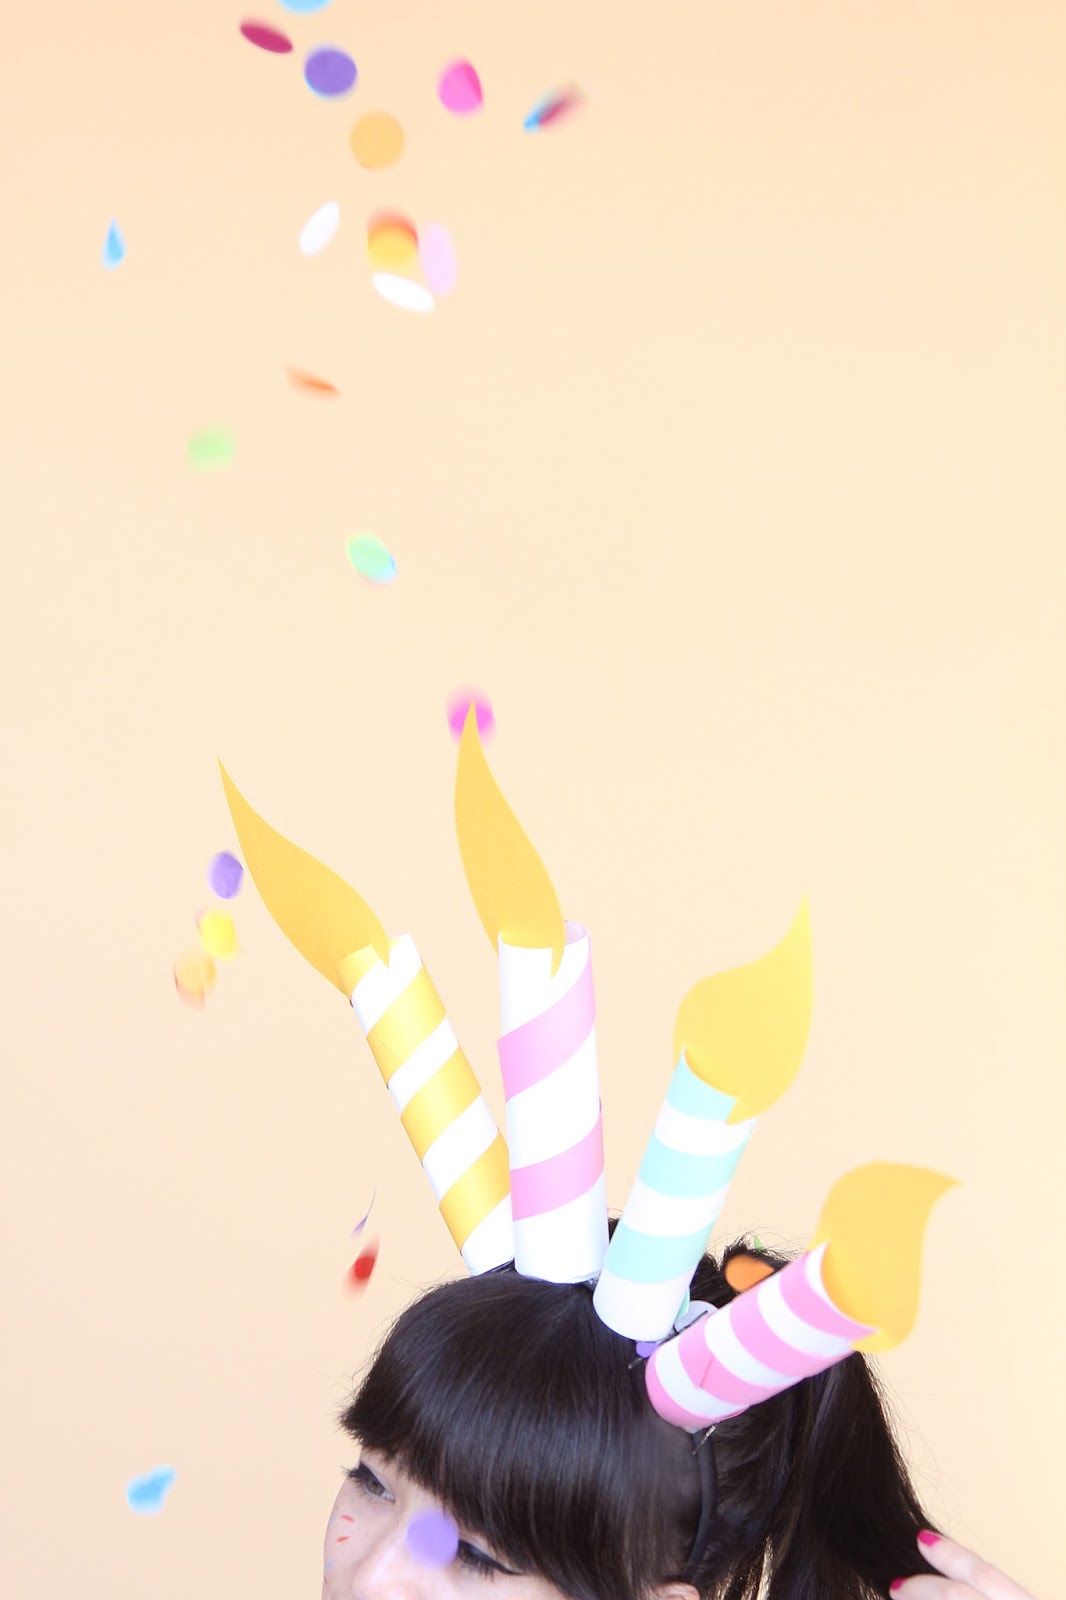
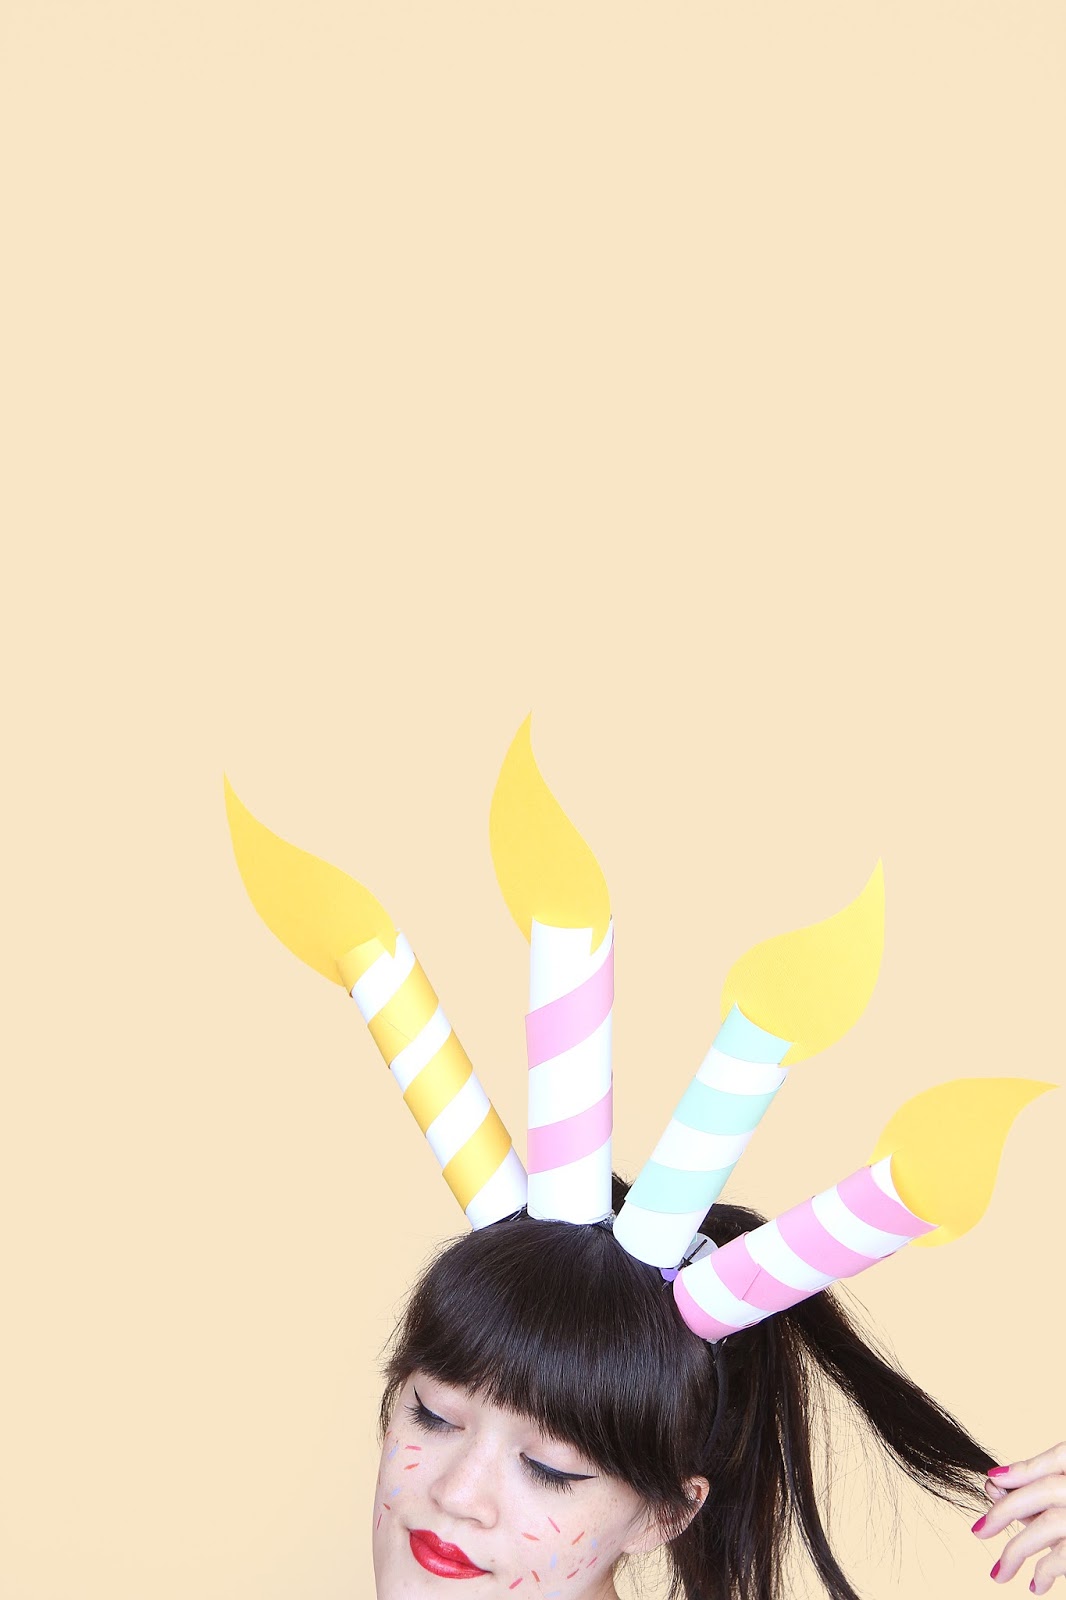
6. For the candles, roll up a piece of white paper and glue closed. Cut out a long strip out of colored construction paper about 1″ wide. Glue this in a spiral around the white roll you just made. Cut a flame shape out of yellow paper and glue to the top of the candle stick. Hot glue the whole thing to a headband.
I drew sprinkles on my cheeks with colored eyeliner pencils too, for added birthday cake effect.

Which costume has been your favorite so far?! There’s only one left that I’m dying to make, and then we’ll return to our regular schedule of desserts and donuts! (Only everything will be Fall-themed now. And maybe there will be a few more Halloween posts, but we’ll see)!


4 Responses
This is so adorable! Just wondering… are you able to safely pass through the door without have the cake in tiers? ><;; Apologies, that was such a horrid pun.
justyouraveragepo.blogspot.com
Haha I love your pun! I made sure mine would fit through my door, so just measure your door or look up average door sizes and you should fit through, piece of cake! 🙂