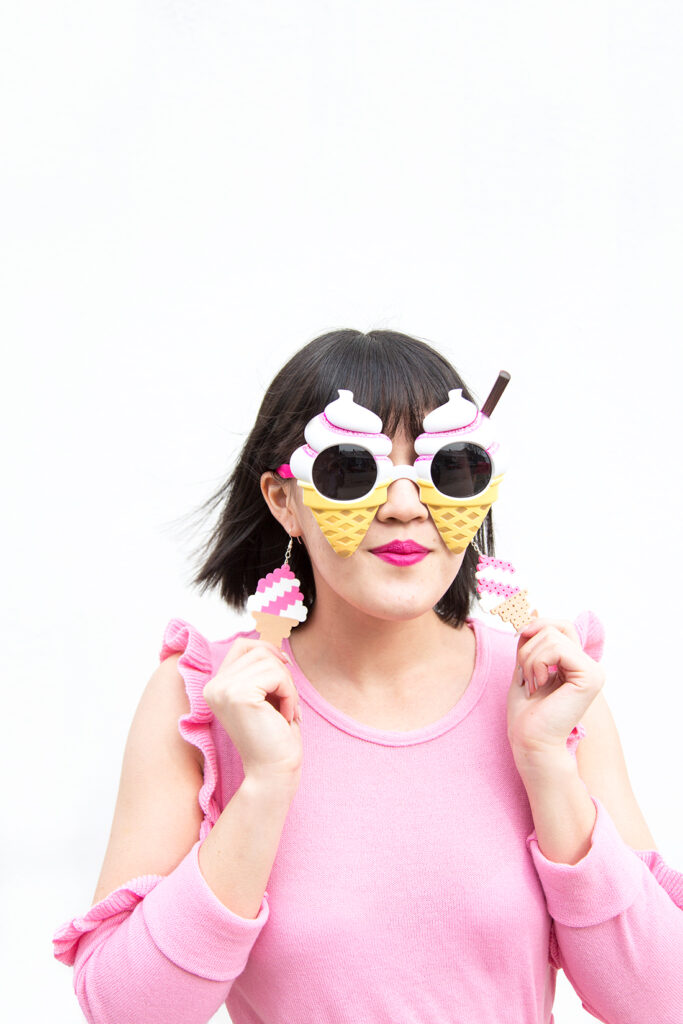

Do you guys remember perler beads?! I used to make things with them ALL of the time when I was younger; mostly while having a crafting party with my friends and listening to Britney Spears. Ha! Wellll, I recently bought some “just because” (it’s such a good activity to do while watching TV), and I thought it would be fun to use them in a DIY project. Statement earrings have been HUGE (literally 😉 ) lately and I was seriously lusting after the idea of owning giant rainbow earrings. Now here’s where the perler beads come in because we’re going to be making perler bead statement earrings!
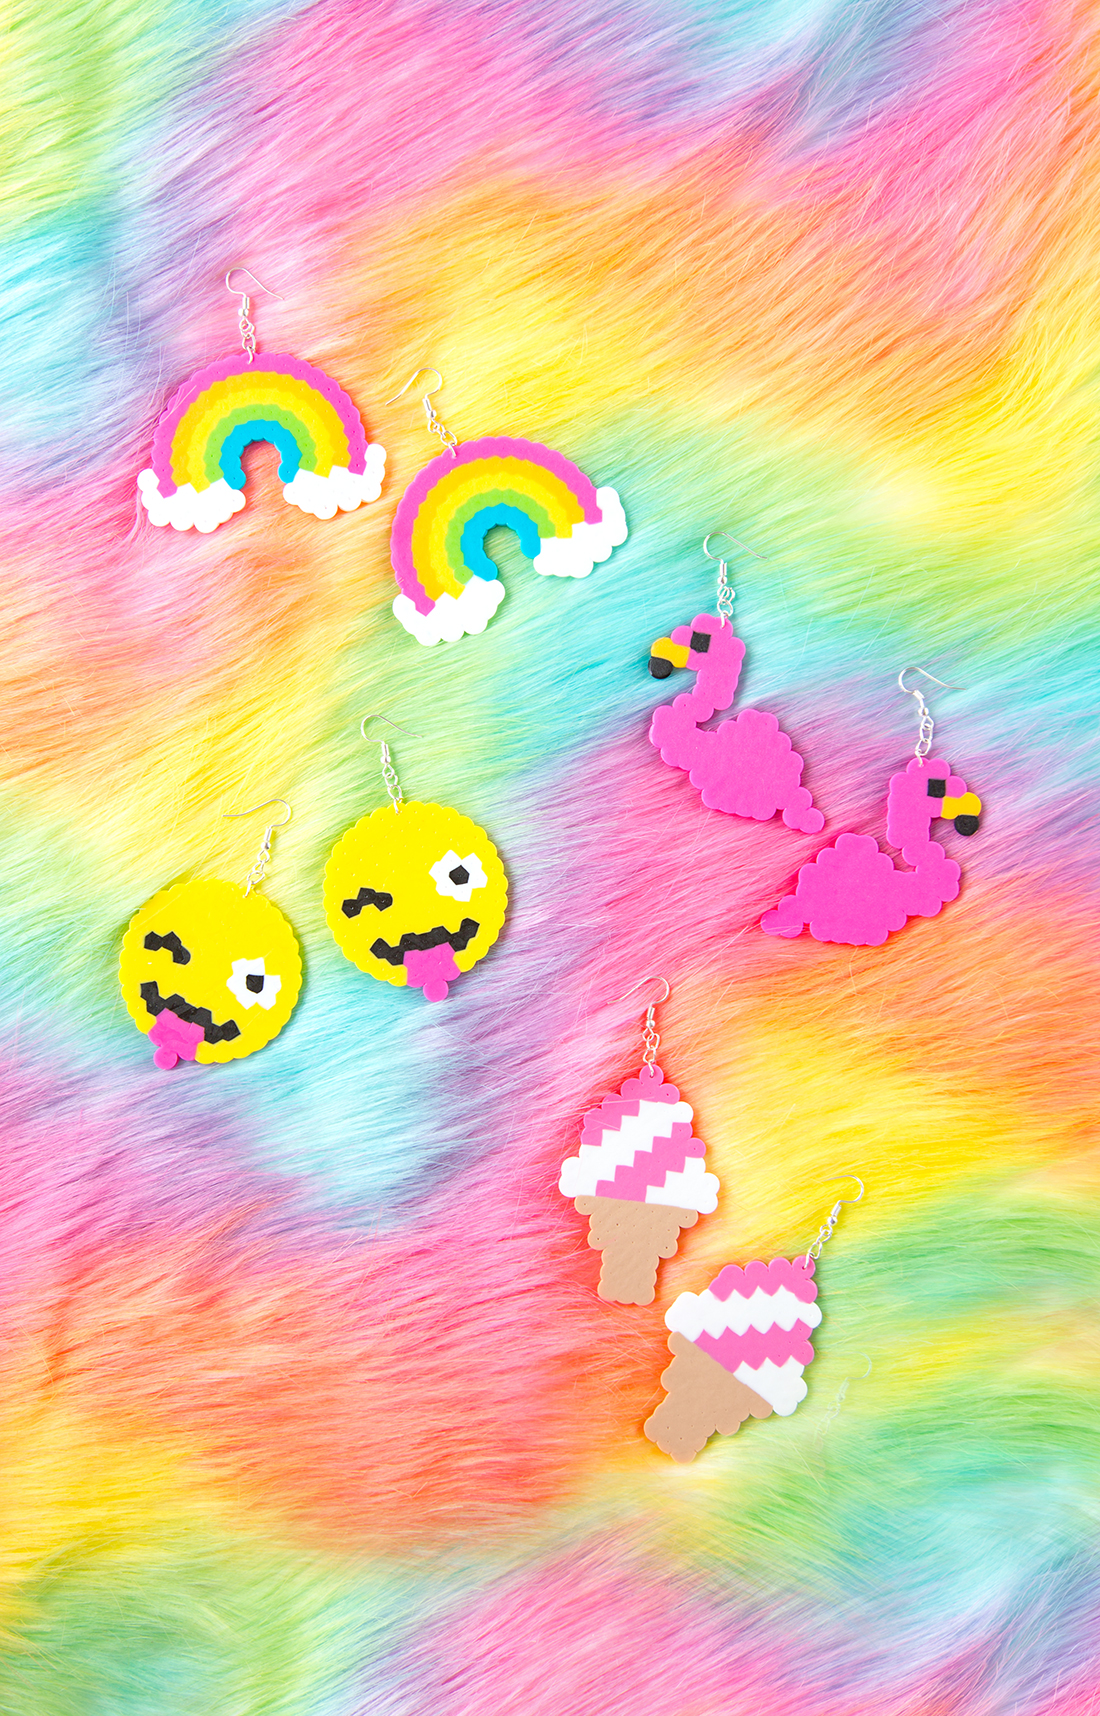
We have four easy designs that you can make, but it takes hardly any time to come up with your own design too if you don’t like any of these. Hamburgers and donuts are the next shapes on the list of things to make into earrings. What else would you guys want in giant earring form?! Have fun with this one!!!!


Perler beads (here)
Perler bead boards (here)
Iron
Parchment paper
Earring back and earring chain
Pliers or jewelry tools
Thick needle


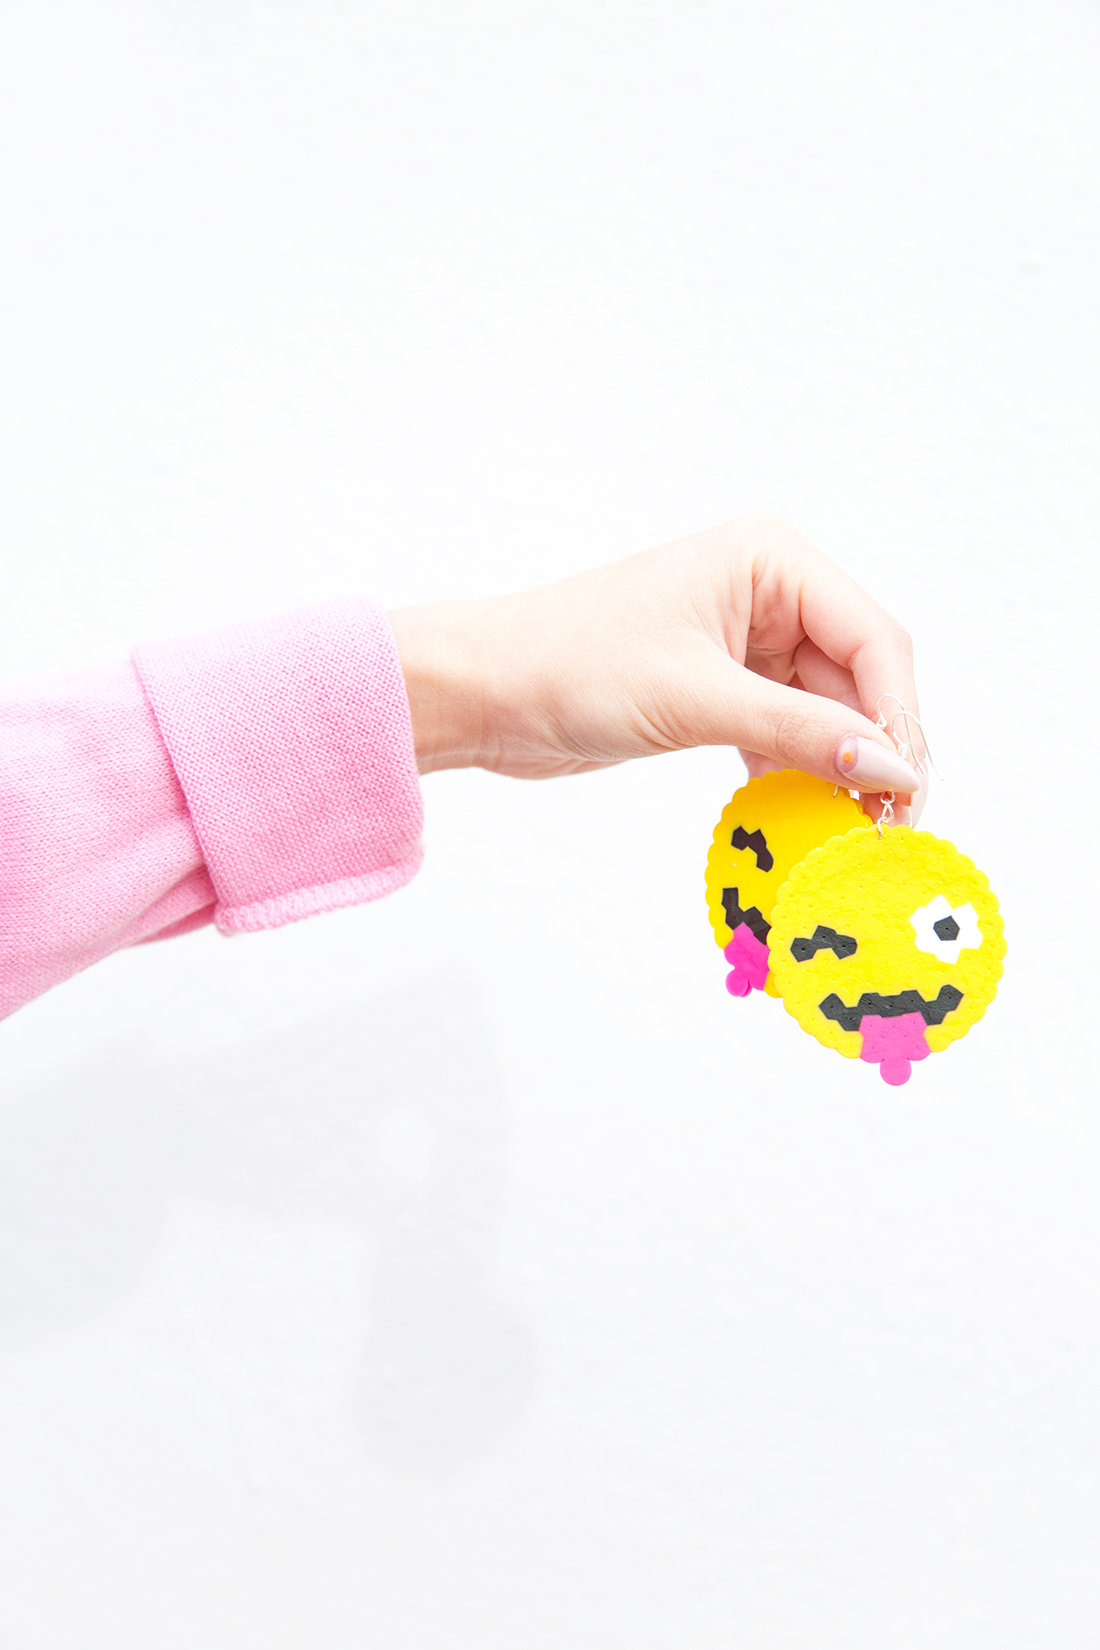
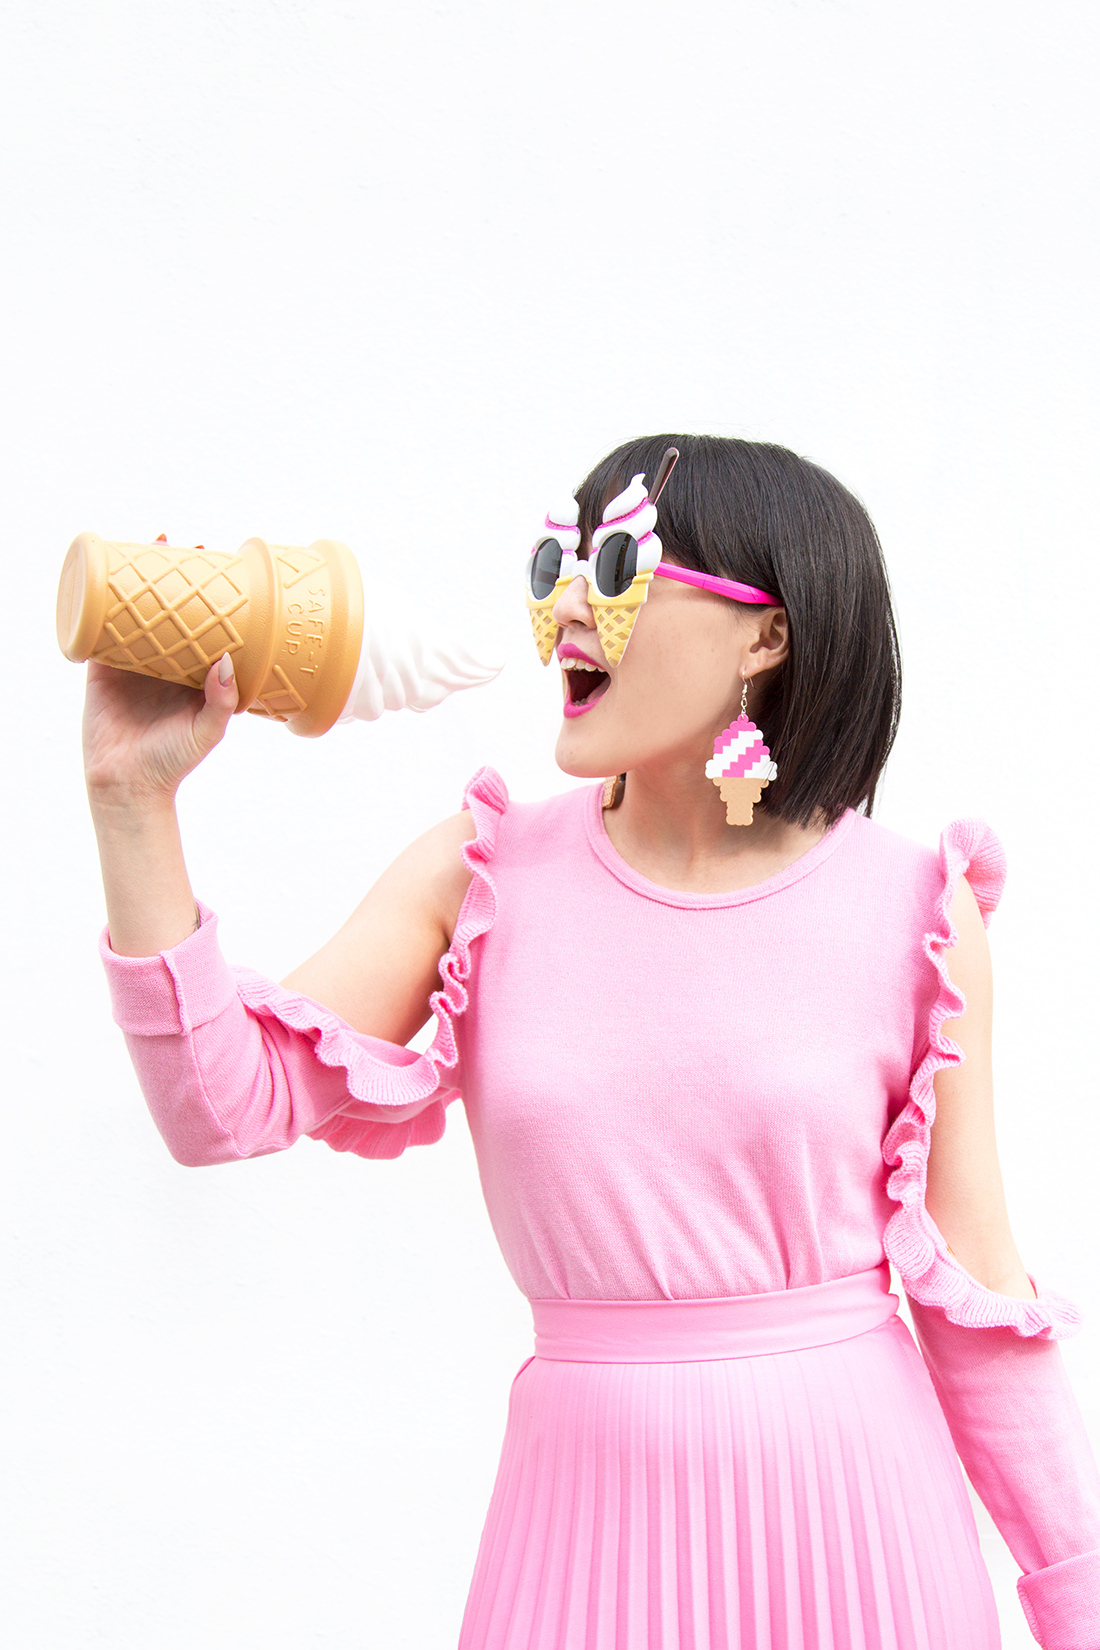
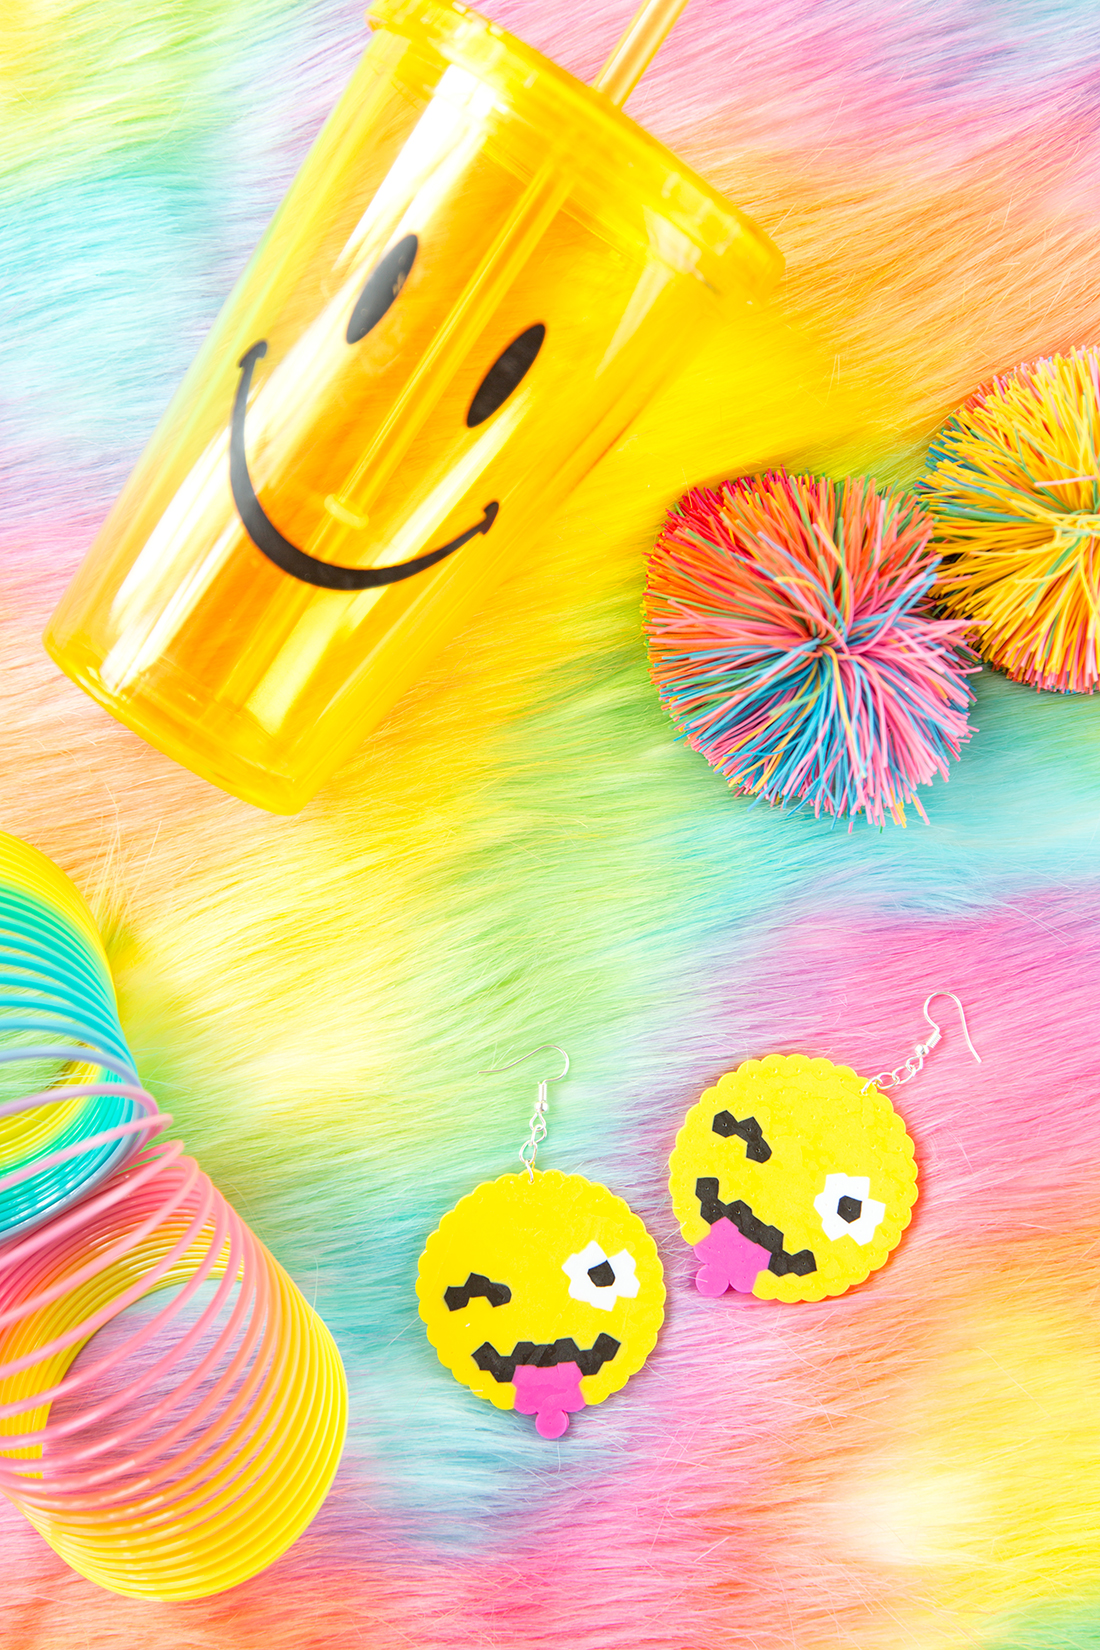
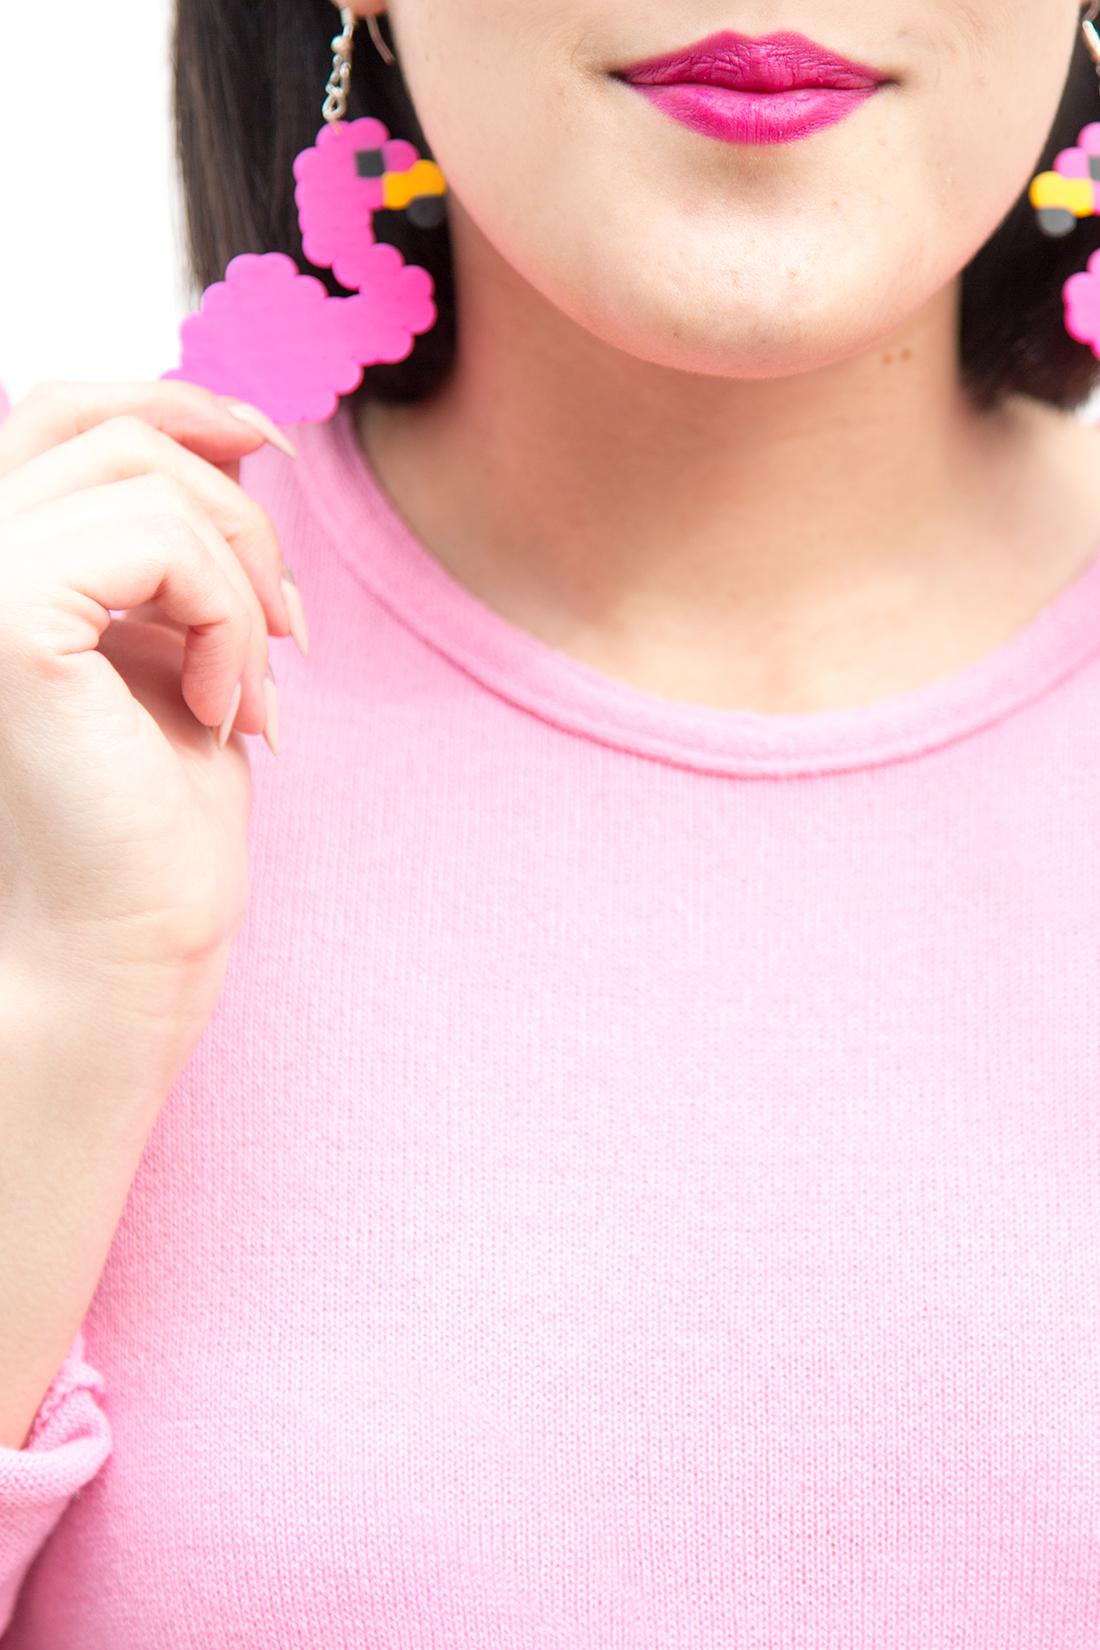
1. Place your perler beads on one of the boards. You can use our creations as a pattern, or come up with your own designs. For the smiley face and rainbow, we used the circle board. For the ice cream cone and flamingo, we used the square board.
2. Once your design is finished, place the sheet of parchment paper over it and iron on a medium setting. When ironing, I waited until the circles in the beads disappeared completely. But make sure not to over-iron or you will end up melting the whole design.
3. Finish ironing the first side and place a flat object on top of it to ensure that it stays flat while it cools.
4. When the design has cooled completely, flip it over and iron the other side as well. Repeat the above steps and allow for the whole piece to cool.
5. Next you are going to poke a small hole in the top of the design with a needle. Using pliers, attach a chain and earring back to the top of the perler design. Close off the chain and you’ve got yourself a fun pair of statement earrings!
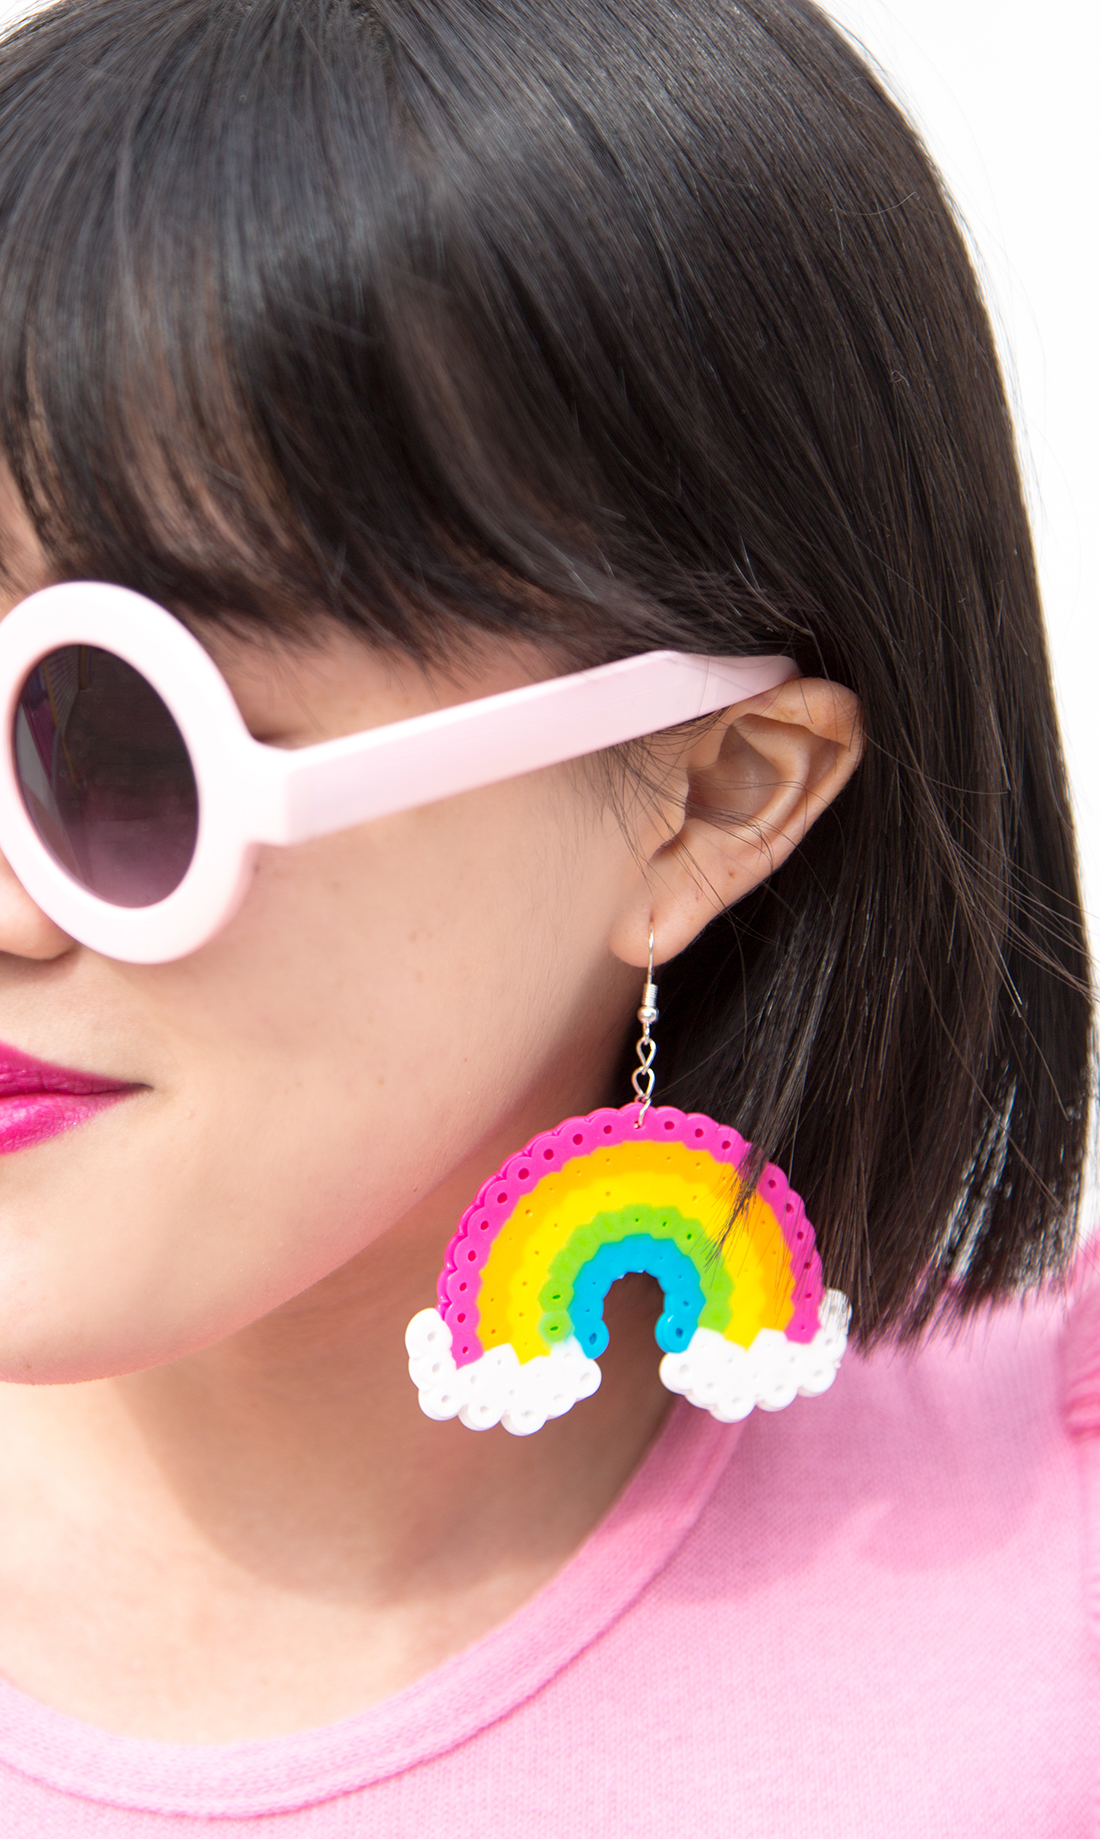
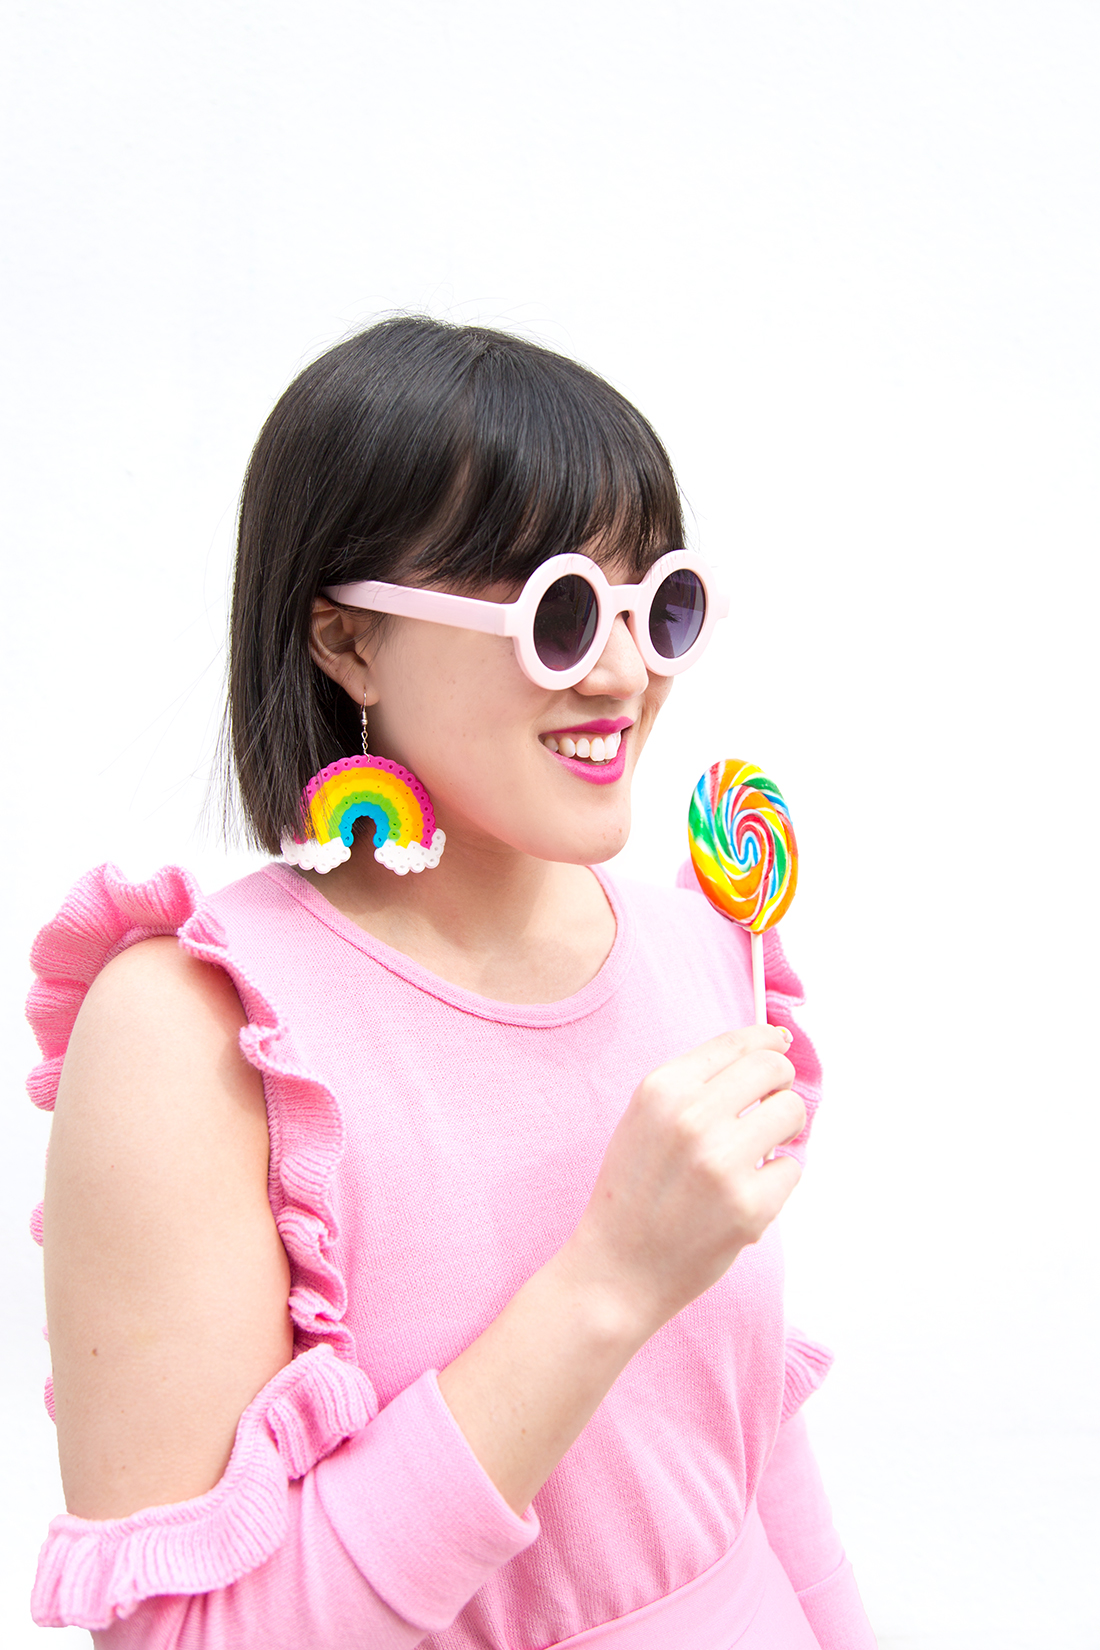
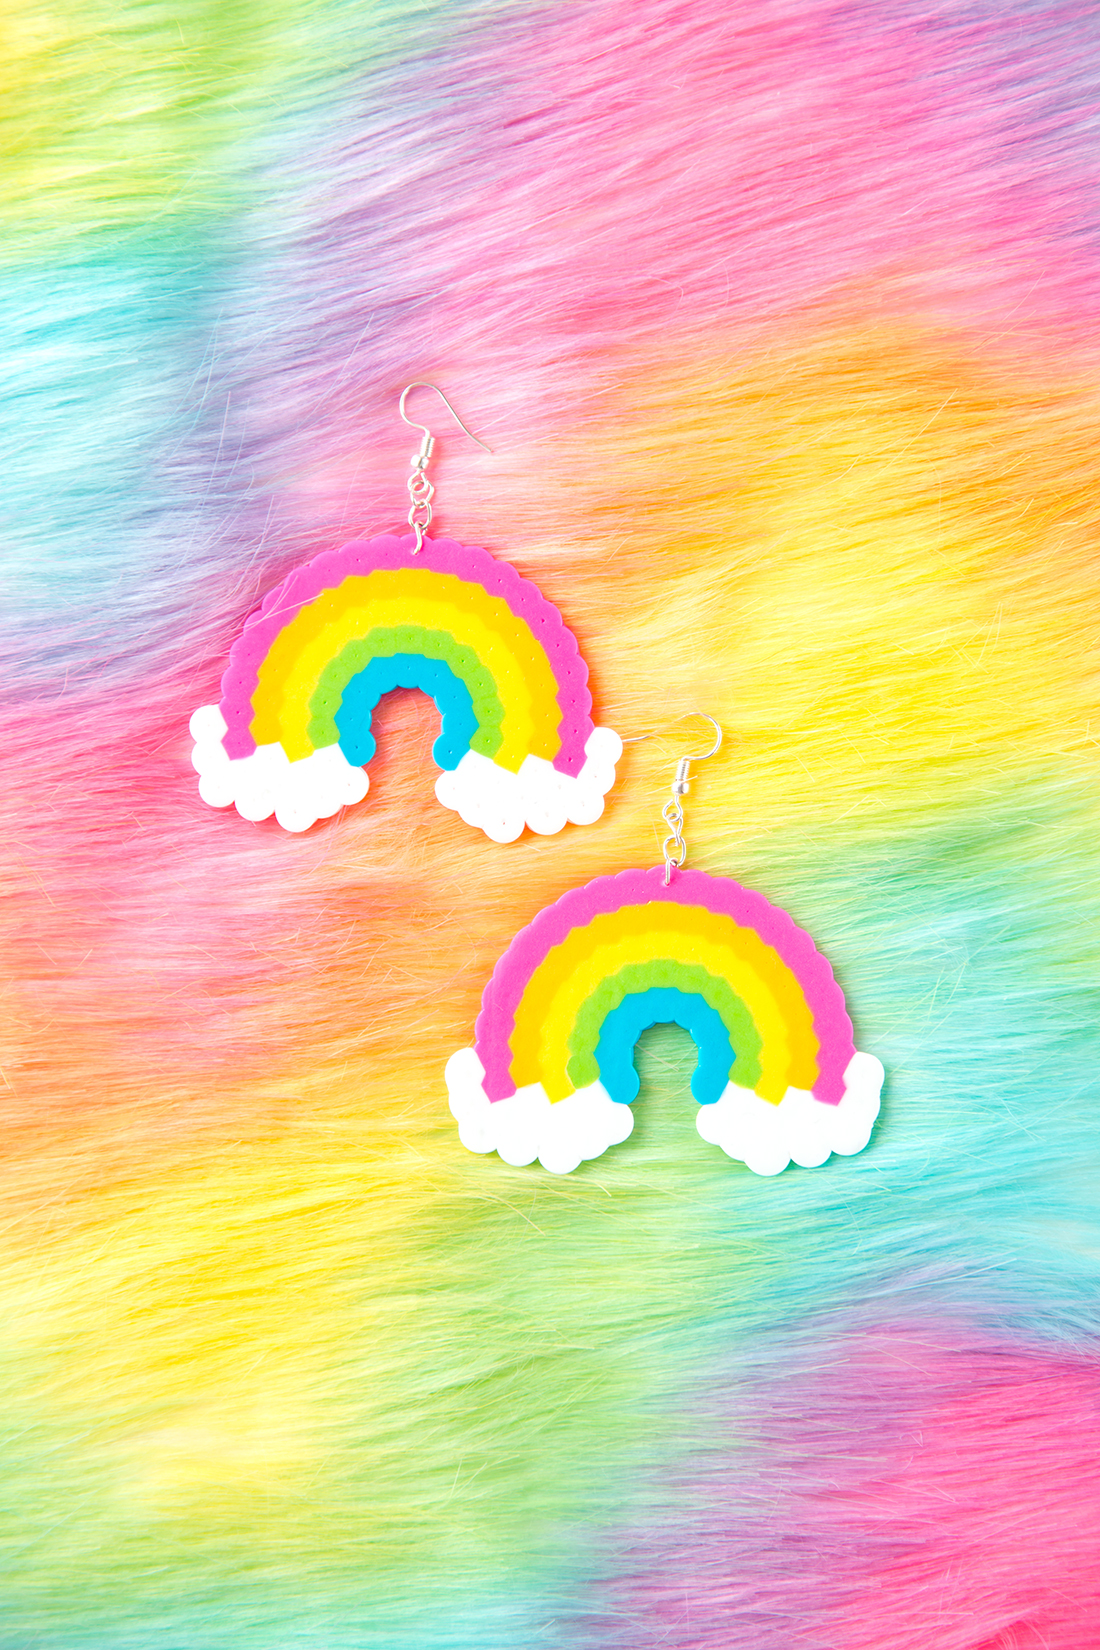
I have been wearing the rainbow ones non-stop since we made them, and I’ve gotten SO many compliments! And I’m always excited when I get to use something I learned from my childhood in my projects now. That little bit of nostalgia makes them even better! Which ones are YOUR favorite?!


3 Responses
Everything is super cute!! <3
Love your ice cream glasses and the ruffles details! I love everything :))
http://www.bigdreamerblog.com