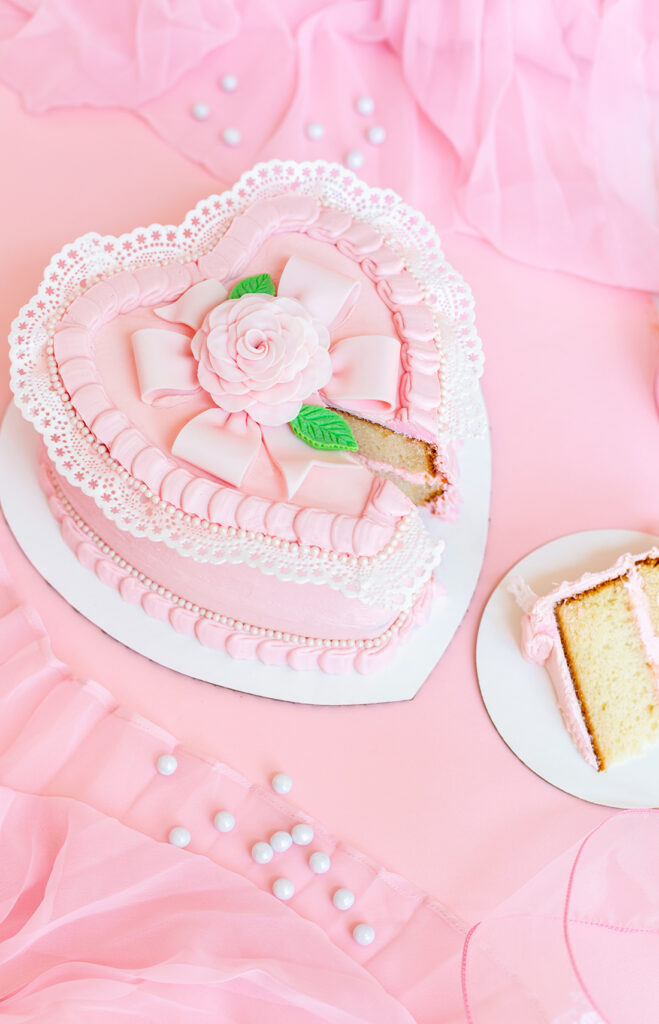
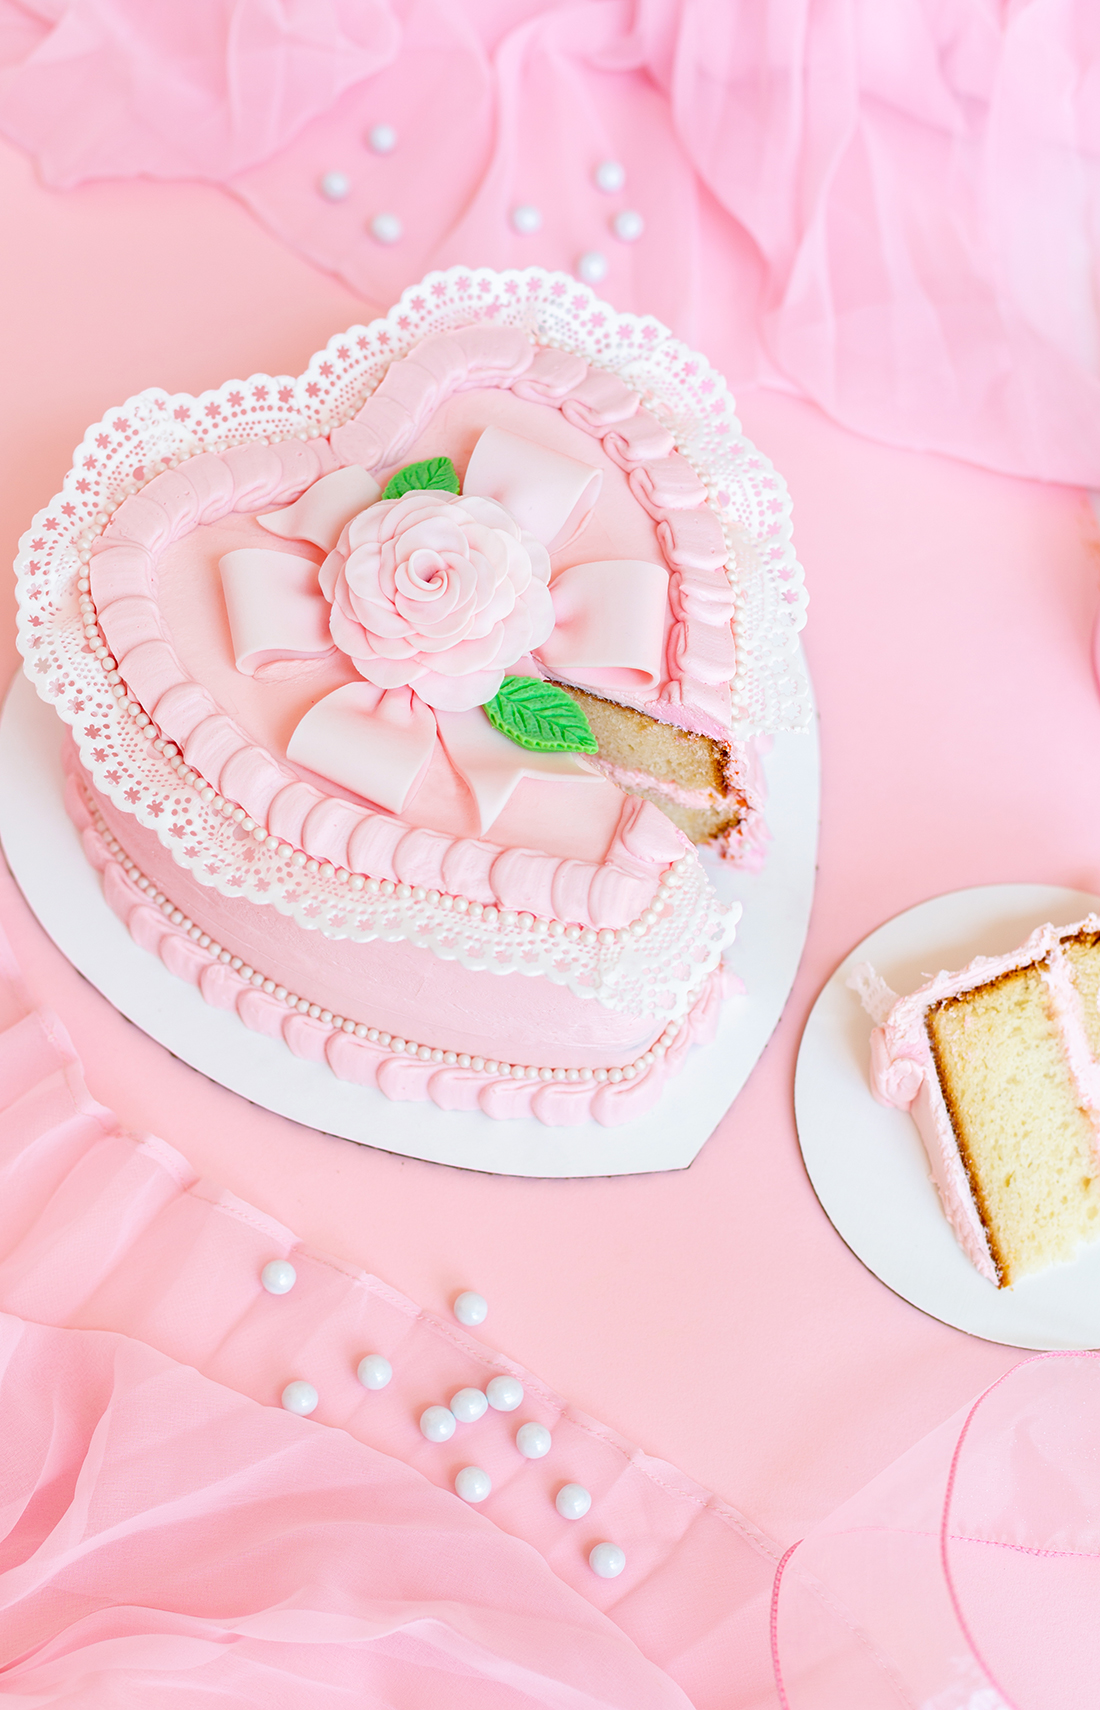
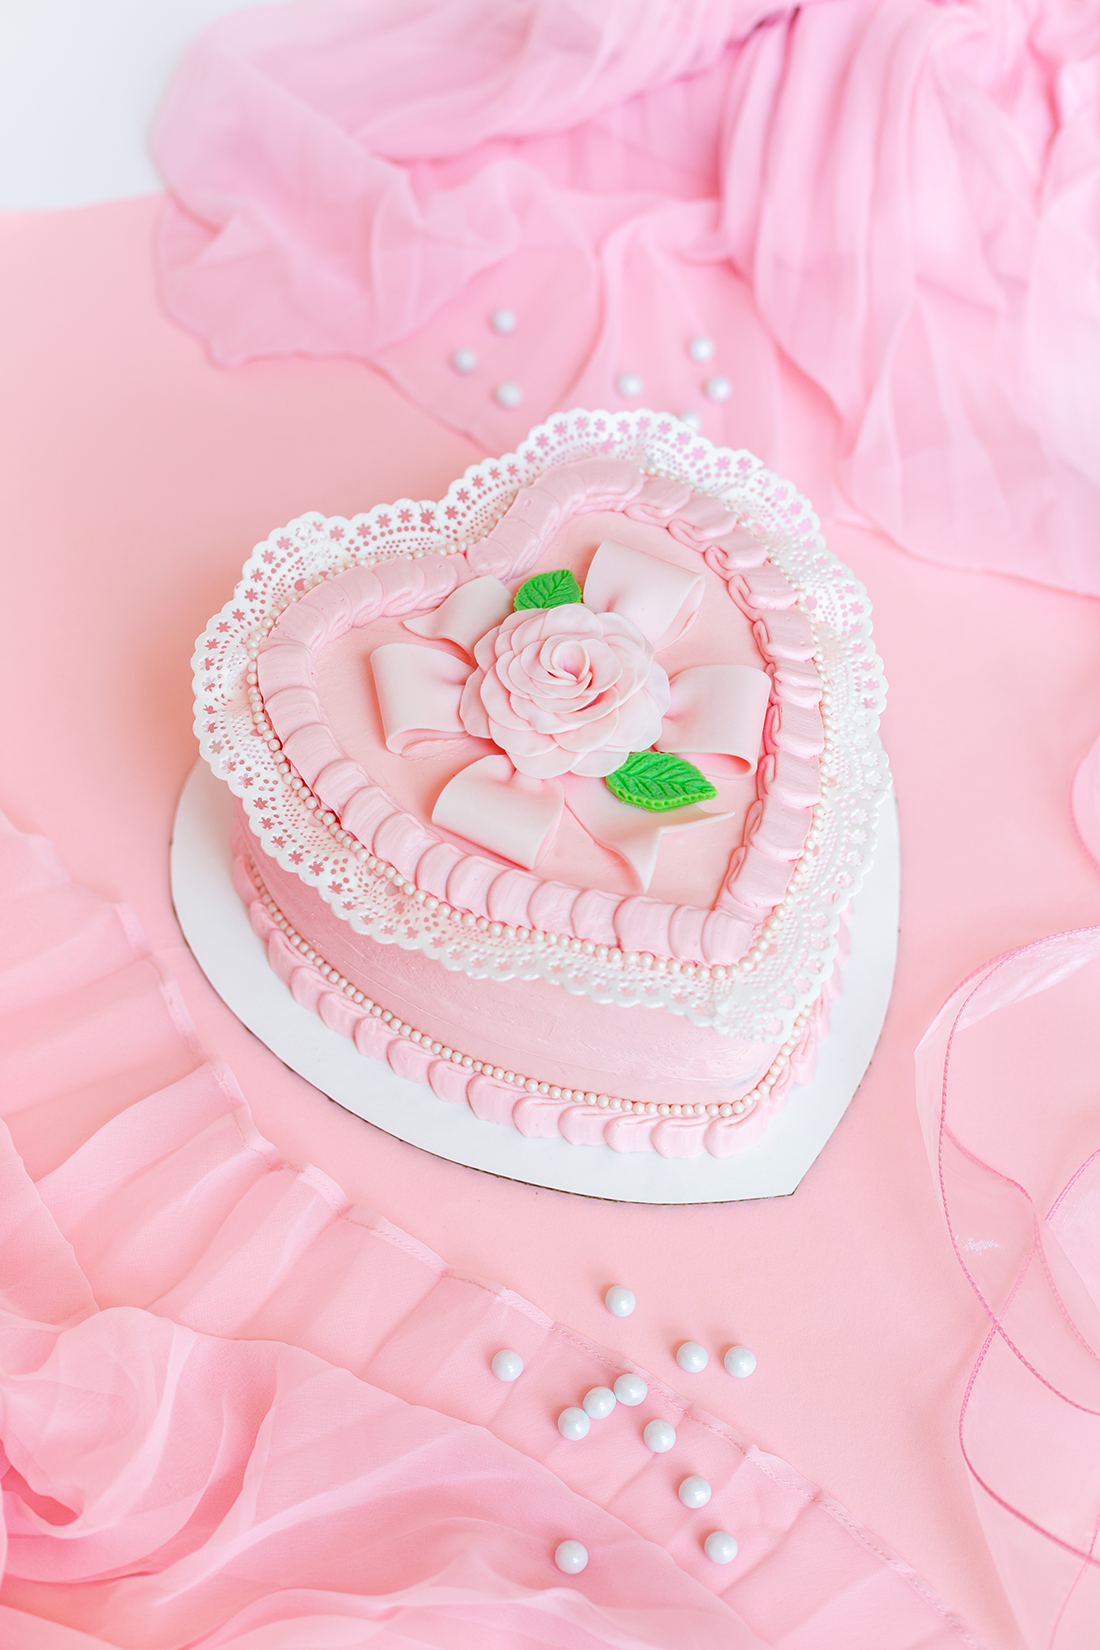
Our first Valentine’s Day project is here!!! We decided that our first cake of the year was going to be one that would really reach your hearts, and your stomachs. Ha! I’ve had this photo saved for a long time now of a vintage Valentine’s candy heart box with ornate lace and ribbons and just about every embellishment you could imagine, and have been trying to figure out how I could use it as inspiration to give the vintage candy heart box a bit of a comeback. When I realized how long it has been since I baked a themed cake, I decided that this was the perfect opportunity! Not to mention, I’ve seen so many gorgeous heart shaped cakes floating around on Instagram lately and I definitely wanted to try to put my own spin on one!

2 heart shaped cake pans
8 cups of your favorite cake mix
Your favorite buttercream frosting
Pink and green food coloring
White fondant
Rose fondant cutters
Small leaf fondant mold
Edible cake lace (I made my own, but it’s much easier to buy some if you haven’t made it before)
Piping bags
Large ribbon piping tip

1. Bake two heart shaped cakes per the recipe you’re using. Once the cakes have cooled completely, level off the tops of the cakes.
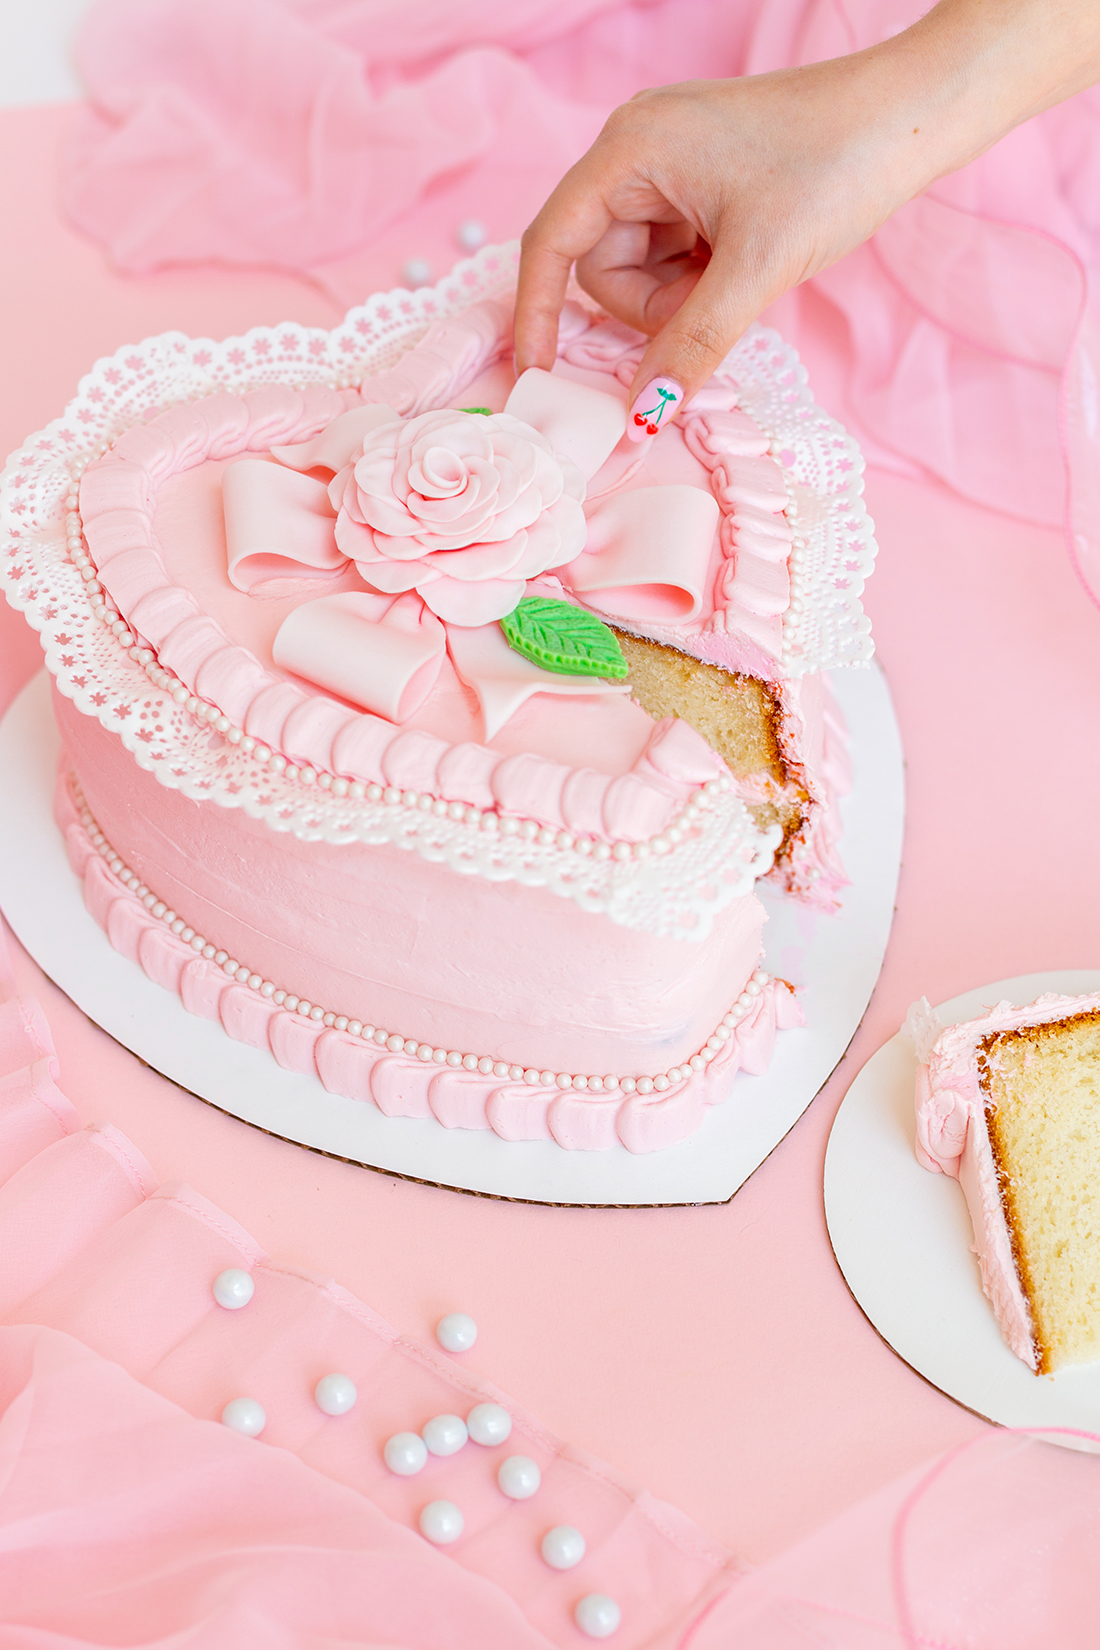
2. Color your buttercream frosting a light, rose pink. Assemble your cake and cover the outside in the pink buttercream. Place the leftover pink buttercream in a piping bag fitted with a large ribbon tip.
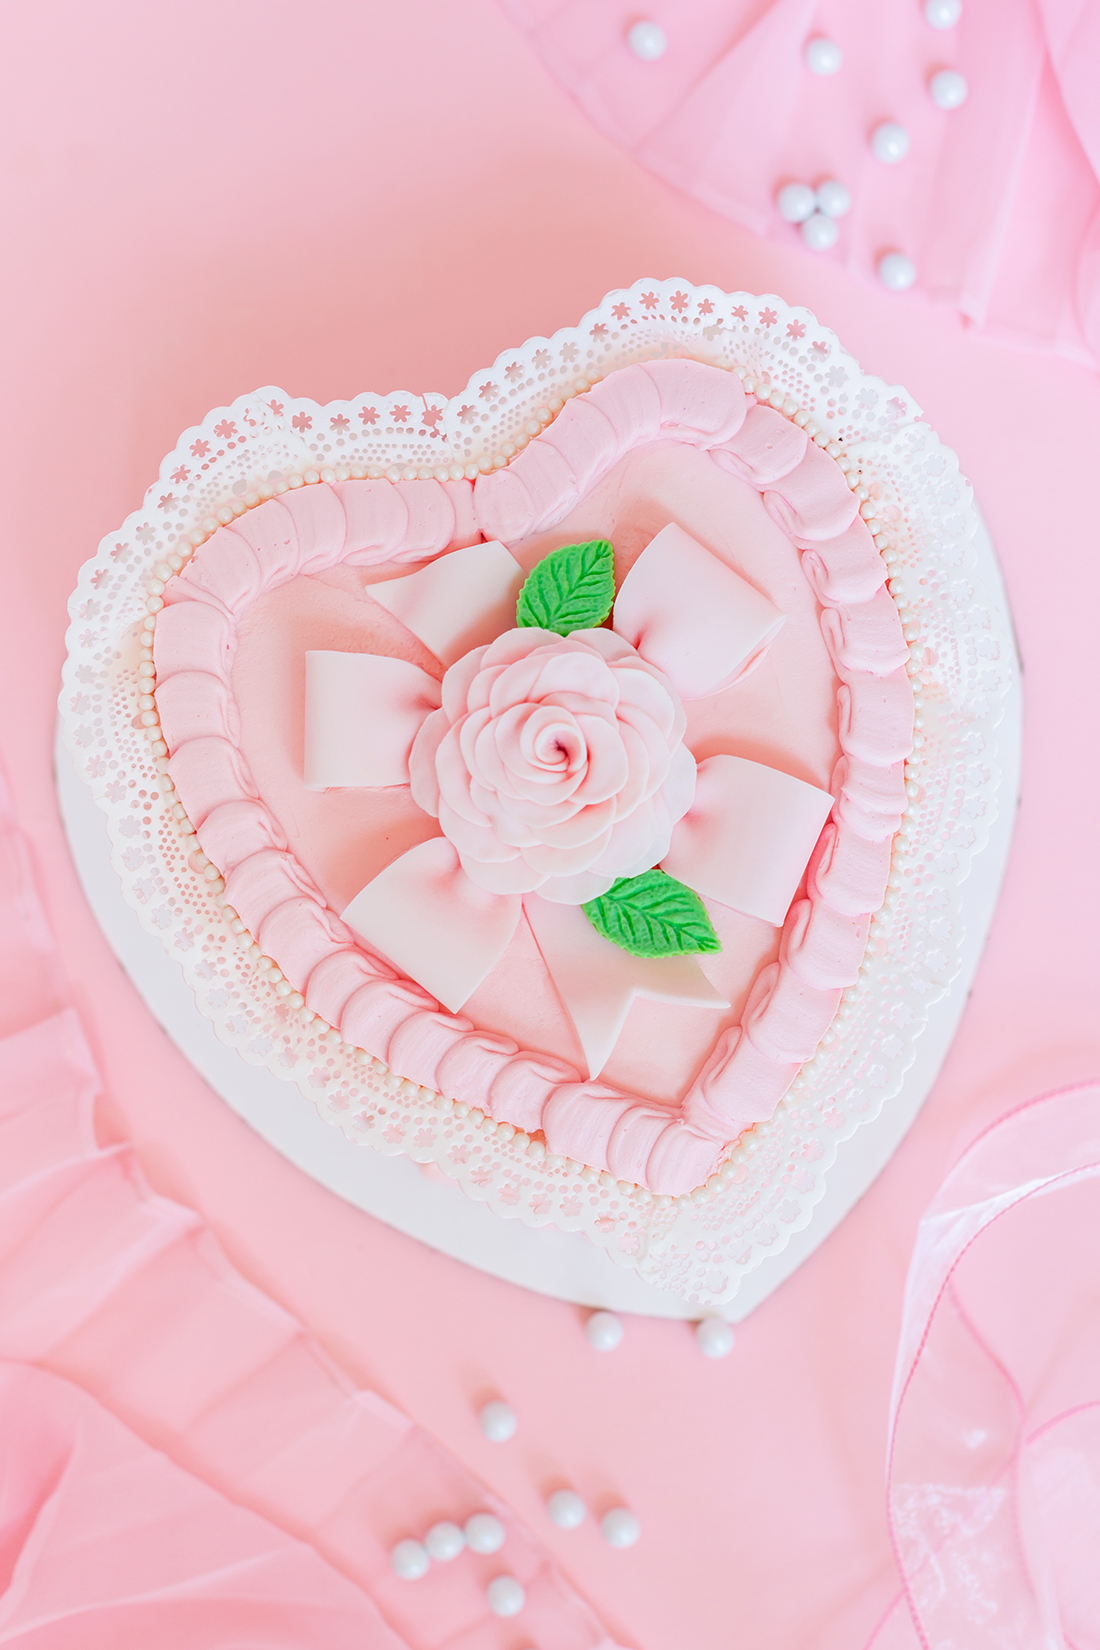
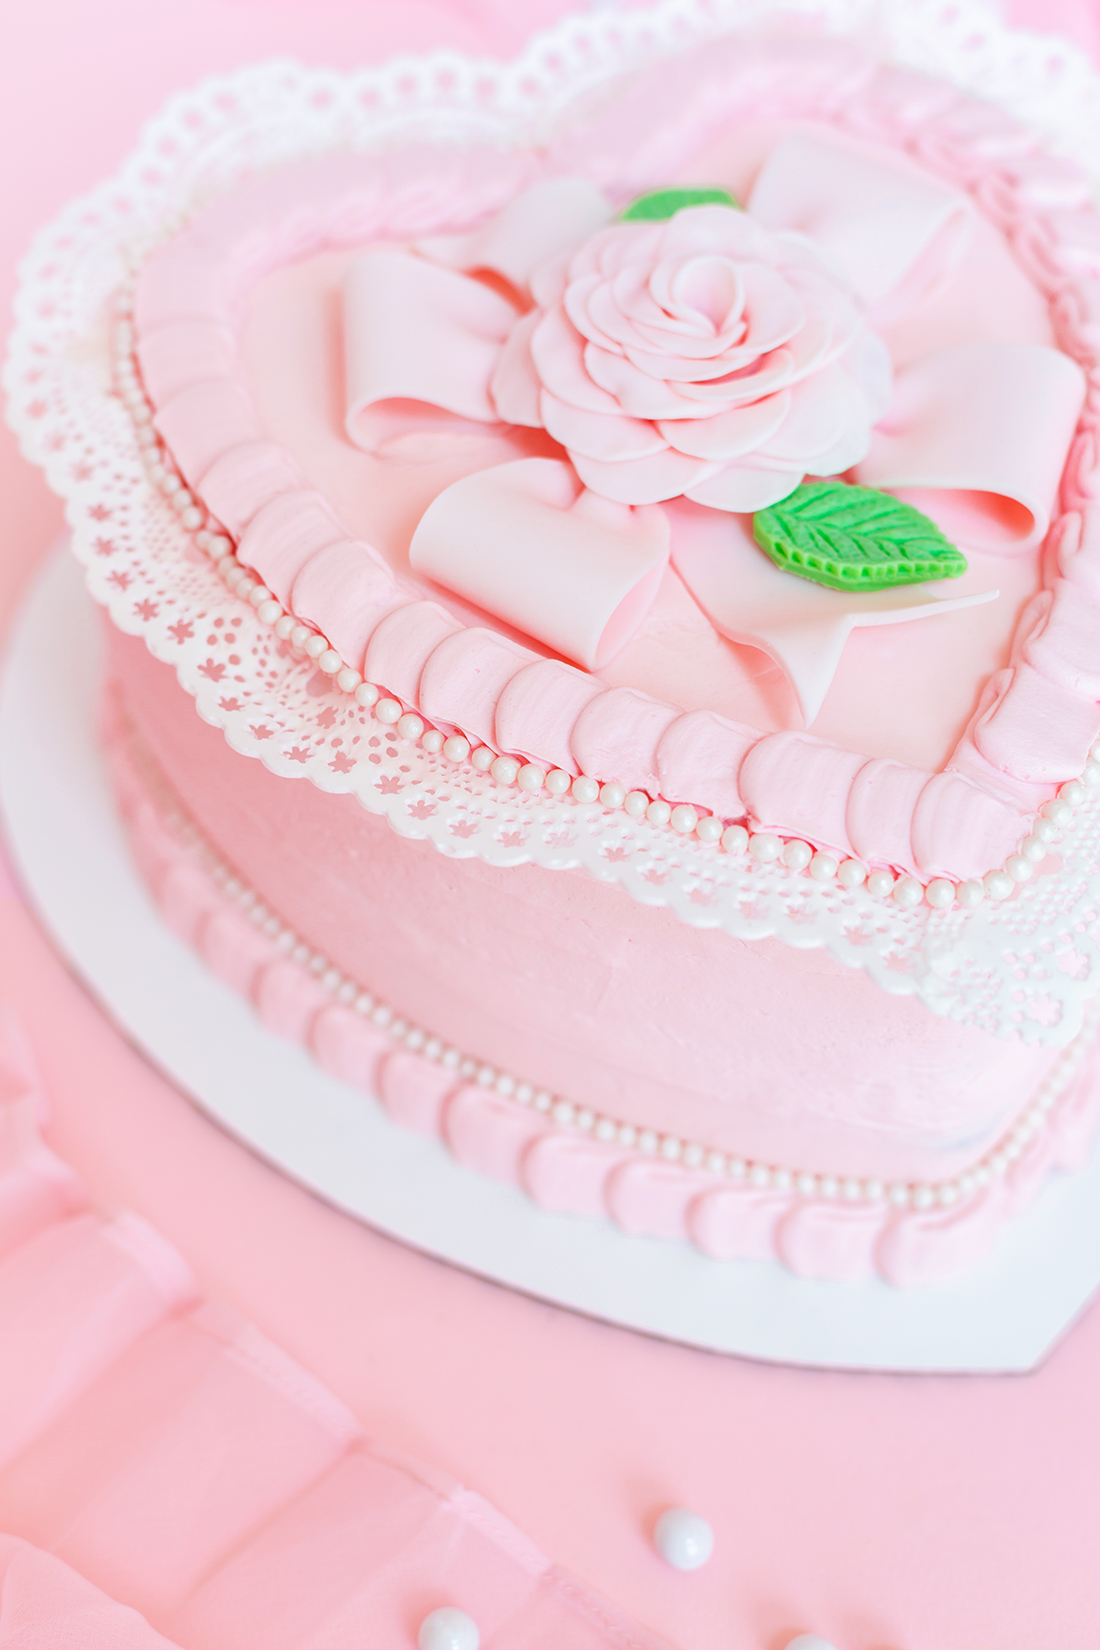
3. Line the edge of your cake with edible cake lace, making sure to press it down onto the buttercream. Once the cake lace is secure, pipe a ruffle next to the cake lace and along the bottom of your cake.
4. Hide the seam of your lace with white buttercream dots or sprinkle pearls.
5. Color a small portion of your fondant green. Press the fondant into a leaf fondant mold and cut away any excess. Set aside.
6. To make the rose and ribbon, color your fondant with the same light pink food coloring and roll it out as thin as you can without it tearing when picked up. Use the rose fondant cutters to cut out the petals and follow the instructions to form them into a rose shape.
8. For the ribbon, cut strips of fondant and pinch them together. I used a small wooden dowel to keep the shape in the folds of the ribbons while they hardened. When the fondant has dried completely, place the rose, leaves, and ribbon in the center of your cake!
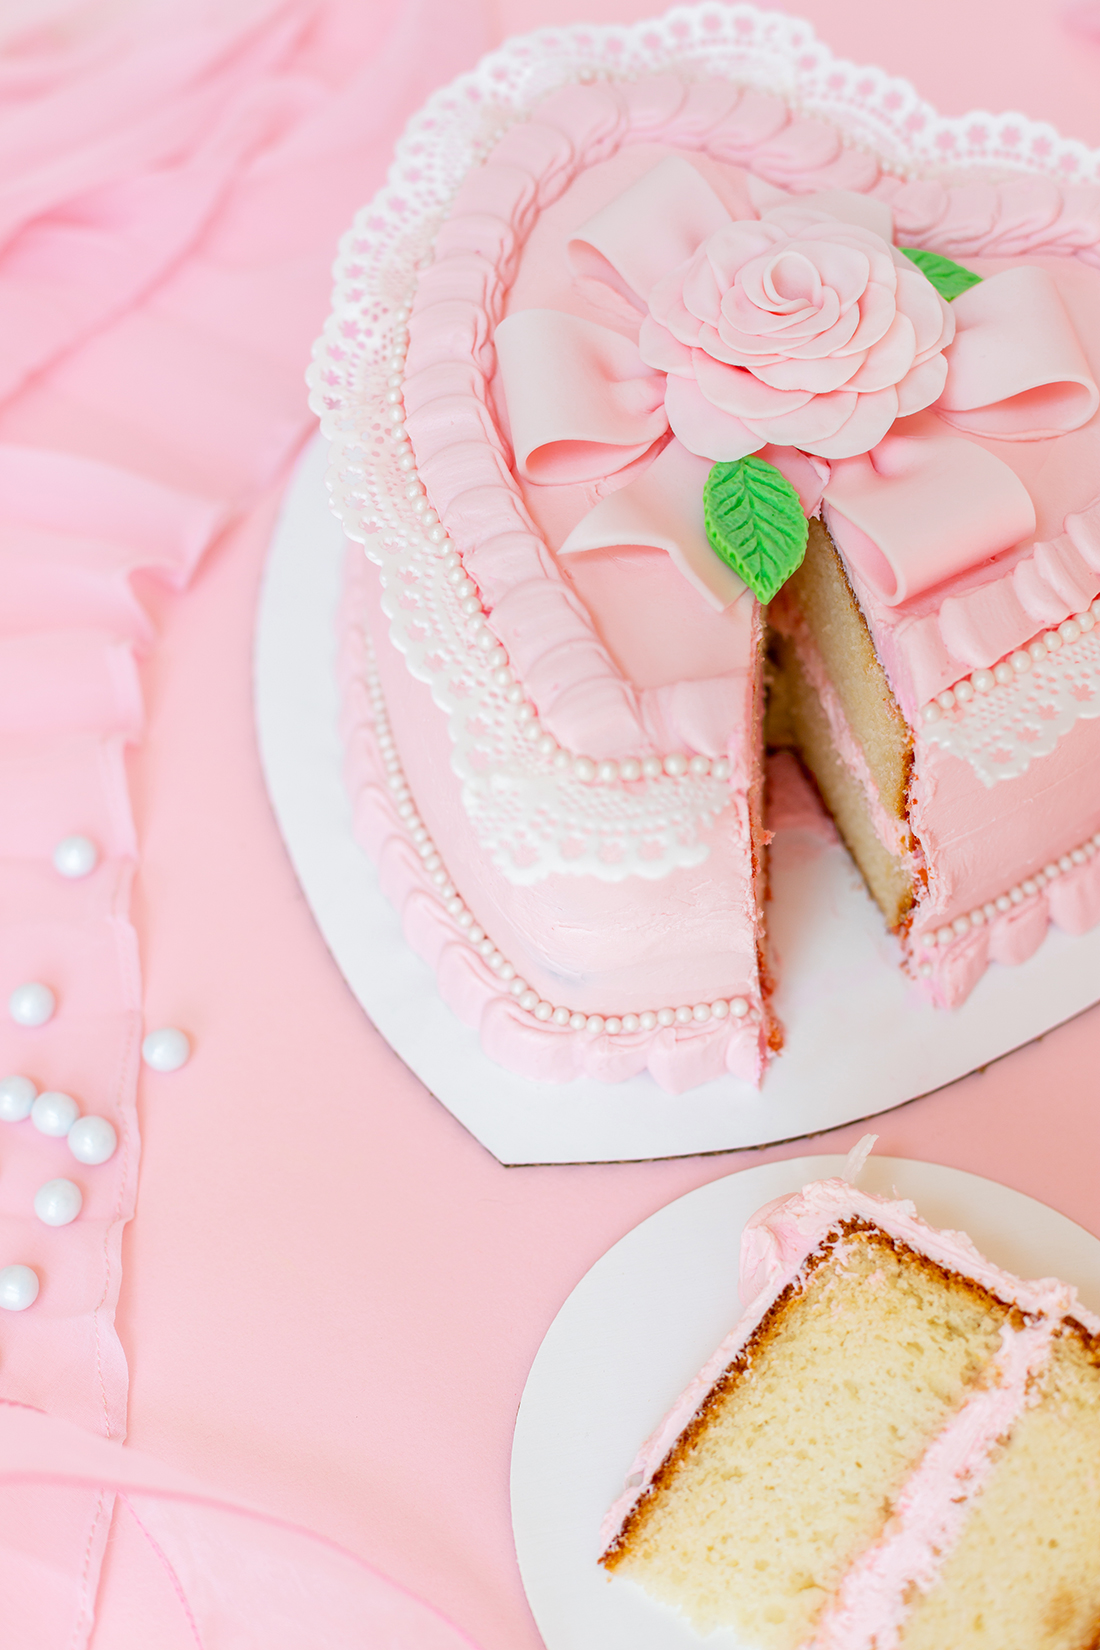
I’m dying to make more now in other pastel colors! I’m thinking I should make some mini versions for Valentine’s Day! It feels so good to be baking again, and I hope this cake inspires you to hand out a Valentine to your favorite person. I know I’ll be sharing a slice of this with my friends at our Galentines party this year!


