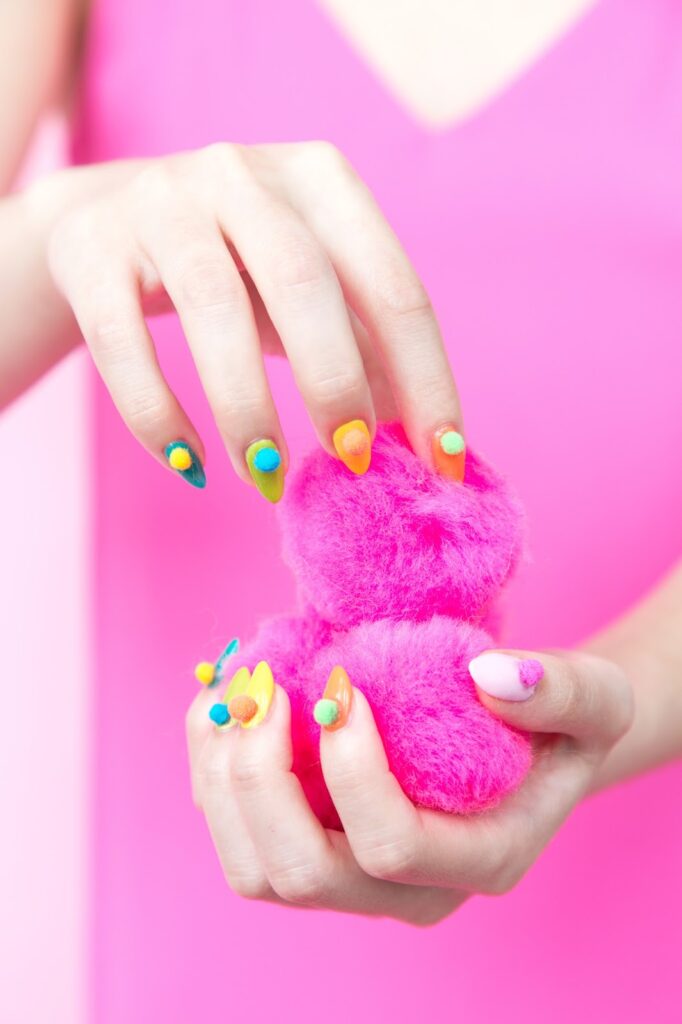

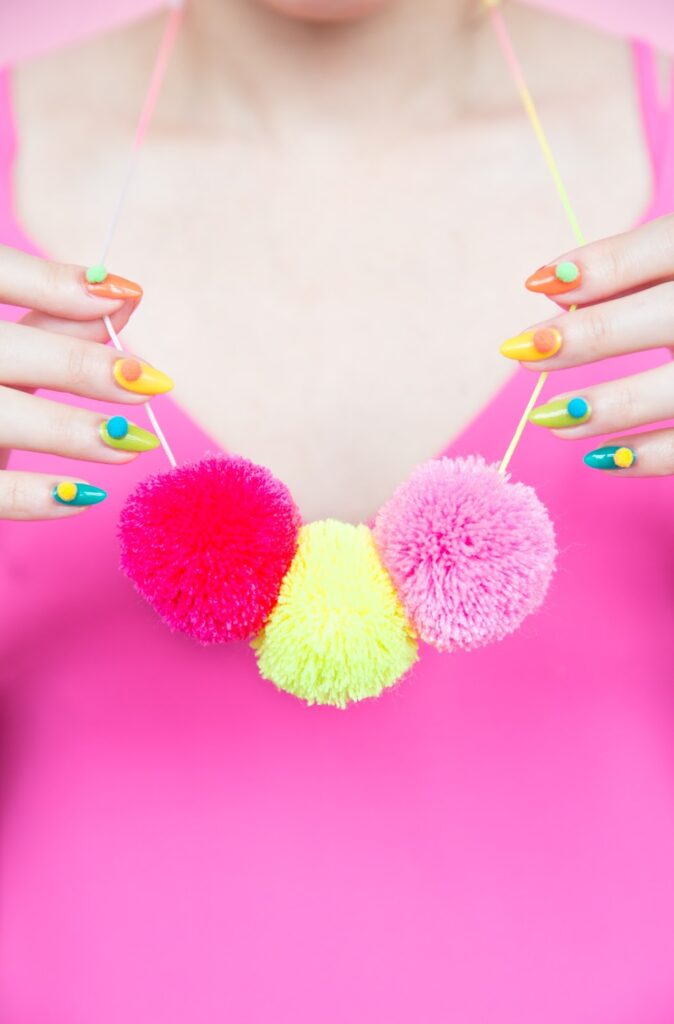
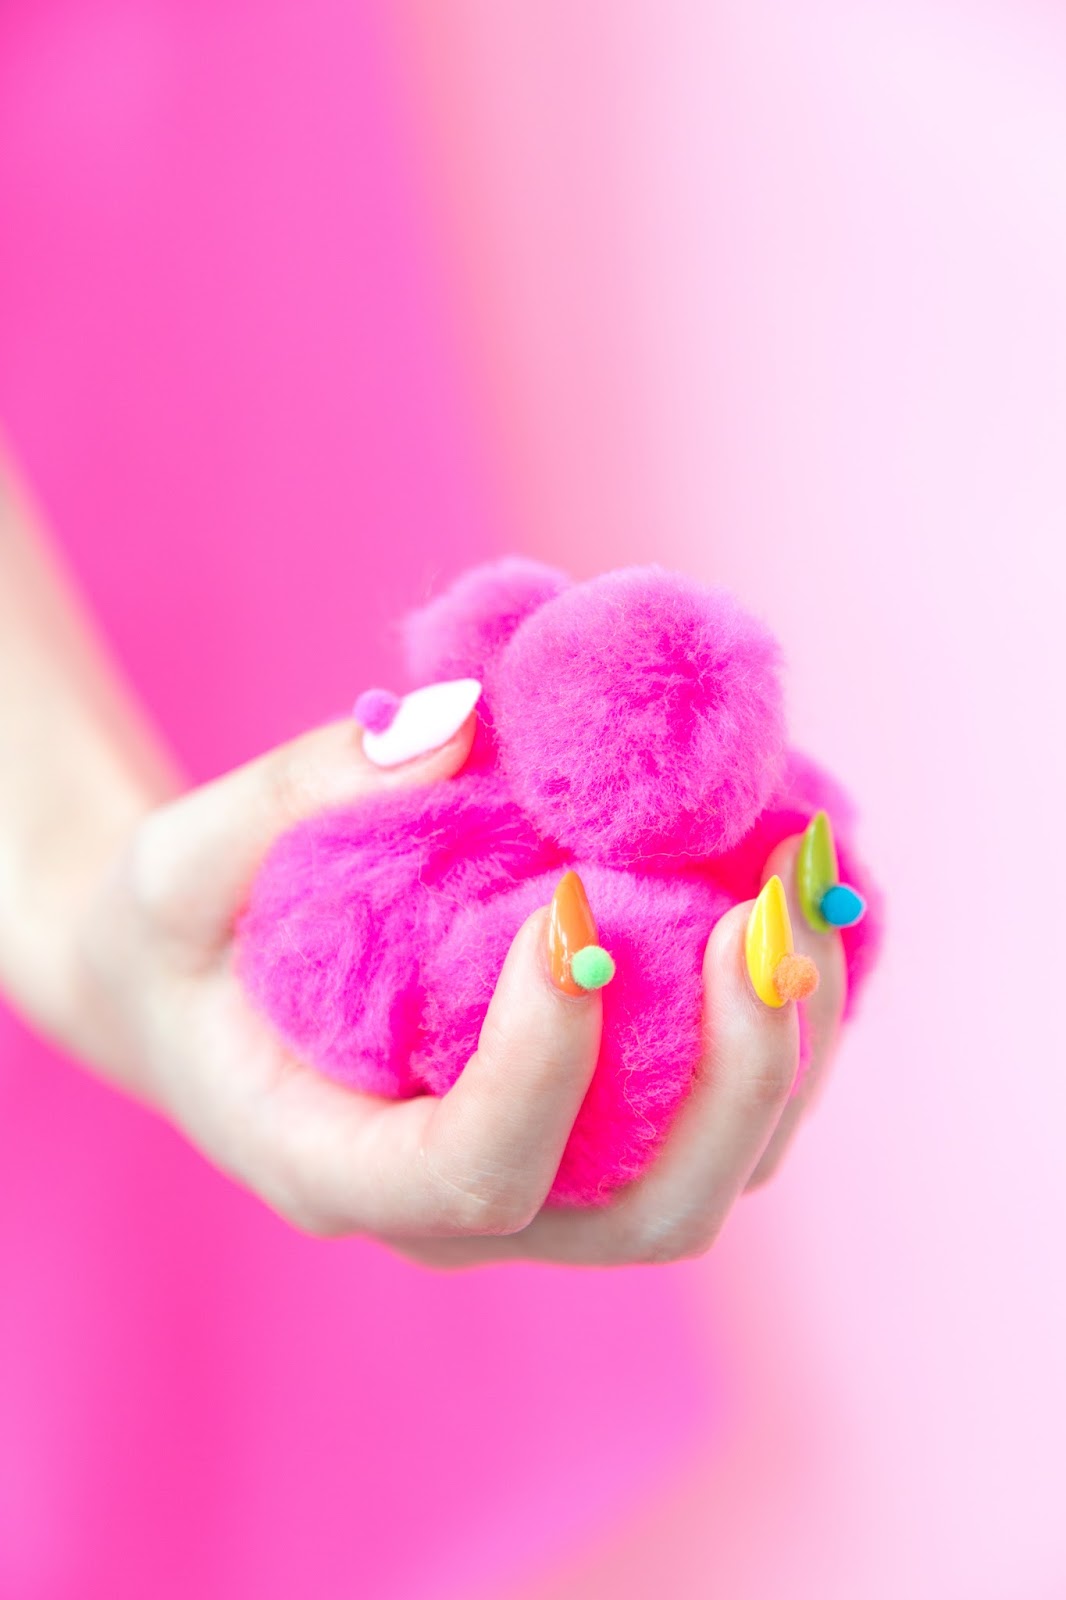
Some of my favorite types of projects to show you are the nail related ones, so today we’re showing you how do a DIY pom pom manicure! And although this might not be the most practical manicure for everyday wear, think about how much fun it would be for an event or a birthday party. I mean, just look at how cute and tiny those pom poms are. Ha! And before we get all of the “but how do you wash you hands?!” questions, you can totally just wash your hands like normal; these pom poms are small enough that they dry out again in seconds! I don’t think it’s possible to not have fun all day when you have tiny pom poms on your nails!!

Top coat
Base coat
Color polish of your choosing
Mini pom poms (I got mine at Michaels)
Nail glue
Tweezers

1. Prep your nails by pushing back cuticles, filing and shaping nails, and removing any previous polish.
2. Apply an even base coat over the nail and allow to dry. Once that is dried, apply the colored polish on all of your nails
3. Apply a top coat and allow to dry completely.
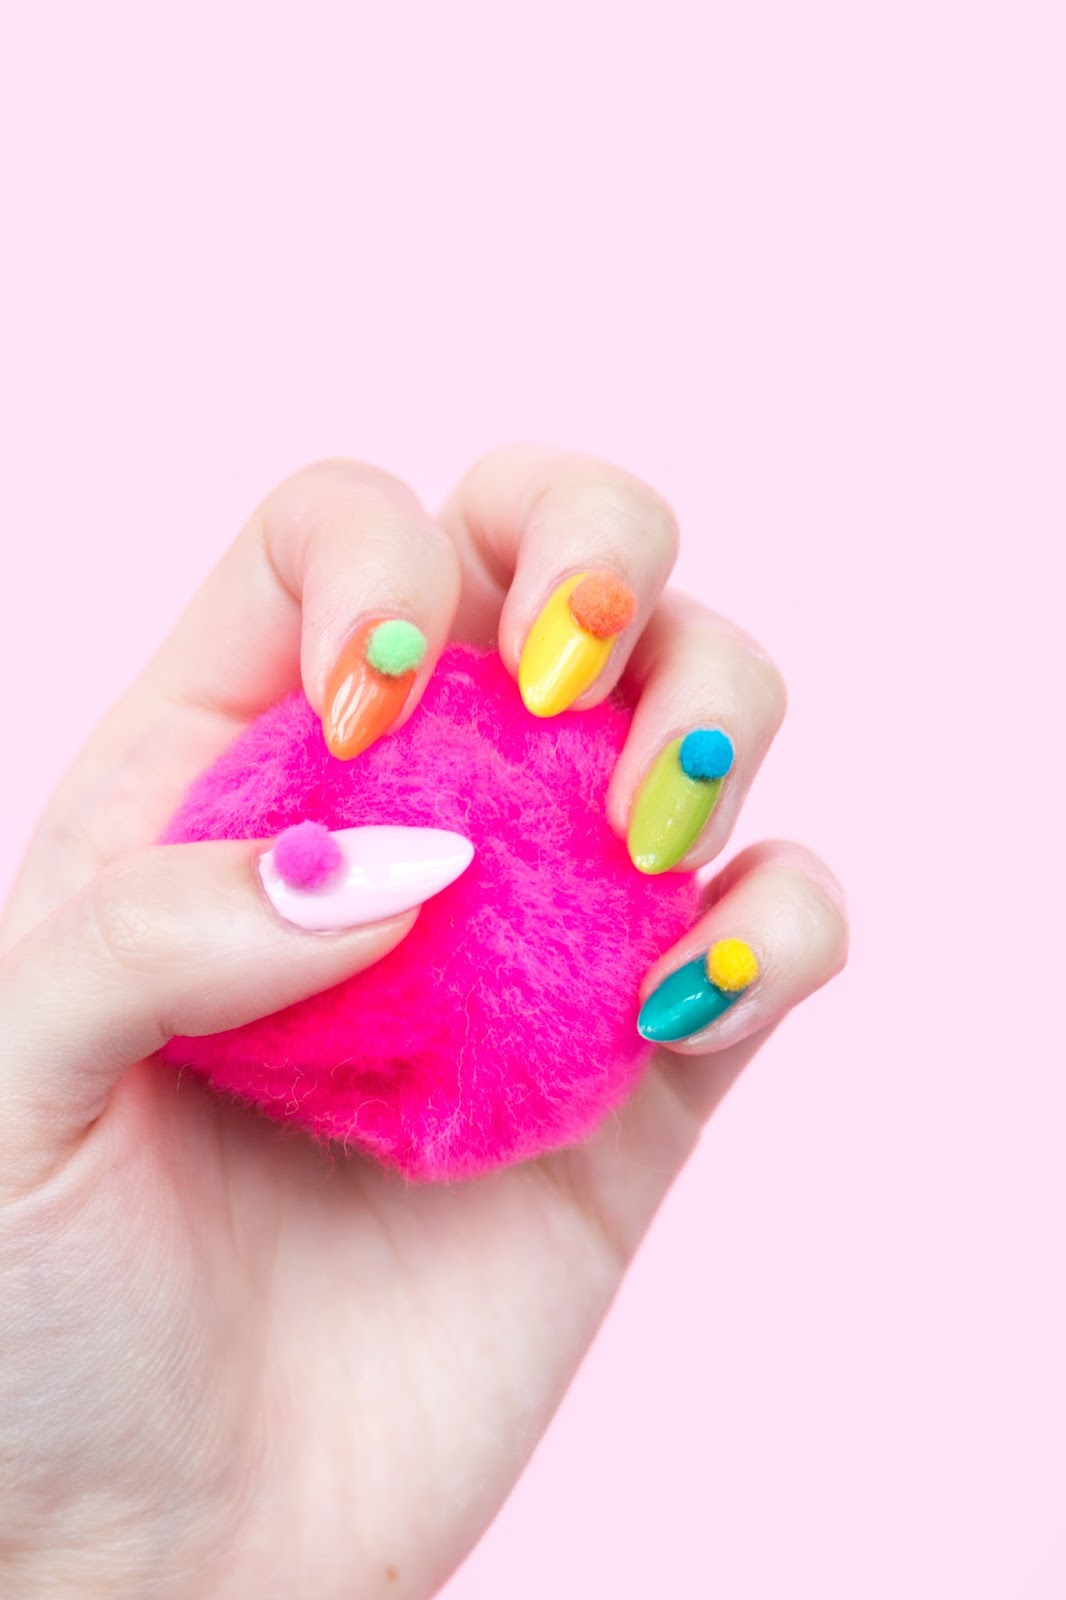
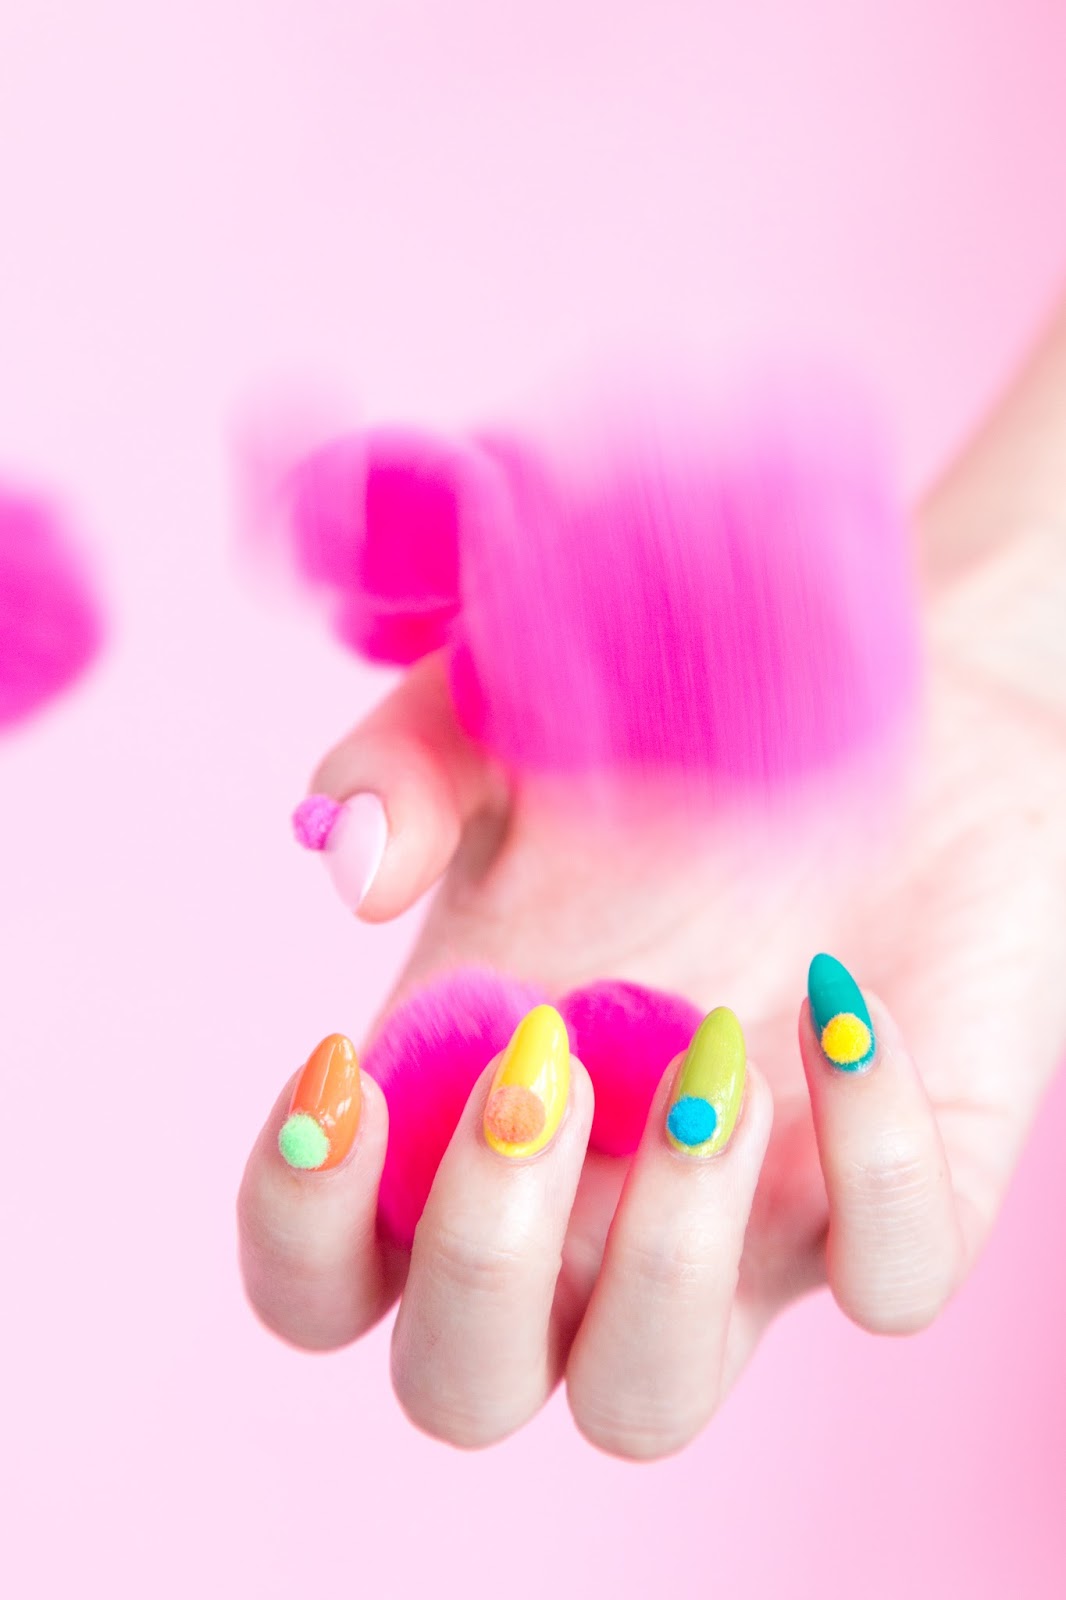
4. Take your pom poms and cut off a small piece of one side, so you get a flat surface to attach to the nail.
5. Apply nail glue to the nail and bottom of the pom pom and using your tweezers, hold the pom pom in place. Allow to dry completely and reinforce the outside with more nail glue if necessary.


One Response
This is so cute it's completely crazy!! I love anything Pom Pom, so I will definitely try this out. Thanks for sharing!