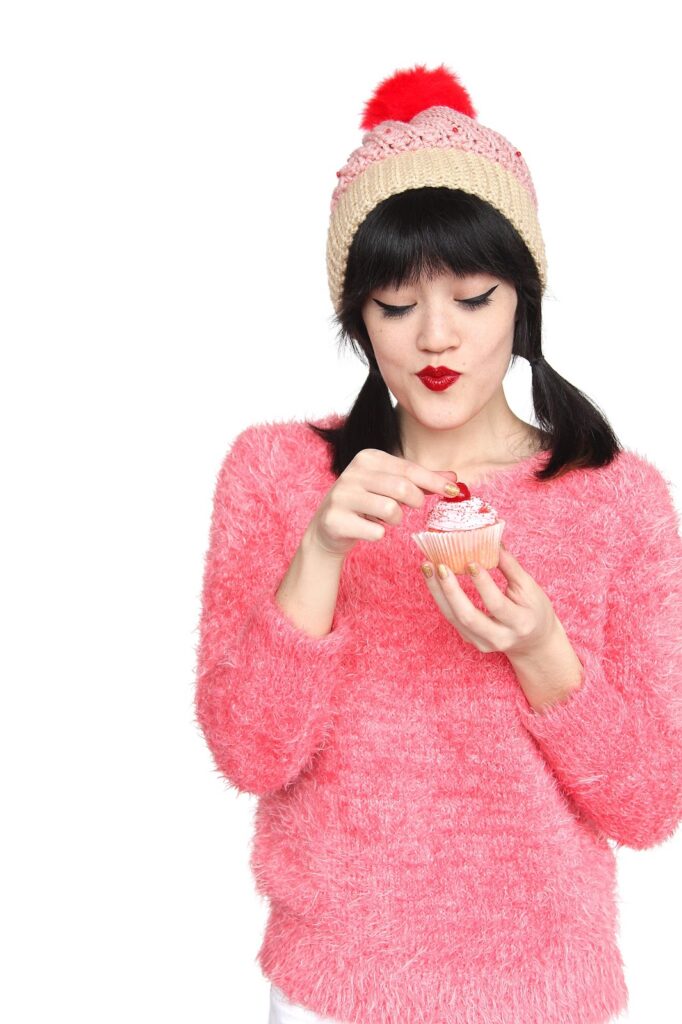

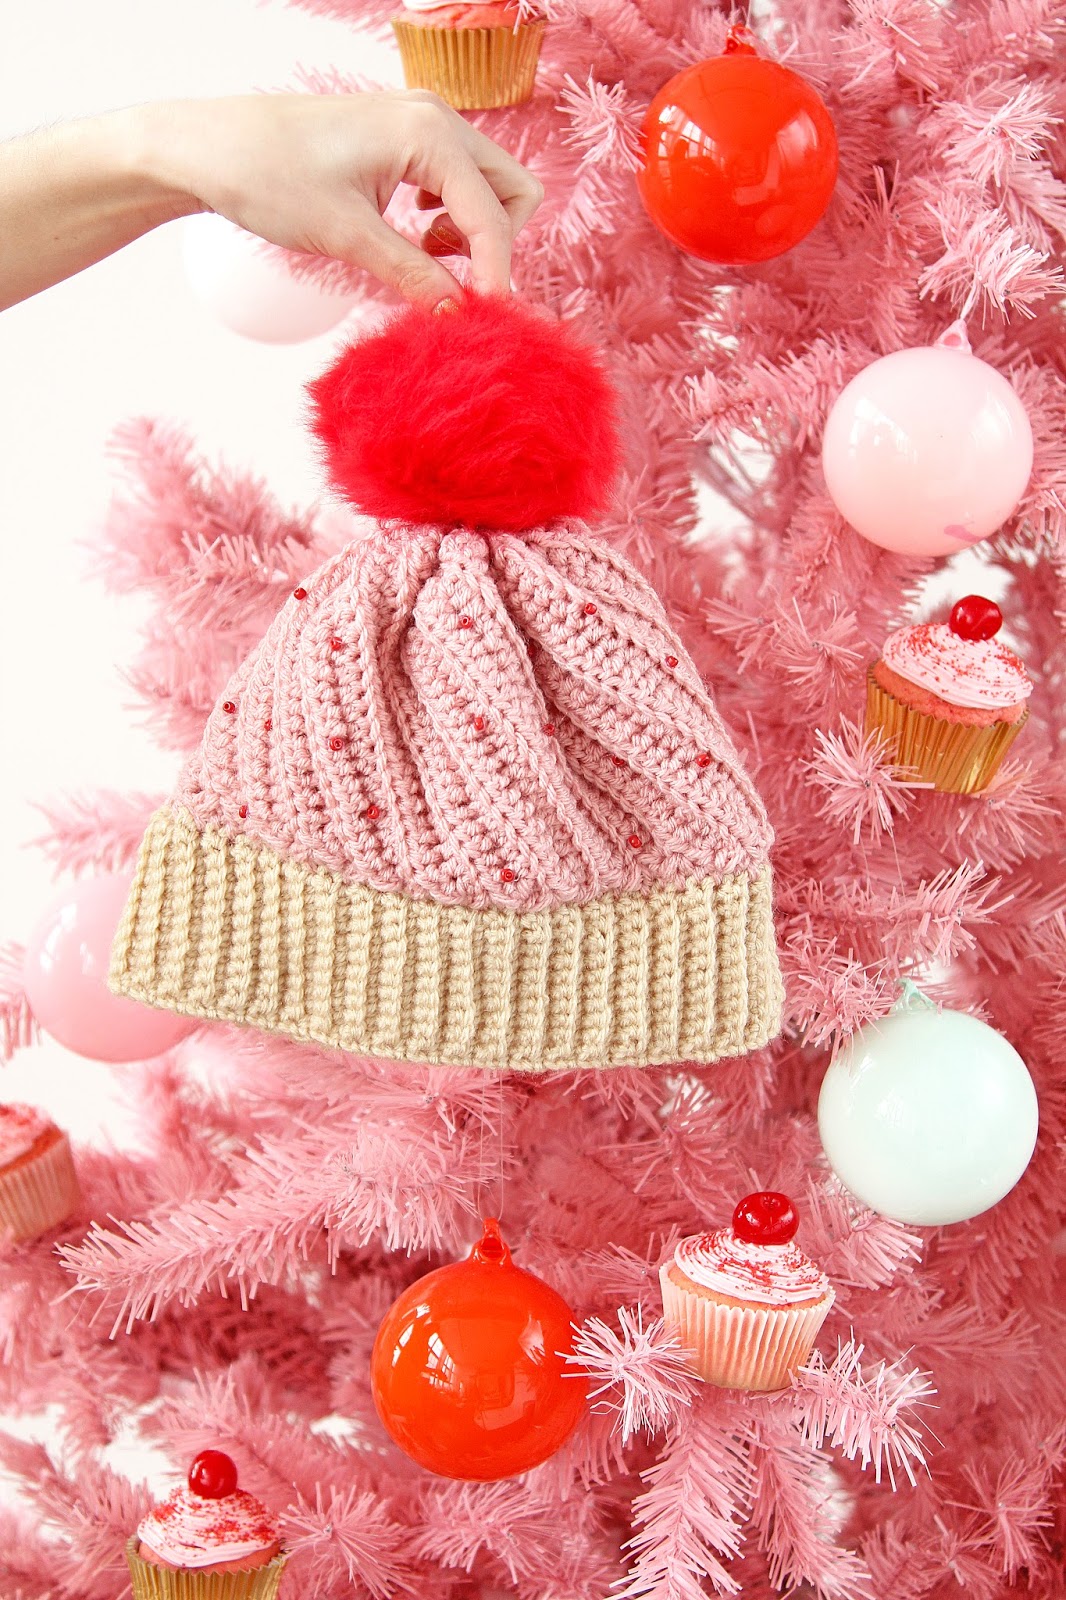
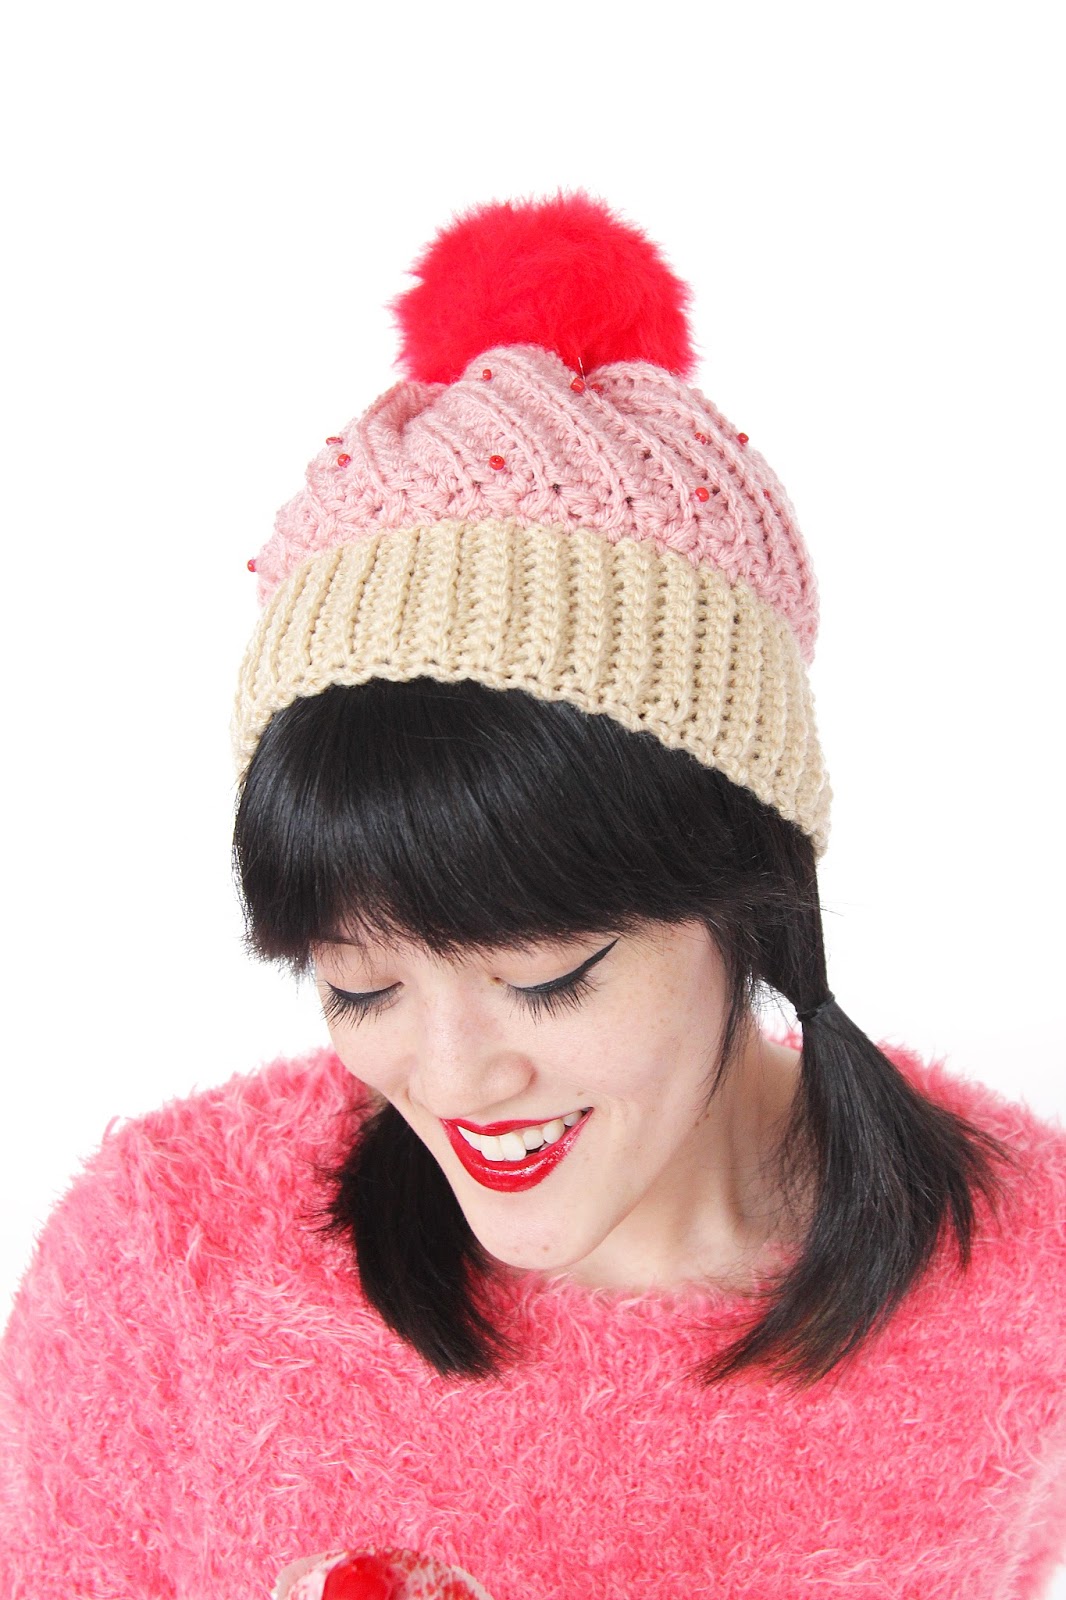
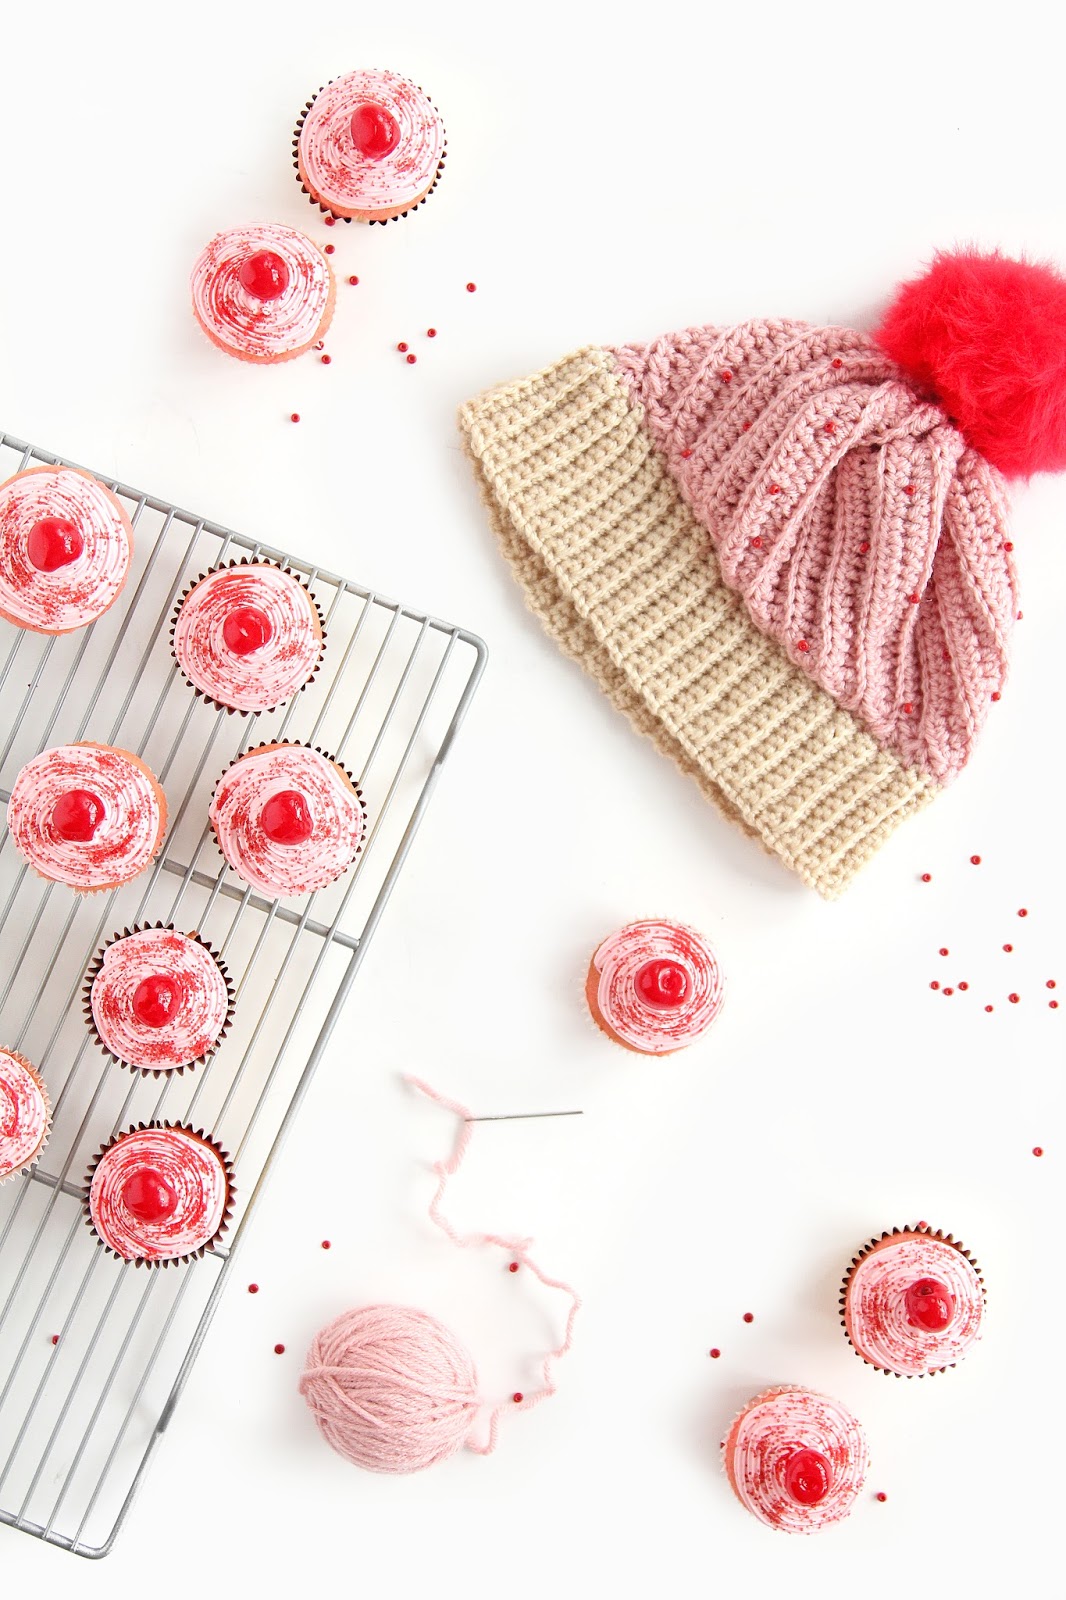
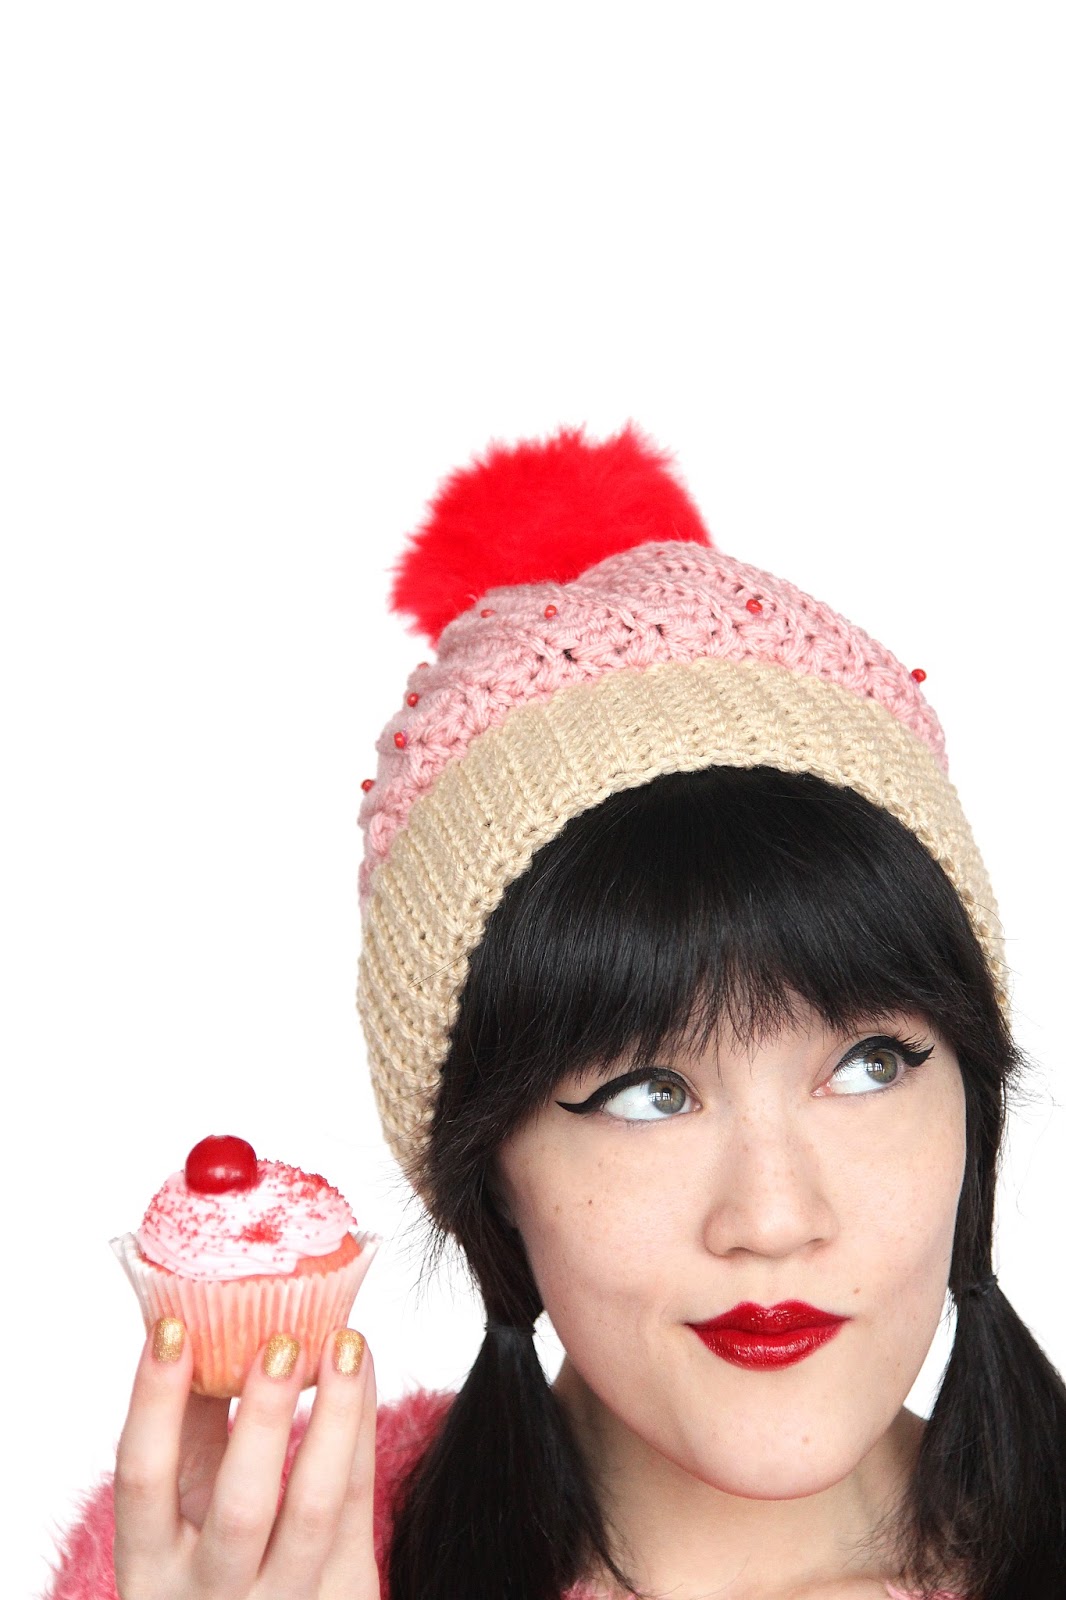
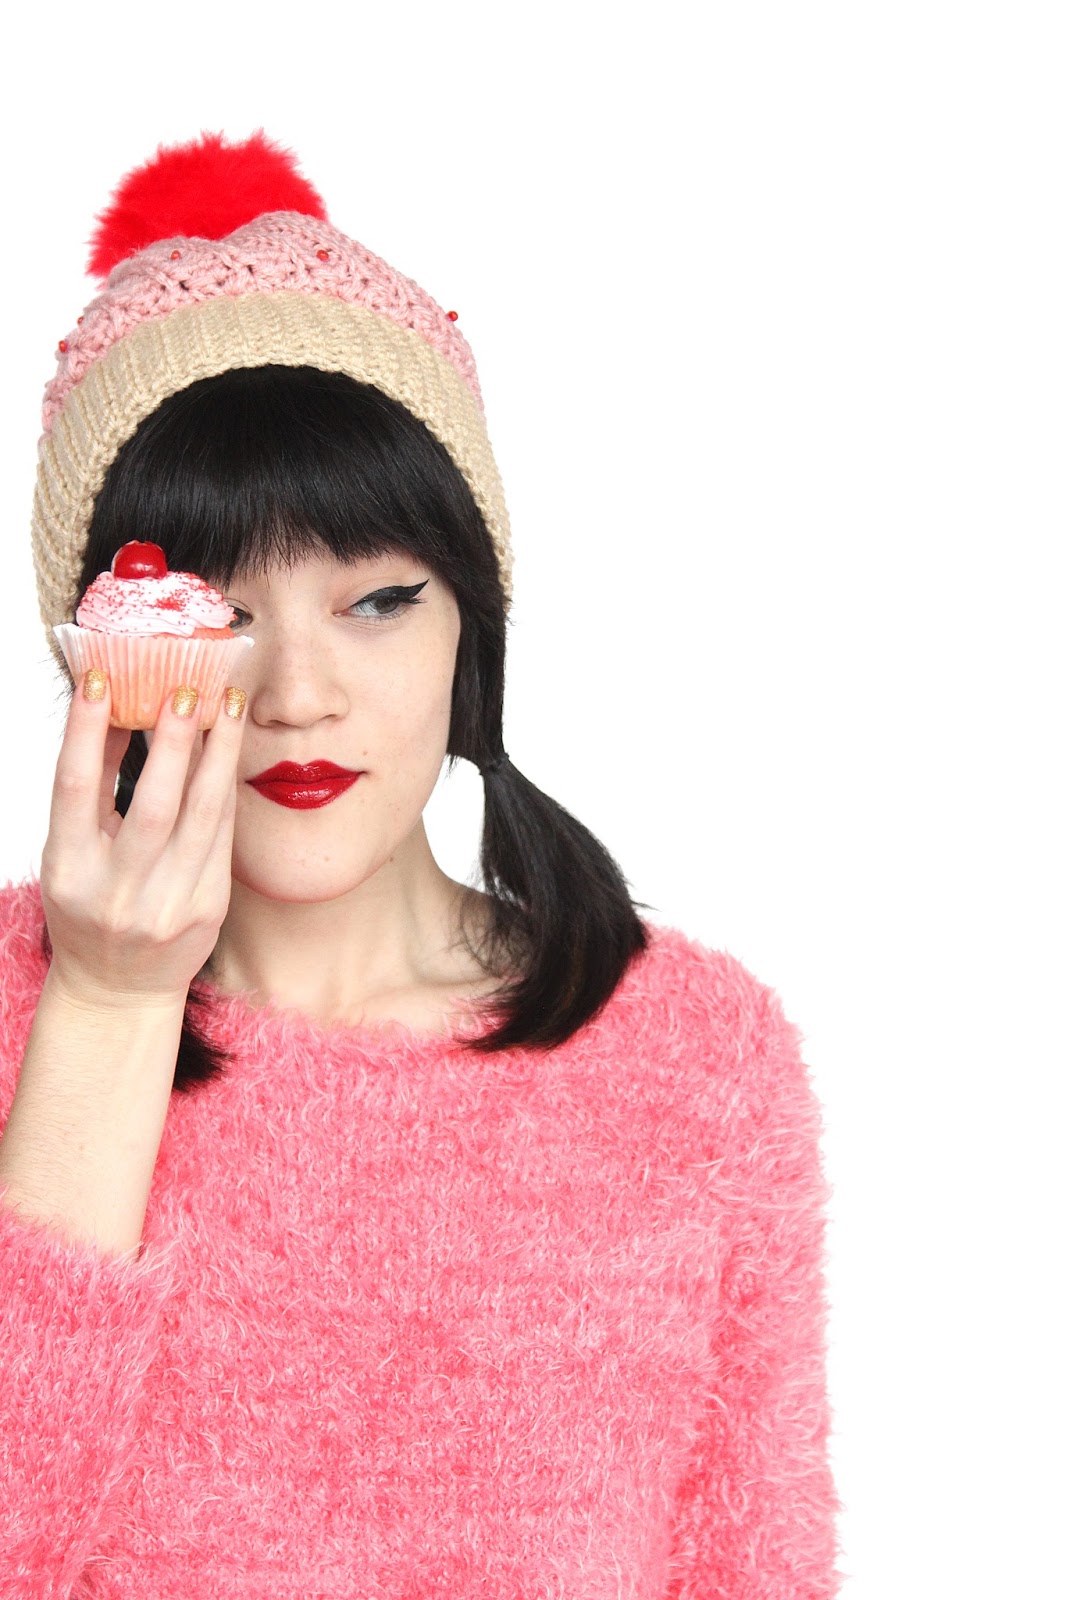
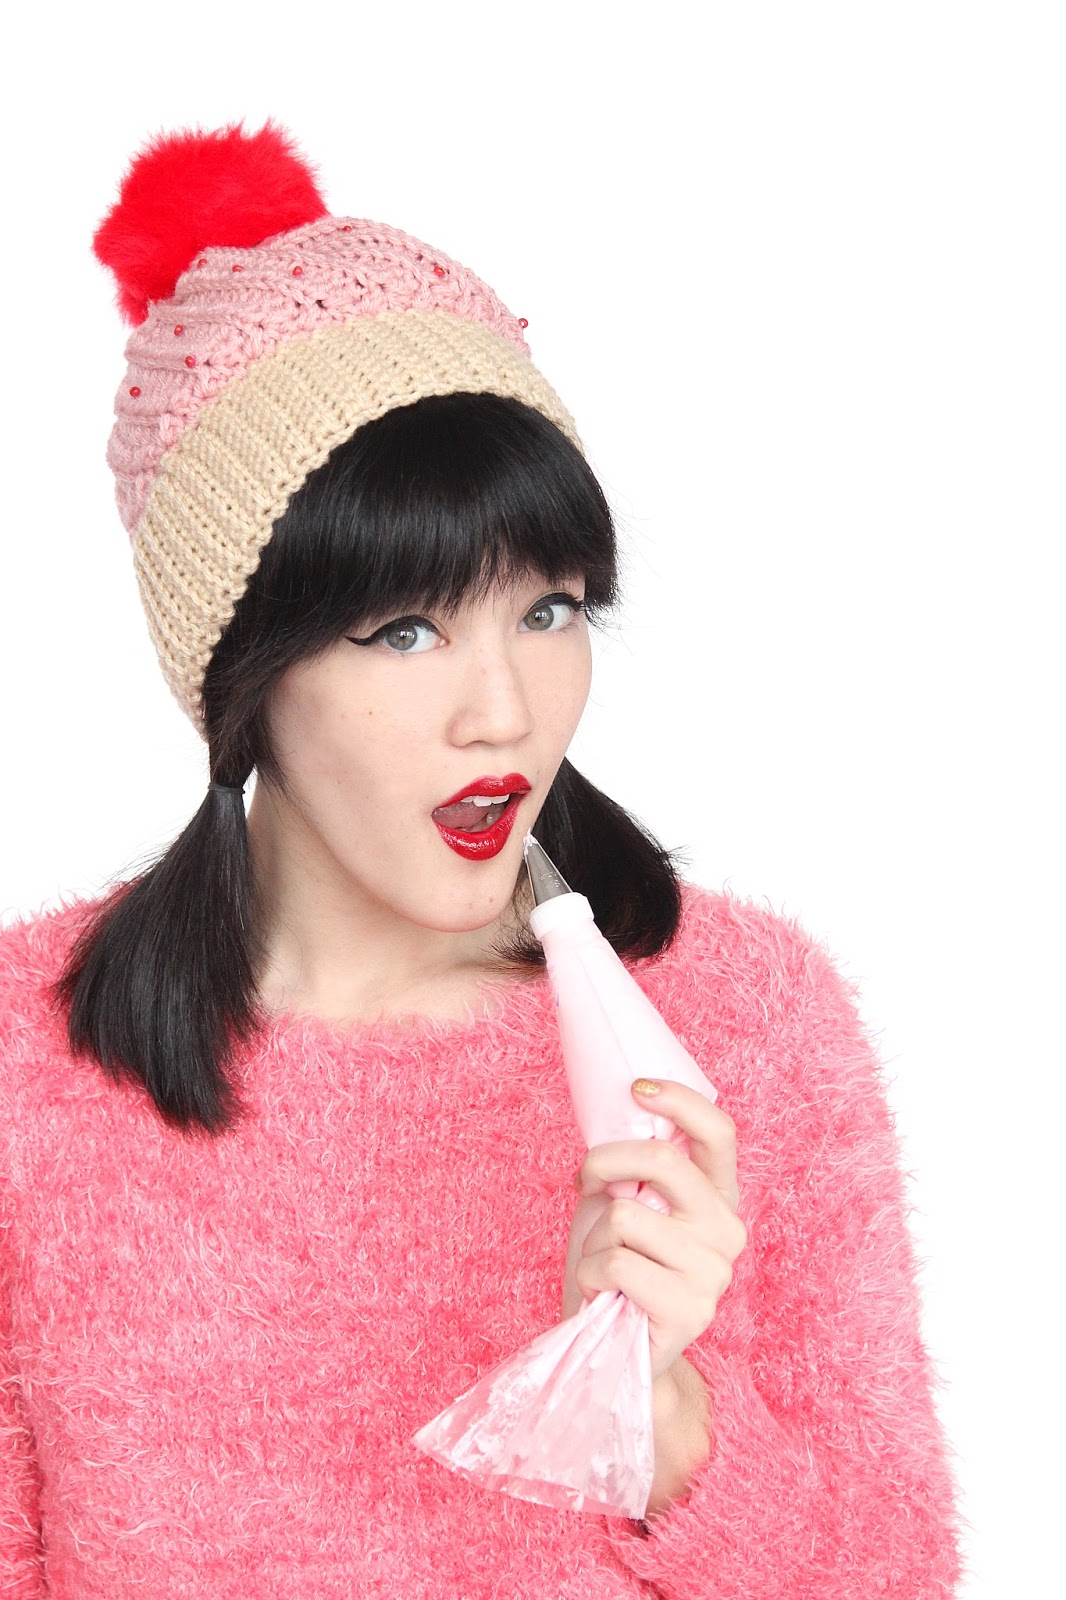
One of my favorite things to do come Winter time is crochet! I started crocheting about two years ago (and I even had an Etsy shop back in the day where I sold hats, and scarves, and things that I crocheted). So when I saw this Kate Spade hat and the price tag that came with it, I knew I had to bust out my crochet hooks and show you a more affordable DIY version with a furry cherry on top! I am all about fun, Winter items, so what’s better than making a CUPCAKE HAT?! I went a little cupcake crazy too, so I even made matching edible cupcakes. I always get excited when I can match my fashion to my food!
Anyways, this little guy takes a bit of crochet knowledge (I promise, it’s not too hard!!), but I’m giving all of the tools and techniques you need to hit this project out of the park and make your very own yummy cupcake hat! Get the full how-to below, there are even video links for extra help! (P.S. I’m doing a giveaway to win one of these hats over on my Instagram later today that will run until 12/15, so keep checking back there if you want one of your own without having to make it!)

1 skein of beige yarn
1 skein of pink yarn
Furry red pom pom (here)
Small red beads
Size H, 5.00 mm crochet hook
Crochet needle
Fabric glue

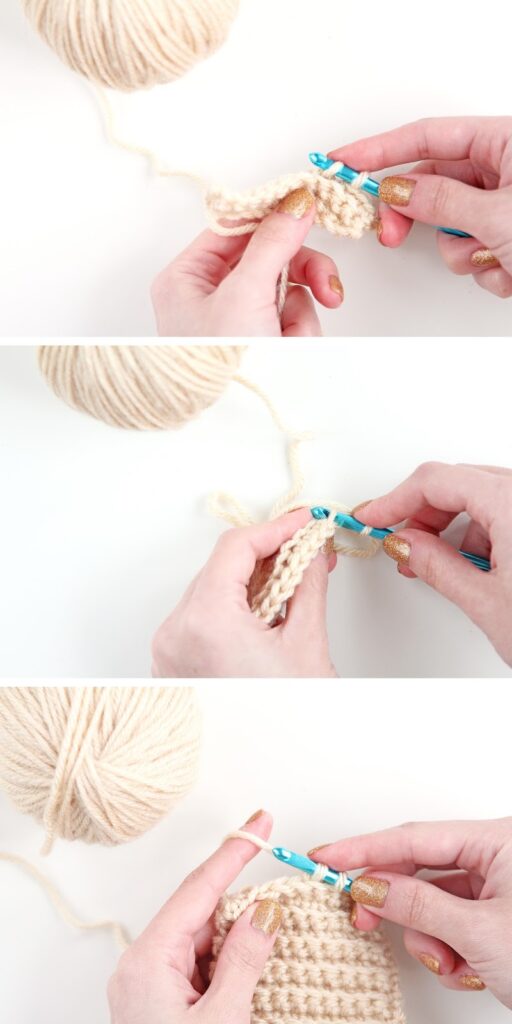
If you’re new to crochet, here is some terminology and links to videos to show you how to do all of the stitches. I taught myself how to crochet two years ago by just reading patterns and watching youtube videos, so I promise there are some really great crochet tutorials out there if you want to learn!
slp knt: slip knot (video)
ch: chain (video)
st(s): stitch
sl st: slip stitch (video)
sc: single crochet (video)
hdc: half double crochet (video)
inc: increase
dec: decrease (video)
blo: back loops only (video)
fo: fasten off (video)

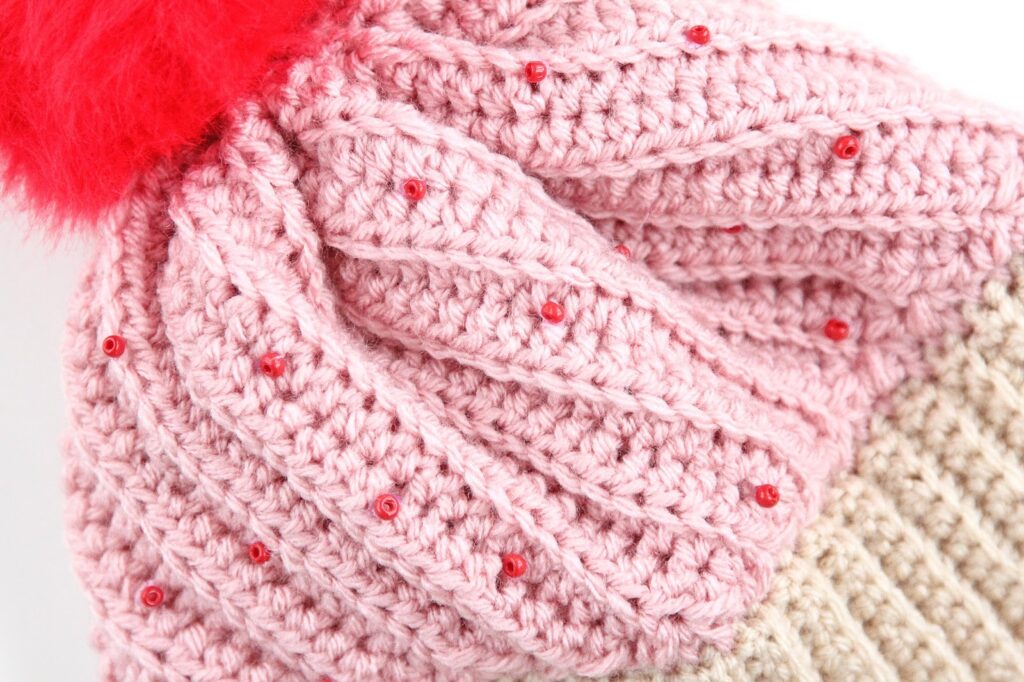
Cake Band:
Row 1: slp knt, chn 12
Row 2: sc in the second ch from the hook, sc 9 in BLO, sc in the last st
Row 3: ch 1, sc 1, sc 9 in BLO, sc in the last st
Row 4-?: repeat row 1 until you have a length that goes around your head comfortably

Frosting:
Row 1: slp knt, ch 26
Row 2: hdc inc in the second ch from the hook, hdc in the next 21 sts, hdc dec in the last 2 sts
Row 3: ch 2, hdc dec over first 2 sts, hdc 21 in BLO, hdc inc over last st
Row 4: ch 2, alternate rows 2 and 3 until your frosting is the same length as your cake band


Finishing:
1. Crochet your cake band and frosting closed to form loops. This video will show you how to crochet two pieces together.
2. Crochet the cake band and frosting together.
3. Weave a thread going all the way around the top of your hat, pulling it closed and creating gathers. Knot the end and weave in the tails.
4. Sew the pom pom to the top of your hat and glue or sew on the beads!

That’s it, you’re all ready for Winter now! It still hasn’t gotten cold enough in NYC to need a hat (I know, it’s crazy that we’re already into December and it’s still so warm), but I’m definitely ready for when I go back to Michigan for the Holidays!


2 Responses
I am so totally psyched that you've put out a crochet pattern!! I've been waiting for this since summer 🙂
Great pattern! What weight yarn is this pattern for please? 🙂