Today’s project is totally going to up your sneaker game! After I found Hipstapatch through my girl Jenni of I Spy DIY, I knew I had to use these insanely adorable (and mini!) patches for a fun project. AND THEN, my friend sent me these Steve Madden patch high tops, and everything fell into place! So I’m teaming up with Hipstapatch to show you how to DIY your way into really awesome sneakers with their easy-to-use mini patches! Find the full how-to below. This one’s an easy one, so you’ll be stepping out in style in no time!


Sneakers (I got mine here)
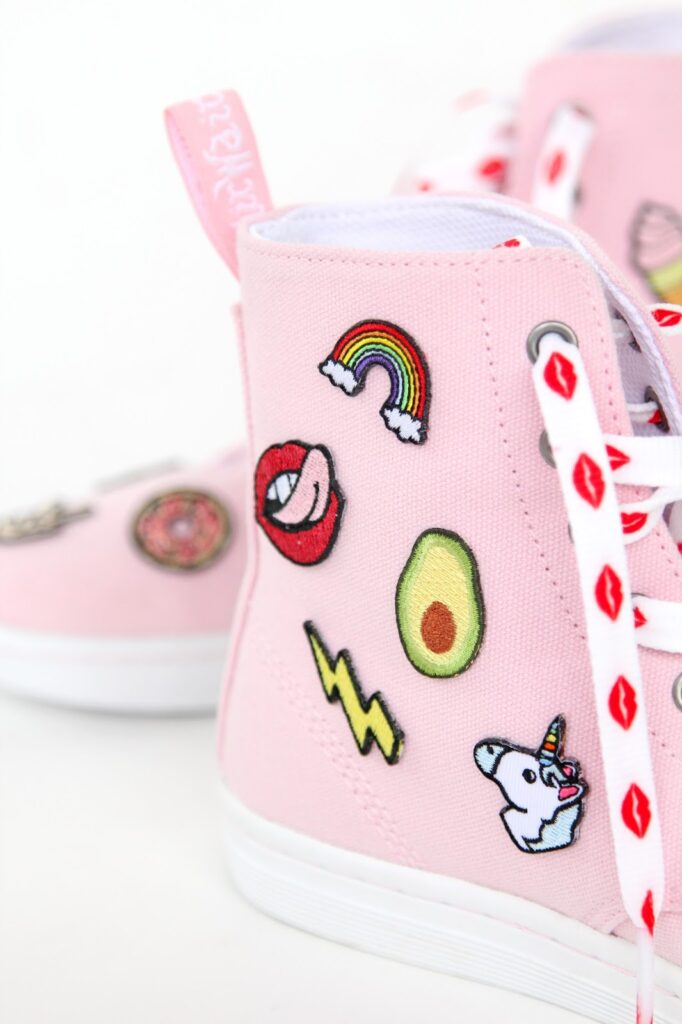
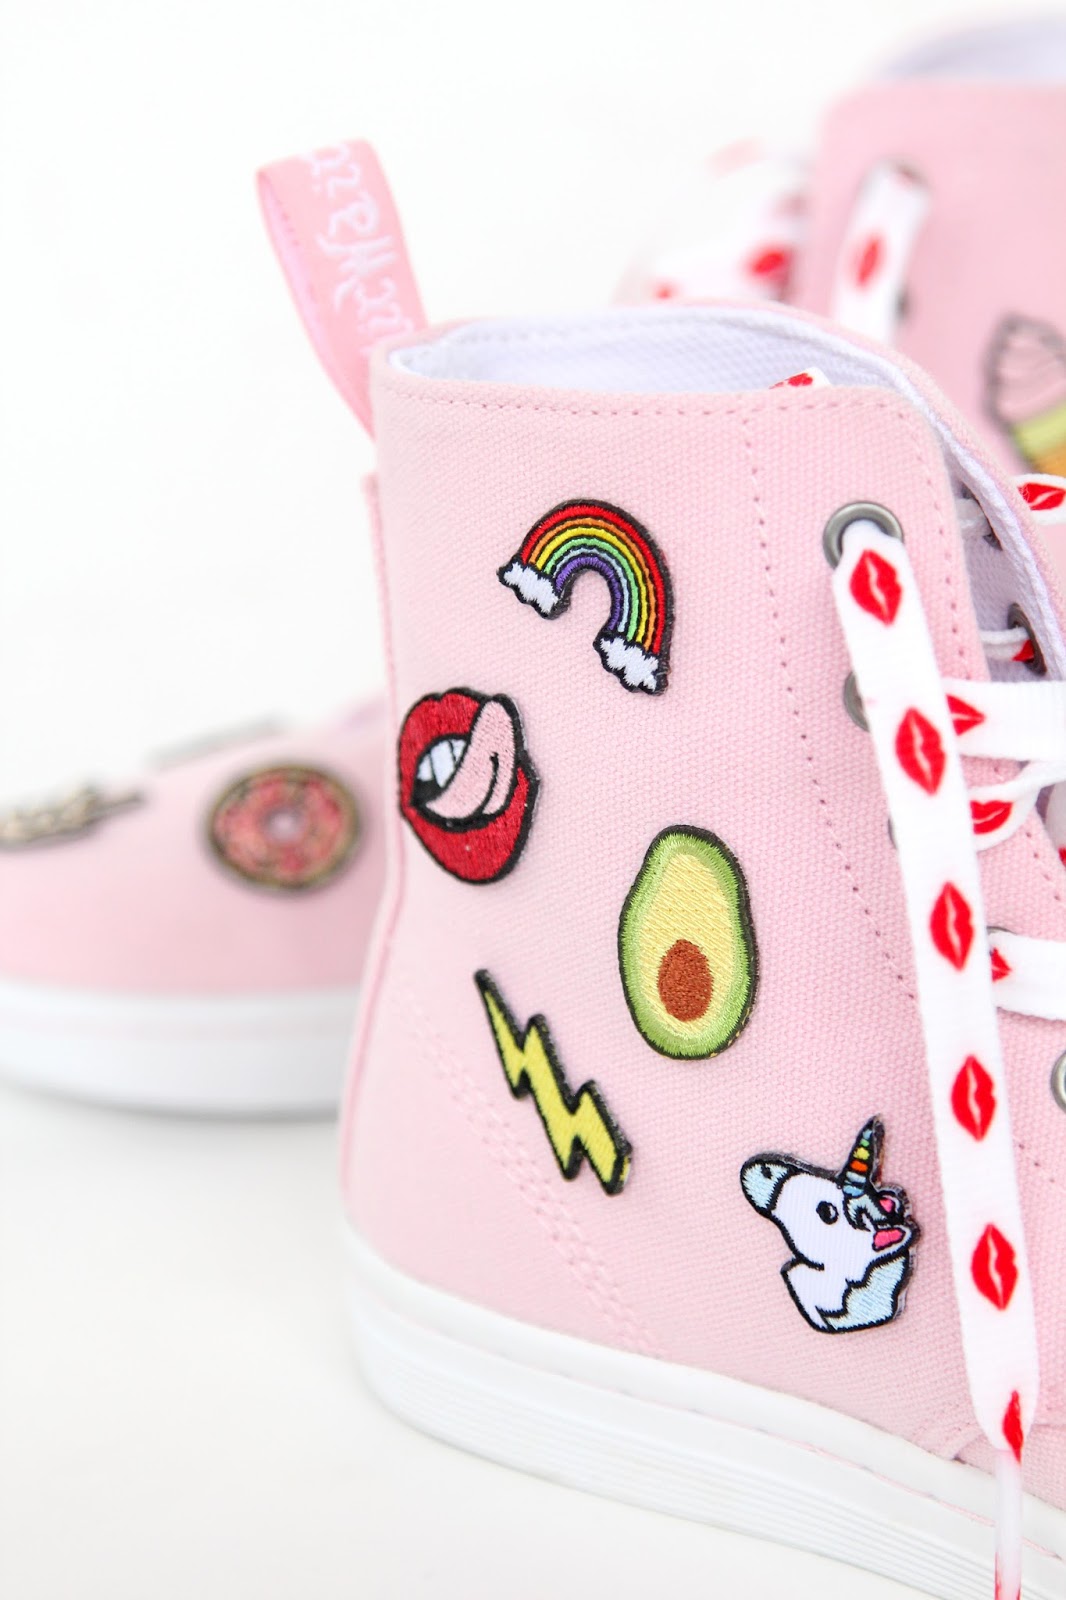
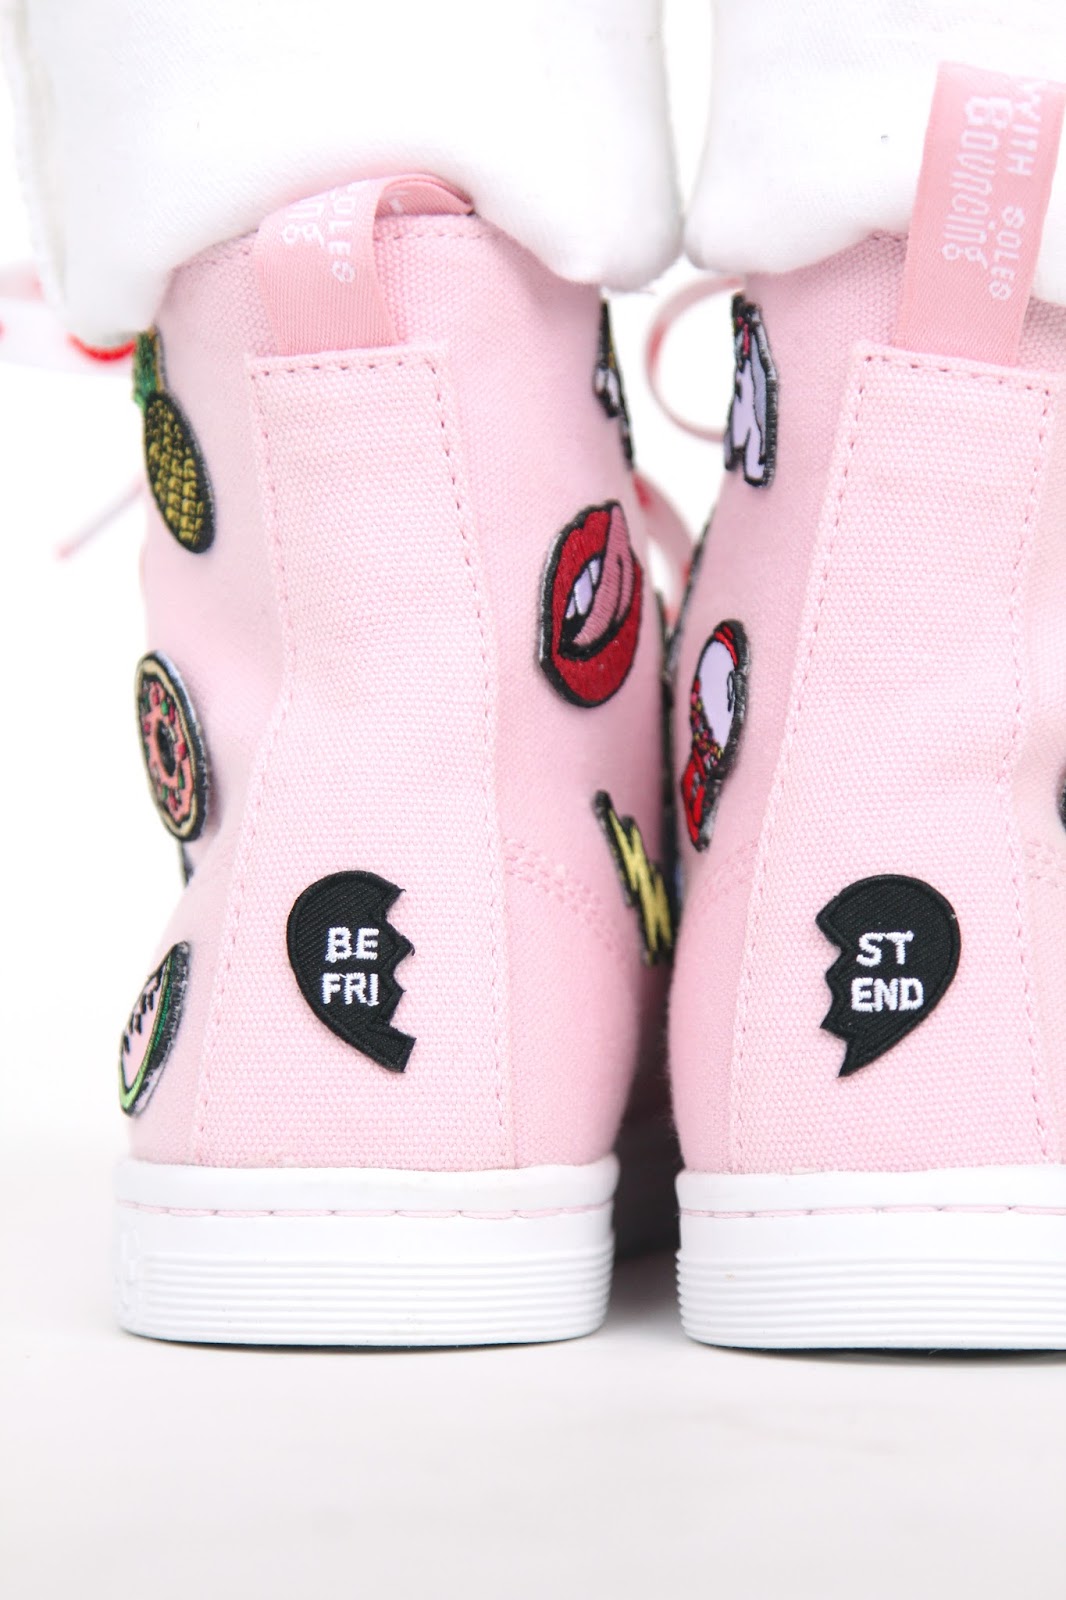
Hipstapatch patches
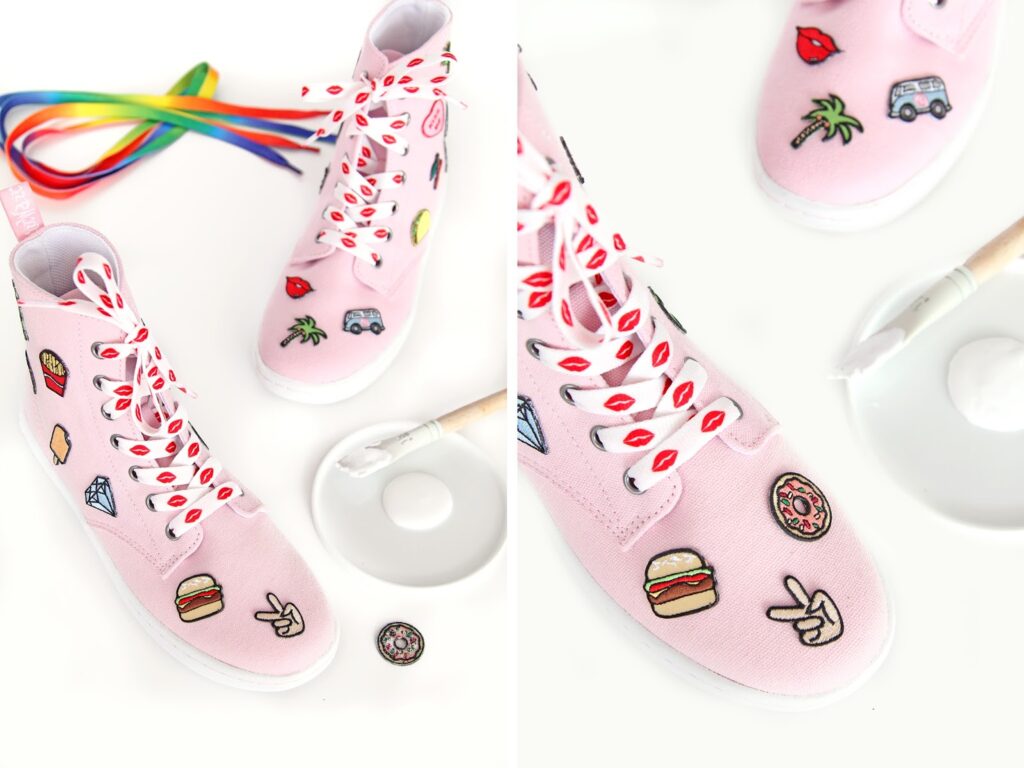
Fabric glue
Small paintbrush
And if you want…rainbow laces

1. Make sure your shoe is clean of dust or dirt.
2. Hipstapatches have a sticky back, so start out by sticking them all over your shoes to figure out the placement before gluing them.
3. Once you’ve figured out where you want them to go, apply fabric glue to the back with a small paintbrush and stick them in place. Hold them down for a few minutes, especially in places where the shoe curves.
4. Allow the glue to dry completely before wearing them, and put in some fun laces!


6 Responses
Oh my! These are amazing!
WritingMonique
Pink + Patches = Heartsies!
These look so cute! I want some patches too x
http://www.wildfirecharm.com