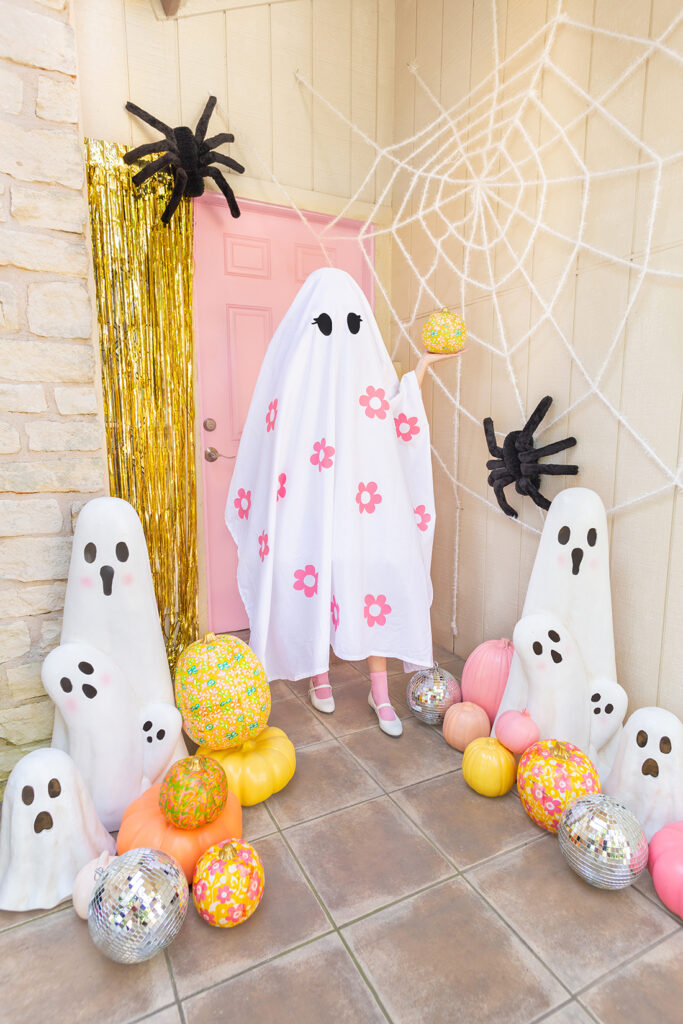

It wouldn’t be Halloween time if I didn’t have a fun pumpkin crafting project, now would it? I’m so excited to show you this one because I think you will all really enjoy it! If you’ve seen some of our previous Halloween decorating posts than you’ll know that we love to spray paint our pumpkins different colors, but that just wasn’t cutting it this year! We needed more!
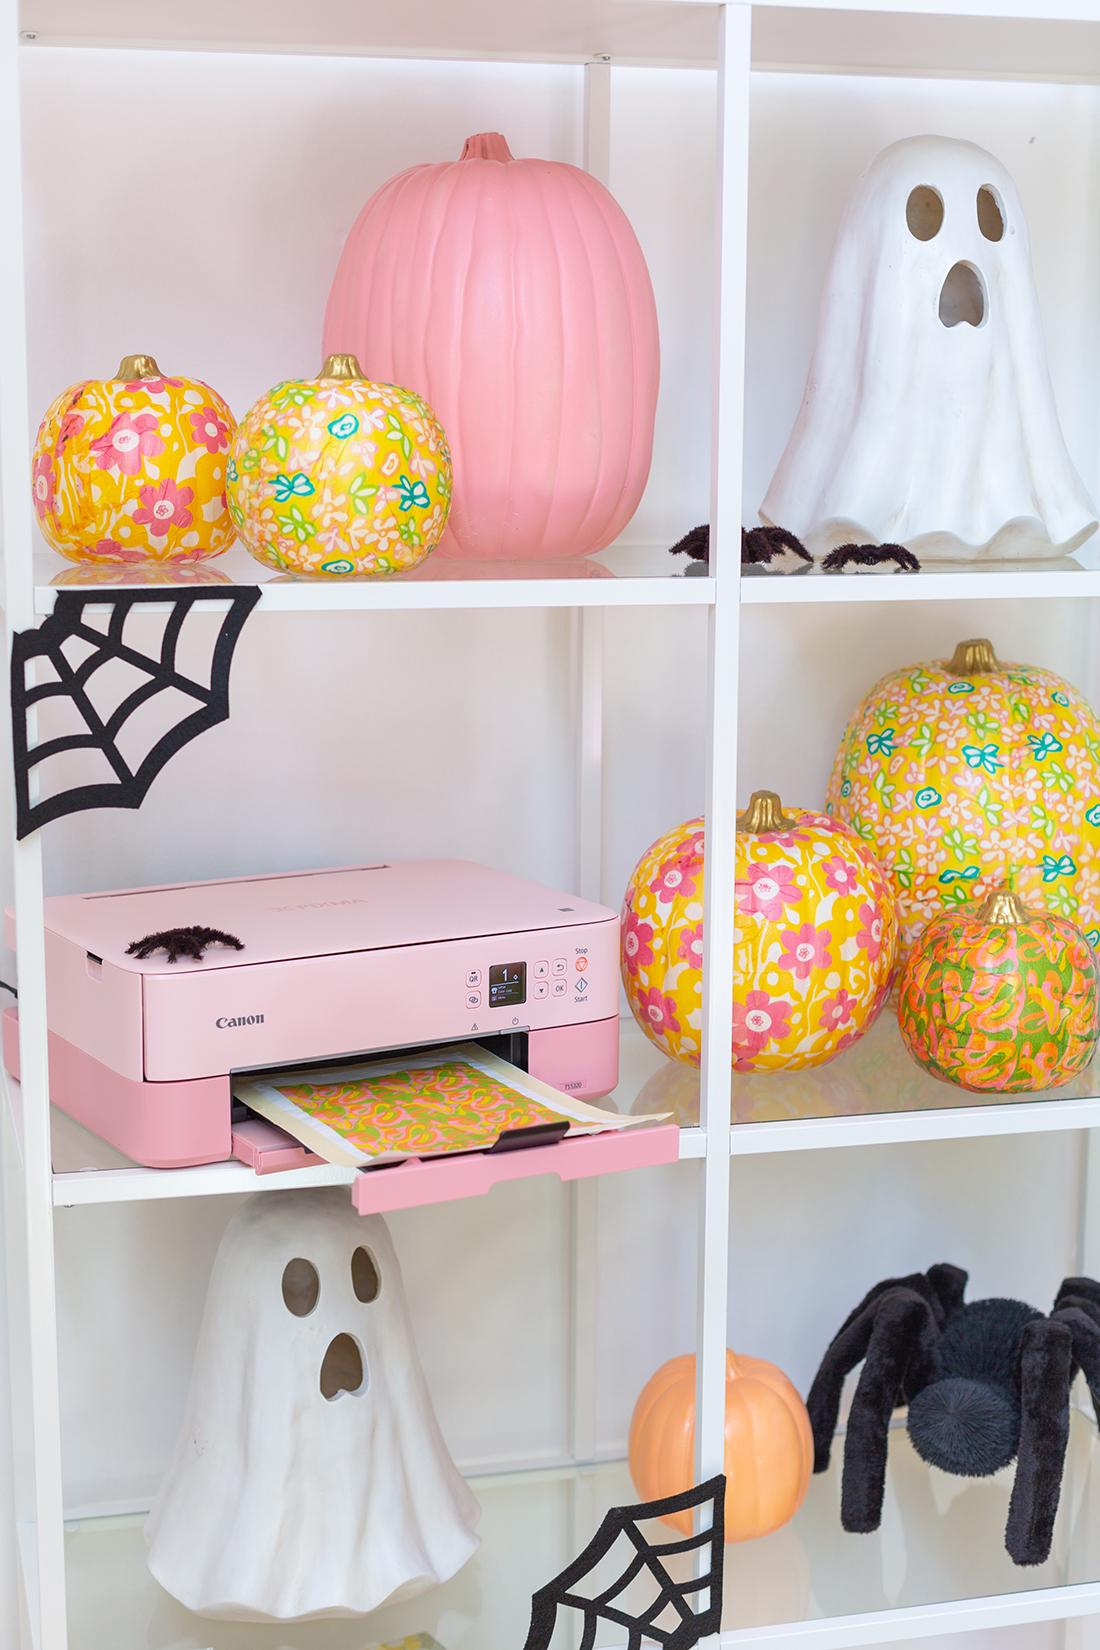
That’s where Canon PIXMA printers come in handy! It’s a wireless all-in-one printer, which means not only will it print, it will scan and copy as well. Since it’s wireless you can print from your phone or laptop, which means you can print just about anything you’d like! We designed patterns that would be fun to add to our pumpkins and we used the PIXMA’s premium printing capabilities to get the best color and cleanest images on our tissue paper, and it worked out so well. It also doesn’t hurt that the printer is compact and comes in different colors! 🙂

Craft pumpkins in various sizes
Canon PIXMA crafting printers
Tissue paper
Printer paper
Masking tape
Scissors
Mod podge
Mod podge brush
Gold acrylic paint
Paintbrush


1. First, we want to find or create the designs that you will be decoupaging on the pumpkins. If you want to use our patterns, you can download them here.
2. Next, cut a sheet out of tissue paper that is about 1/2 inch smaller, per side, than the standard printer paper. (We want there to be an edge all the way around that we are able to tape the tissue paper onto)
3. Tape the tissue paper onto the printer paper, then load it into the Canon PIXMA, and print your chosen design!
4. Now, we want to cut out our tissue paper off of the printer paper, simply cutting the edge to remove the tape.
5. Then we want apply a coat of mod podge, the size of the tissue paper sheet, onto the pumpkin where you will be placing the tissue paper.
6. Place your tissue paper onto the mod podge and smooth it out as best you can, then apply a second coat of mod podge over top of the tissue paper, and allow to dry. You will repeat steps 5 and 6 for every sheet of tissue paper, to make sure the entire pumpkin is covered.
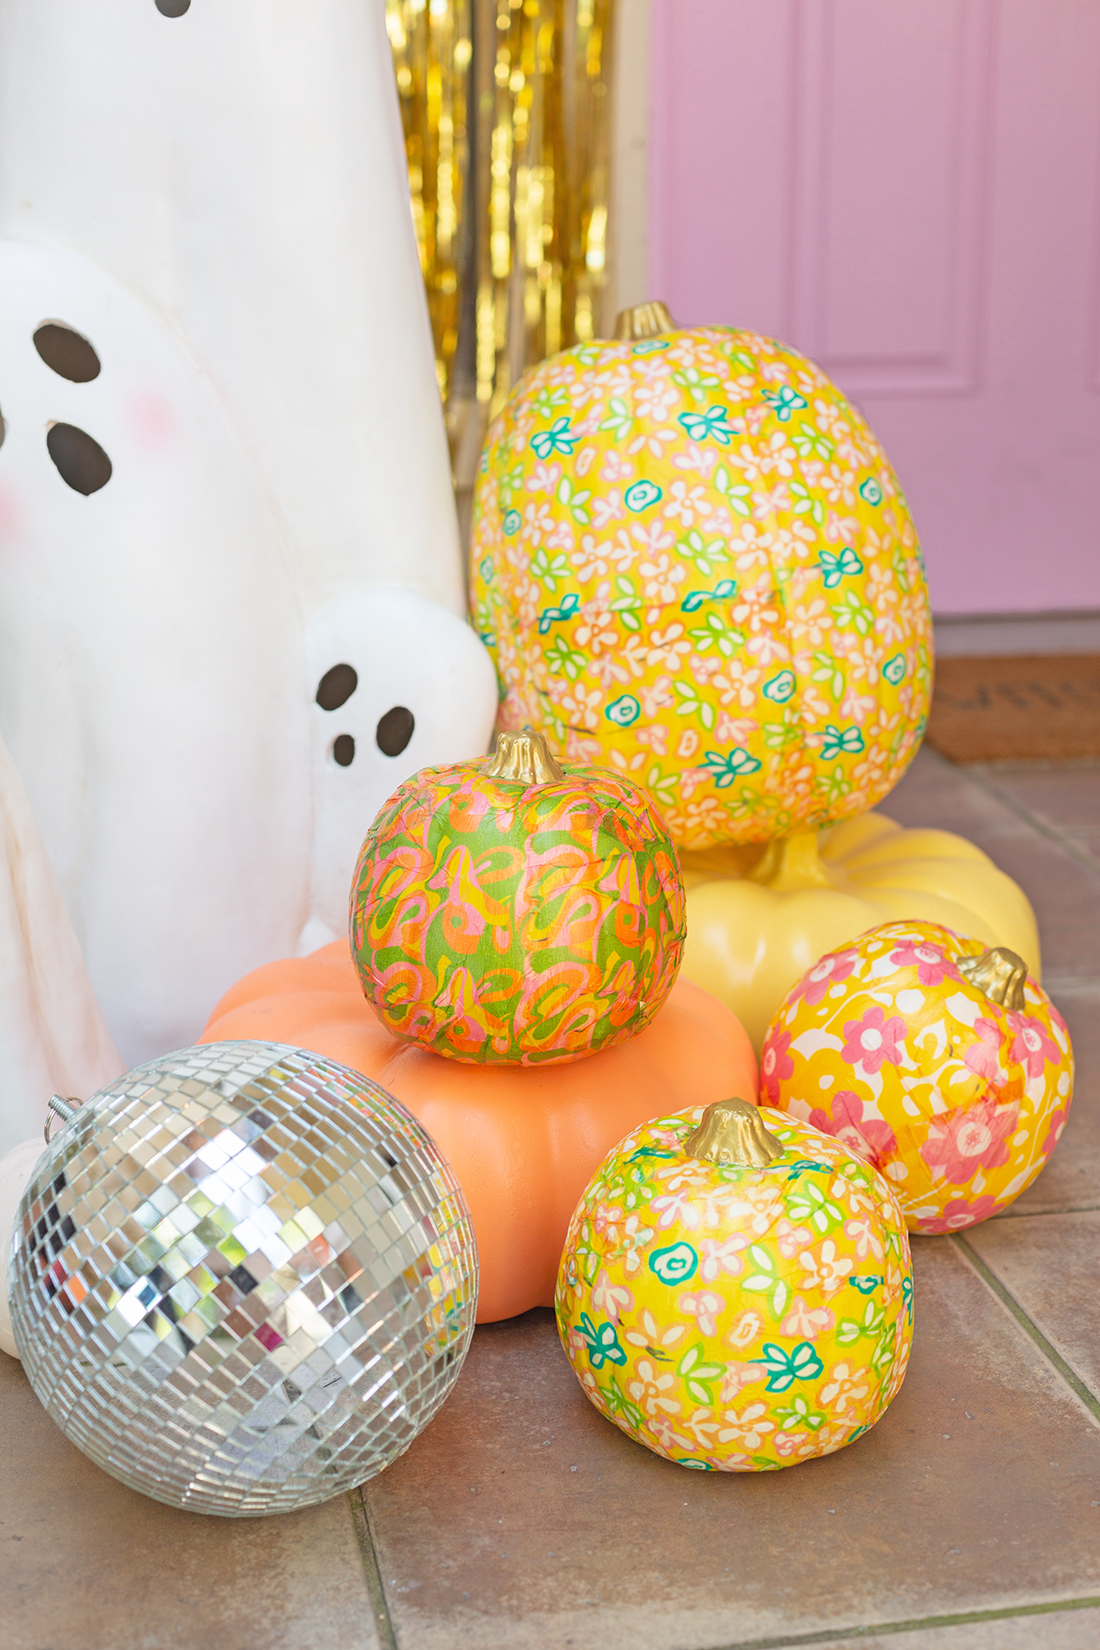
7. Once the pumpkin has dried you can add the finishing touch by painting the stem gold, like we did, painting it a different color, or just leaving it plain!
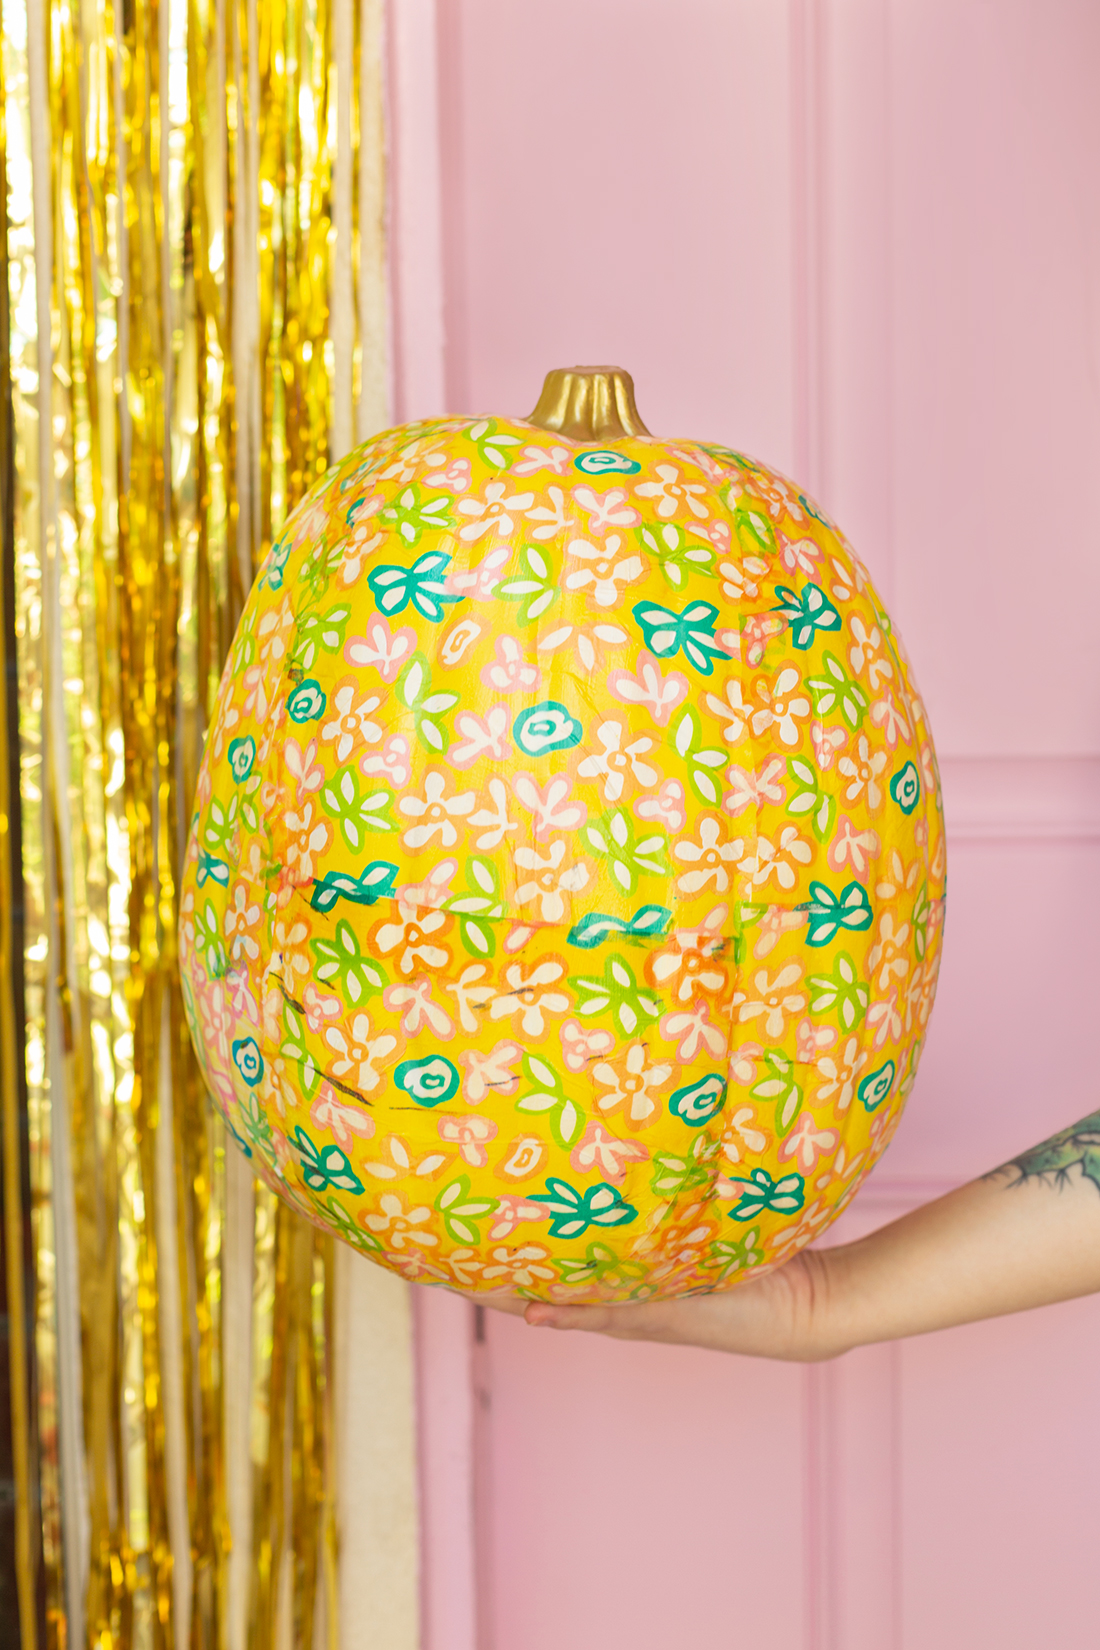
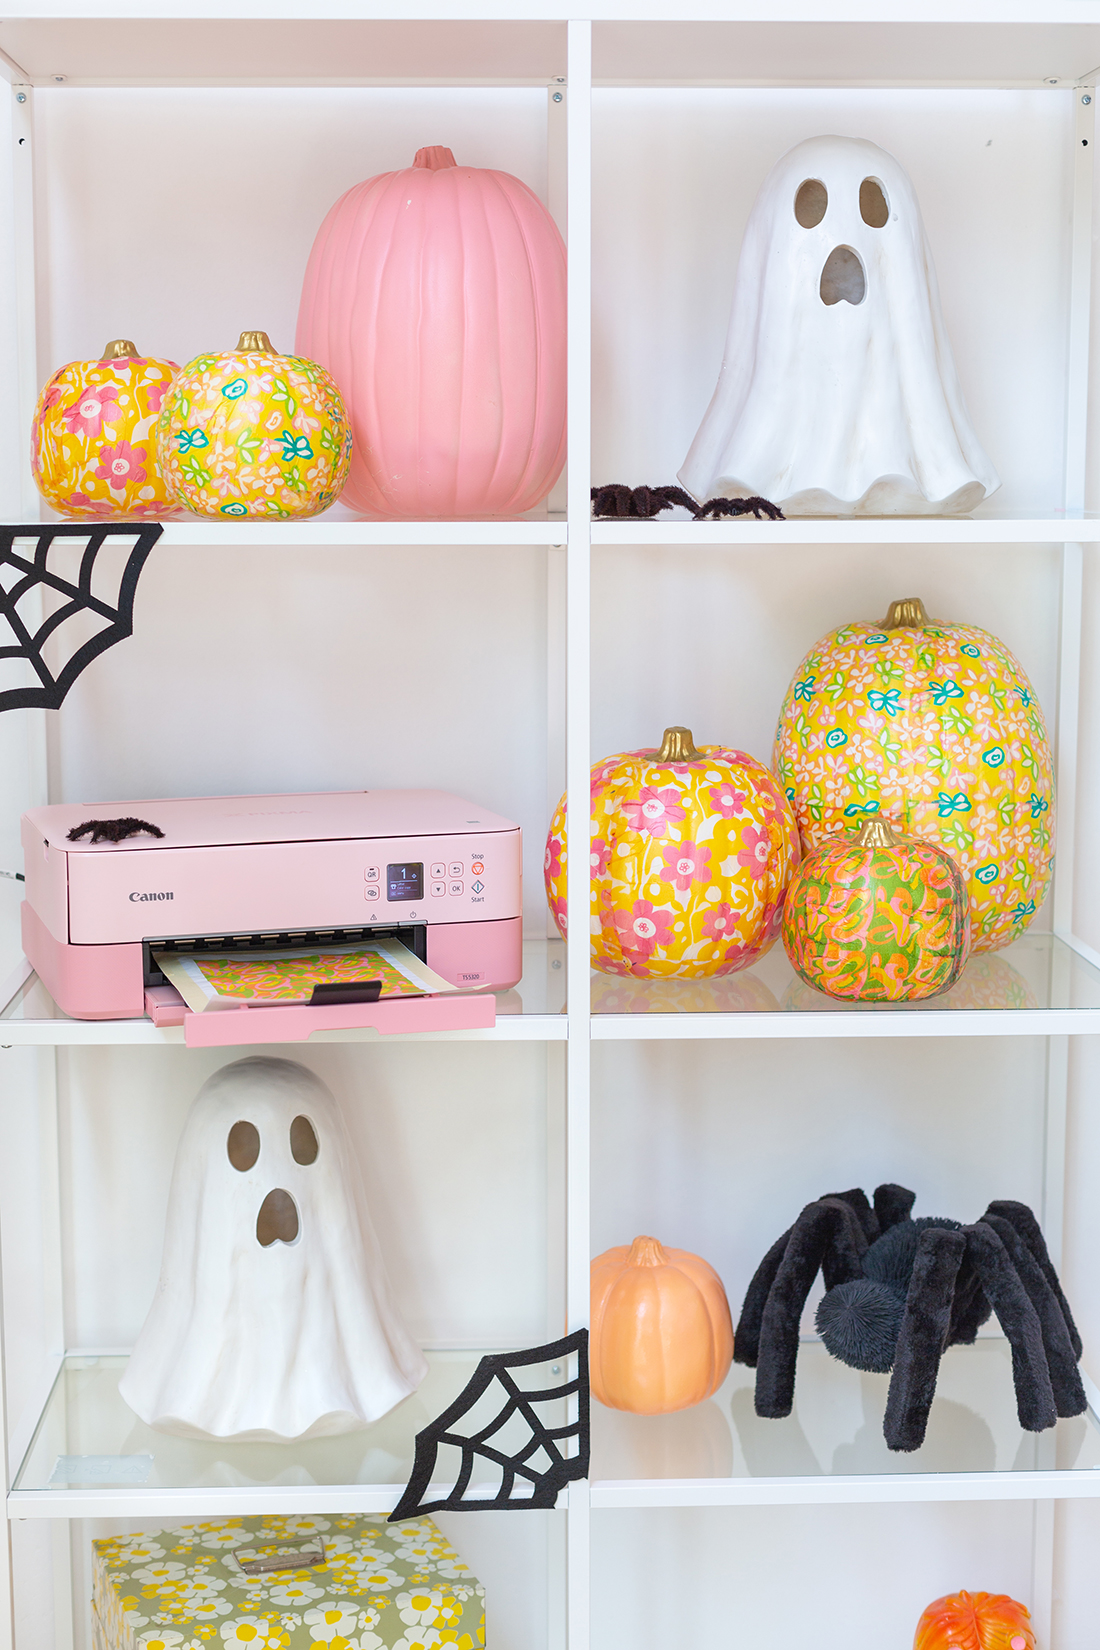
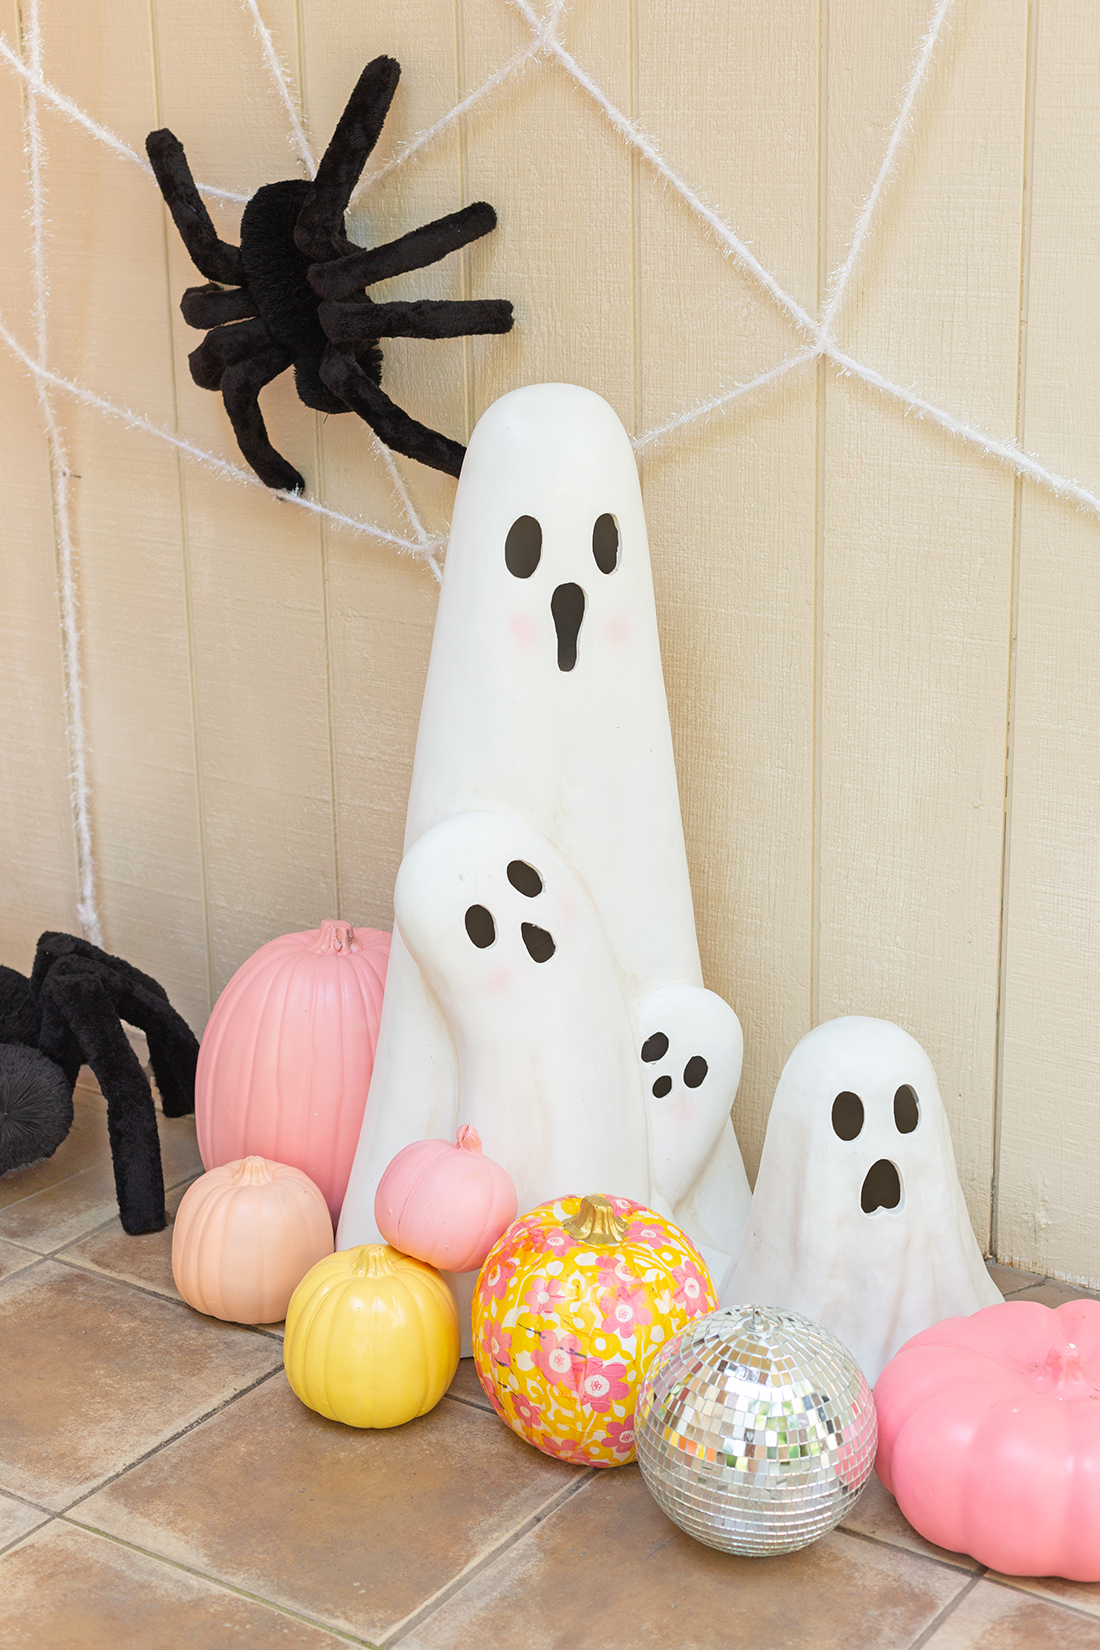
Is it just me or did this pumpkins come out looking one hundred times better?! I absolutely love how they look and they really pop when they are next to the plain painted ones we made last year! I’m already brainstorming what other objects I can possibly decoupage for the rest of the Holiday season, so stay tuned to see what I come up with!
This is a sponsored post written by me on behalf of Canon. All opinions are 100% mine. Thank you for continuing to support sponsors that make this blog a lot more Aww Sam! You can find more about our sponsorship opportunities here.


One Response
Adorable! i wILL TOTALLY DO THIS NEXT YEAR. tHANKS FOR SHARING.
wHERE DID YOU GET THE GHOSTS?